
You can make a fully functional, bird-friendly bird bath from a simple ceramic dish, a terracotta saucer, or a stack of thrifted plates in an afternoon. The key ingredients are a shallow, stable basin (no deeper than 2 inches at the center), a food-safe or sealed surface, a weatherproof adhesive, and a stable base. Get those four things right and you have a bird bath that will outperform plenty of store-bought options.
How to Make Bird Baths from Dishes: DIY Guide & Tips Plus Safety & Winter Care

Marcus Henley
26 Jul 2026
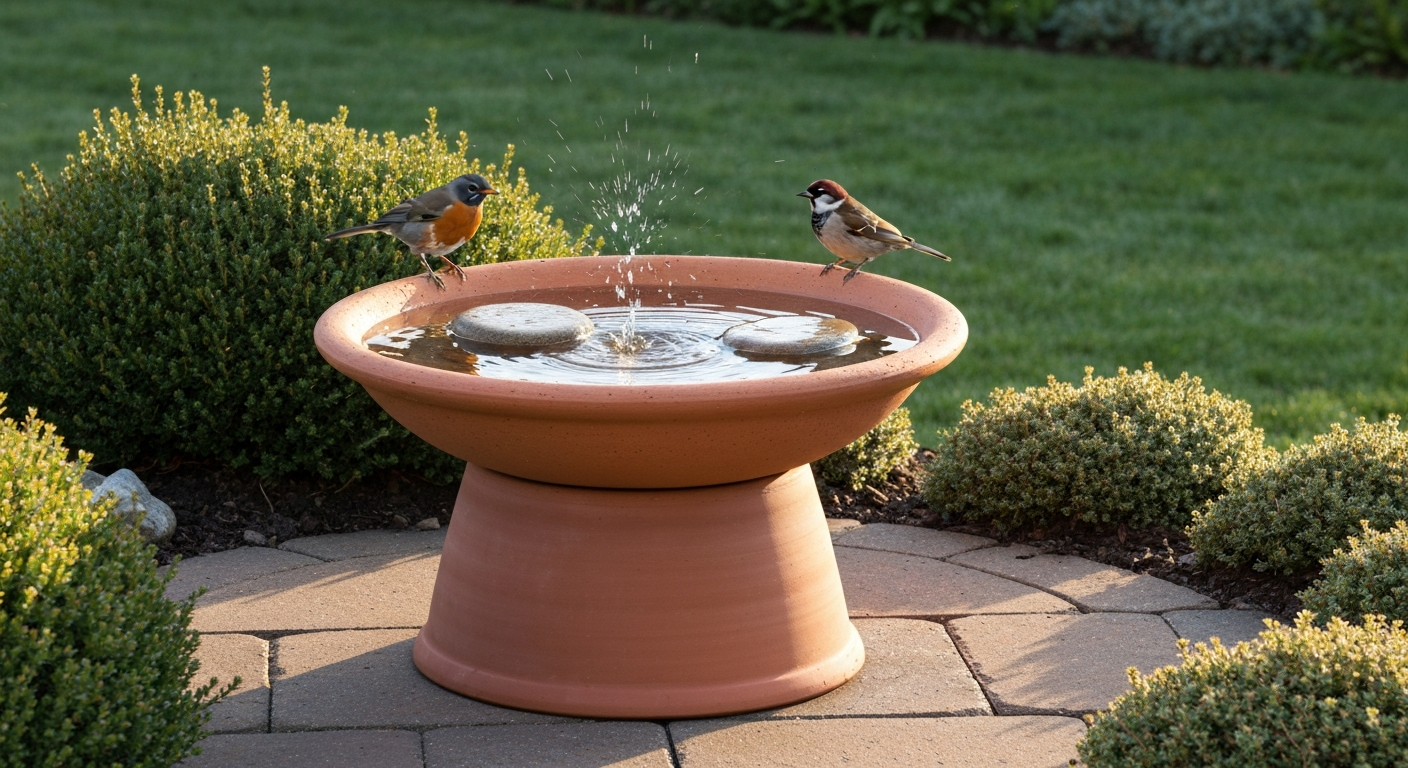
Why dishes make surprisingly good bird baths
Dishes were basically engineered for this job. They are wide, shallow, and smooth enough to clean easily but textured enough (depending on what you choose) to give birds decent footing. The RSPB specifically endorses plant saucers, old bowls, and dustbin lids as ideal DIY birdbath basins, and the depth most dishes naturally sit at, around 1 to 2 inches, maps almost perfectly onto Cornell Lab recommendations: no deeper than 1 inch at the edges, sloping to a maximum of 2 inches at the center.
Beyond function, dishes let you build something that actually looks intentional in a garden. A stack of coordinating thrifted plates on a concrete pillar, a wide terracotta saucer on a mosaic-tiled stand, or a single glazed bowl nestled at ground level can be genuinely attractive features. And because dishes are cheap and replaceable, you can experiment with placement and height without worrying about a $60 investment cracking in a frost.
There is also a habitat argument here. Ground-level and low-set baths mimic the puddles birds naturally use, and Cornell research confirms birds often prefer them at or near ground level. A dish on a low stand, or even placed directly on flat ground, will attract species that would ignore a pedestal bath, including thrushes, robins, and sparrows.
Buy vs. build: which one actually makes sense for you
This is worth a quick honest look before you pull out the drill. A dish-based DIY bird bath costs between $5 and $30 in materials if you are sourcing dishes from thrift stores and using a terracotta pot as a stand. A decent commercial ceramic or concrete bird bath runs $40 to $150+. The DIY wins on price, and it wins on customization. Where it loses is durability in hard freeze-thaw climates (more on that below) and time: expect to spend 1 to 3 hours on a first build.
| Option | Typical Cost | Time Investment | Durability | Customization | Best For |
|---|---|---|---|---|---|
| DIY dish bird bath | $5–$30 | 1–3 hours | Moderate (frost risk with some materials) | High | Budget builders, gardeners who want a personal touch |
| Commercial ceramic bird bath | $40–$80 | 0 (assembly only) | Good | Low | Buyers wanting a finished look fast |
| Commercial concrete bird bath | $60–$150+ | 0 | Very good | Low | Long-term, low-maintenance installs |
| Commercial heated bird bath | $60–$120 | 30 min | Good | Low | Cold climates, year-round feeding |
| Commercial solar bird bath | $40–$90 | 30 min | Moderate | Low | Moving water without wiring |
If you are in a climate with hard winters, either commit to bringing your dish bath in before the first frost or use frost-resistant materials (thick stoneware, concrete, or metal) and a marine-grade sealant. Thin ceramic and standard glazed pottery can crack badly when water freezes inside them. If year-round water access is your priority, a commercial heated bath or a DIY build paired with a separate submersible heater is the more practical route.
Safety first: what you need to know before you pick up a dish
Lead is the main hazard with dish-based bird baths, and it is a real one. The EPA and FDA both document that vintage, imported, or low-fired glazed pottery can leach lead into liquids. Scientific surveys have confirmed elevated leachable lead in some low-fired or imported ceramics. For a bird bath, the water sits in contact with the surface for hours at a time and birds drink it directly, so this is not a theoretical risk you can ignore.
The practical rules are simple. If a dish is clearly labeled lead-free and food-safe (most modern commercial ceramics made in the US, EU, or other regulated markets), you are fine. If it is a vintage piece, a thrift store find with metallic or decorative finishes, or an import with no labeling, either test it with an EPA-recognized lead test kit (LeadCheck is one commercially available option) or seal the interior with a pond-safe sealant rated for continuous water immersion and cured fully before use. The EPA guidance “Protect Your Family from Sources of Lead, U.S. EPA” notes that lead can leach from lead‑containing or poorly‑fired glazed pottery and recommends testing or avoiding vintage or imported glazed dishes before using them for water The EPA guidance “Protect Your Family from Sources of Lead — U.S. EPA” notes that lead can leach from lead‑containing or poorly‑fired glazed pottery and recommends testing or avoiding vintage or imported glazed dishes before using them for water.. XRF testing at a lab gives the most accurate result if you want certainty.
Beyond lead, watch for these things: non-stick coatings (PTFE) on metal or ceramic cookware can degrade outdoors and should be avoided; painted or decoupage surfaces will flake into the water; and any cracked dish with an unknown glaze should be retired. On the adhesive and sealant side, use only products rated for continuous water immersion and confirmed non-toxic once cured. Aquarium-grade silicone, fully cured marine epoxy, and marine polyurethane sealants all meet this bar. Standard construction silicone, super glue, and solvent-based adhesives do not.
- Wear nitrile gloves when working with adhesives, sealants, and grout
- Wear a P100 or N95 dust mask when cutting, grinding, or sanding ceramic or glass
- Wear safety glasses during any cutting or adhesive work
- Work in a ventilated space when applying sealants or epoxy
- Let all adhesives and sealants cure fully (check the TDS for the specific product) before adding water or allowing bird contact
- Test vintage or unlabeled glazed dishes for lead before use
Tools and materials checklist
You do not need much to build a dish bird bath, but having the right adhesive and the right sealant matters more than almost anything else. Here is everything you could need across all the builds in this article. You will not use every item for every project.
- Shallow dish or dishes: terracotta saucer, ceramic serving bowl, stoneware plate, glazed planter saucer (see dish selection section for specifics)
- Stand or base: terracotta pot (inverted), stacked terracotta pots, concrete paving slab, tree stump, large river stones, or commercial pedestal
- Waterproof adhesive: aquarium-grade neutral-cure silicone (e.g., Aqueon Aquarium Silicone), marine-grade polyurethane sealant (e.g., Sikaflex-291), or marine epoxy (e.g., WEST SYSTEM 105 resin with 205 or 206 hardener)
- Sealant for the basin interior: pond-safe silicone or exterior-rated concrete/masonry sealer if using unglazed terracotta or concrete
- Grout (for mosaic builds): unsanded, waterproof tile grout
- Safety gear: nitrile gloves, safety glasses, P100 or N95 dust mask
- Cleaning tools: stiff-bristle brush, bucket
- Optional: submersible fountain pump for moving water, flat-headed screws or threaded rod for anchoring, non-slip grip tape or aquarium-safe gravel for footing
- Optional for cutting: diamond-tipped tile saw or angle grinder with diamond disc
- Optional for mosaic: tile nippers, grout float, sponge
- Lead test kit if using vintage or unlabeled glazed ware
Choosing your dishes: material by material
Not every dish works equally well. Here is what I have found using different materials, and where each one will either help or cause you problems.
| Material | Best Uses | Pros | Cons / Risk Flags |
|---|---|---|---|
| Unglazed terracotta / terra cotta saucer | Basin, stand, low-level bath | Rough texture (good footing), cheap, widely available, bird-friendly | Porous, must be sealed for continuous water use; can crack in hard frost if not sealed or stored |
| Glazed ceramic (modern, labeled food-safe) | Basin, decorative stacked build | Easy to clean, smooth interior, attractive | Slick surface may deter some birds — add aquarium gravel or a flat stone; verify lead-free labeling |
| Stoneware (high-fired) | Basin, stacked build | Very durable, frost-resistant (high-fire), naturally textured | Heavier; check glaze labeling on thrift finds |
| Glass (tempered or thick) | Shallow basin, mosaic base | Attractive, easy to clean, clearly visible to birders | Slippery; must check for cracks; do not use thin or non-tempered glass outdoors |
| Vintage / imported glazed dishes | Use with caution or after testing | Often attractive and cheap at thrift stores | High risk of lead-containing glaze; test with lead kit or seal with pond sealant before use |
| Metal (stainless steel, galvanized) | Ground-level bath, simple basin | Durable, frost-resistant, lightweight | Can heat up fast in direct sun (change water frequently); avoid painted metal, non-stick coatings, or rust-prone steel |
| Plastic (food-grade, UV-stable) | Lightweight low-level bath | Cheap, frost-safe, lightweight | Degrades in UV over time; avoid non-food-grade or painted plastics; less attractive |
My default recommendation for a first build is a wide unglazed terracotta saucer (the kind sold for large patio pots, usually 14 to 18 inches across) as the basin. The texture is excellent for bird footing, the price is low, it cleans easily, and once you seal it with a pond-safe silicone or masonry sealer, it holds water well. If you want something more decorative, a modern labeled food-safe glazed stoneware serving bowl from a kitchen store gives you more design options and is genuinely durable.
Weatherproof adhesives, sealants, and finishers
This is where a lot of DIY bird baths fail within one season. Standard silicone caulk from the hardware store is not rated for continuous water immersion and will peel. PVA glue washes out in rain. Hot glue is not weatherproof. You need products that are explicitly rated for permanent outdoor or submerged use and are confirmed non-toxic once cured.
| Product Type | Example Products | Best Use | Notes |
|---|---|---|---|
| Aquarium-grade neutral-cure silicone | Aqueon Aquarium Silicone | Sealing basin interiors, bonding dish to stand, sealing joints | Inert once fully cured; check SDS to confirm no biocides; allow full cure (typically 24–48 hrs) before water contact |
| Marine polyurethane sealant / adhesive | Sikaflex-291, 3M 5200 | Bonding heavy dishes to stands, permanent outdoor joints | 3M 5200 is effectively permanent once cured; Sikaflex is strong but remains slightly flexible; both rated for freeze-thaw and continuous outdoor exposure; allow full cure per TDS |
| Marine epoxy (two-part) | WEST SYSTEM 105 + 205/206 hardener | Structural repairs, filling cracks, bonding non-porous surfaces | Very strong, waterproof once cured; pot life varies by hardener — read TDS; some hardeners cure down to ~10°C |
| Pond-safe masonry / concrete sealer | Various branded pond sealers | Sealing unglazed terracotta or concrete basin interiors | Prevent water absorption and frost damage; apply 2 coats; allow full cure before use |
| Waterproof tile grout (unsanded) | Standard waterproof tile grout | Mosaic builds, grouting broken tile or dish pieces | Use waterproof/polymer-modified grout only; seal grout lines after curing |
Products to avoid: standard bathroom silicone (often contains mildewcide fungicides that can be harmful to wildlife), construction adhesive not rated for immersion, spray adhesives, epoxy putties with unknown cure chemistry, and any adhesive that is not fully cured before water contact. Always read the product's TDS (technical data sheet) or SDS for cure times, service temperature range, and any biocide/additive content before using it in a wildlife water feature.
Build 1: Saucer-on-stand bird bath
This is the build I recommend to everyone starting out. It is the simplest, the most forgiving, and it produces a bird bath that genuinely works. The core idea is a wide shallow saucer (the basin) set on top of an inverted terracotta pot or a stack of pots (the stand). You can adjust height easily, and if you want to move it or swap the basin next season, you can.
Materials list
- 1 x unglazed terracotta saucer, 14–18 inches (35–45 cm) diameter (larger is better for attracting more species)
- 1 x terracotta pot, 12–16 inches tall, to use inverted as the stand (or 2–3 stacked pots of different sizes for a tiered look)
- Aquarium-grade neutral-cure silicone or marine polyurethane sealant
- Pond-safe masonry sealer (for the saucer interior)
- Flat paving slab or stepping stone as a ground base (optional but recommended for stability)
- 1–2 flat river stones to place inside the basin (gives birds a landing and wading spot, improves footing)
- Nitrile gloves, safety glasses
Step-by-step assembly
- Wash the saucer and pot thoroughly with clean water and a stiff brush to remove any dust, residue, or nursery chemicals. Let both dry completely.
- Seal the inside of the saucer with pond-safe masonry sealer. Apply two thin coats, letting each dry per the product instructions. This prevents water absorption and significantly extends frost resistance.
- Let the sealant cure completely (usually 24–48 hours; check the product label).
- Place your paving slab base on flat, level ground in your chosen location. Flat and level matters — an uneven base is the main cause of instability.
- Set the terracotta pot upside-down on the center of the slab. If you are stacking multiple pots for height, use a small bead of aquarium silicone between each pot and let it cure before adding the next layer.
- Run a bead of aquarium-grade silicone around the flat base of the inverted pot (the surface that will contact the saucer). Center the saucer on top, press gently, and wipe any squeeze-out with a damp cloth.
- Let the silicone cure for the full time specified on the tube, typically 24–48 hours, before adding water. Do not rush this step.
- Add 1 to 2 flat river stones inside the basin. Fill with clean water to a maximum depth of 2 inches at the deepest point.
- Check that the total structure does not rock. If it does, add a small shim (a flat stone or folded rubber mat) under the base slab.
Anchoring for wind and wildlife
For most gardens, the weight of a large terracotta saucer full of water is enough to keep the bath stable. If you are in a windy location or have dogs or other animals that might knock it over, you can thread a length of metal rod (1/2-inch rebar works well) down through the drainage hole of the inverted pot and into the ground below the slab. Alternatively, use construction adhesive rated for outdoor use to bond the base slab to the pot, accepting that it will be a more permanent installation. A third option is to set the pot base into a shallow depression in soil or gravel, which also improves stability significantly.
Troubleshooting this build
- Water drains too fast: The terracotta saucer was not sealed, or the sealant did not fully cure. Apply an additional coat of pond sealant to the interior and let cure completely.
- Wobble or tipping: Base is not level. Re-seat the base slab on leveled ground. Check each joint for full cure.
- Birds not using it: Try a lower stand height (closer to ground level per Cornell guidance), add a flat stone for footing, or add a drip from a bucket with a small hole for moving water.
- Saucer cracked in frost: Terracotta was not sealed or the sealant was compromised. Empty and store indoors before freezing temperatures, or upgrade to a stoneware or metal basin for year-round outdoor use.
- Algae forming quickly: Move the bath to a spot with morning sun but afternoon shade. Change water every 1–2 days in warm weather and scrub with a stiff brush.
Build 2: Stacked or trimmed-dish bird bath
This build stacks two or three dishes of graduating sizes to create a tiered bird bath with multiple water levels. The smallest dish at the top sits at about 1 inch depth, ideal for hummingbirds and small finches. The larger basin below, at 1.5 to 2 inches depth, suits robins, sparrows, and starlings. If you want to trim dishes to size (for instance, to fit a specific stand or to create a more intentional tiered profile), that is where the cutting and sanding safety steps come in.
Materials list
- 3 x ceramic or stoneware dishes/plates/saucers in graduating sizes (e.g., 6-inch, 10-inch, and 14-inch diameter)
- 3 x terracotta pots or sections of PVC pipe to use as spacers/supports between each dish level
- Aquarium-grade silicone or marine polyurethane sealant (Sikaflex-291 is a good option for heavy stoneware)
- Pond-safe sealant for any unglazed surfaces
- Waterproof tile adhesive and unsanded waterproof grout if adding mosaic decoration
- For cutting dishes: diamond-tipped tile saw or angle grinder with diamond disc, eye protection, dust mask, water source for wet cutting
- Flat river stones or aquarium gravel for each basin level
- Nitrile gloves, safety glasses, P100 dust mask
Cutting and sanding safety
If you need to trim a dish (to remove a rim, level an uneven edge, or resize a plate), do it wet. A dry diamond blade on ceramic generates ceramic dust, which is a serious respiratory hazard. Use a wet tile saw or an angle grinder with a continuous-rim diamond disc and run water over the cut line continuously. Wear your safety glasses, P100 dust mask, and nitrile gloves throughout. After cutting, sand any sharp edges with 120-grit wet-dry sandpaper used wet, then 220-grit to finish. Rinse the piece thoroughly before assembly.
Step-by-step assembly
- Wash all dishes thoroughly and let them dry completely.
- Test the stability of your planned stack before applying any adhesive: set each dish on its spacer/support and check for level and wobble. Adjust supports as needed.
- Seal any unglazed surfaces (inside and outside) with pond sealant and let cure fully.
- On a flat stable surface, apply a ring of aquarium silicone or marine polyurethane sealant to the top of your bottom support (the terracotta pot or pipe section that will hold your largest dish). Set the largest dish in place, center it, press gently, and wipe squeeze-out. Let cure fully before proceeding to the next layer.
- Repeat: apply sealant to the top of the next support, set the mid-size dish, center, press, cure.
- Repeat for the smallest top dish.
- Once all layers are fully cured (allow the maximum cure time on the sealant label, typically 48 hours for silicone), place flat stones or a thin layer of aquarium gravel in each basin for bird footing.
- Fill each basin to the correct depth: about 0.5–1 inch for the top smallest basin, up to 2 inches maximum at the deepest point of the lower basins.
- Place the finished bird bath on a flat, stable base slab in your chosen location.
Fixing wobble or leaks
- Wobble between levels: The support between that pair of dishes was not level or the adhesive joint was not fully cured before the next layer was added. Empty, disassemble that joint, clean off the old sealant with a razor blade, re-level the support, and re-apply fresh sealant. Cure each layer completely before stacking the next.
- Water leaking through a joint: A gap in the silicone bead. Once dry, run a fresh thin bead of aquarium silicone along the inside of the joint. Smooth with a damp finger and let cure fully.
- Dish cracking under weight: Usually caused by uneven support or a small stone or debris trapped between the dish and its support. Disassemble, clean contact surfaces, ensure the support is flat, reassemble.
- Water evaporating too quickly from small top dish: Expected in sun and heat. Refill daily, or place the top dish in a shadier position. Moving water from a small drip system slows evaporation perception (birds will use it more).
- Birds ignoring the top basin: Hummingbirds prefer moving or dripping water. A small submersible pump in the bottom basin with a tube feeding a slow drip into the top basin is highly effective.
Placement, depth, and attracting the birds you want
Depth is not complicated once you know the rule: 1 inch at the edges, up to 2 inches at the center. Hummingbirds prefer shallower still, around 0.5 to 1 inch. Crows and larger thrushes will use up to 2 inches comfortably. If your dish is too deep, simply add flat stones or a layer of clean gravel to raise the effective floor. Do not use sand, which disperses and clogs everything.
For placement, Cornell recommends open ground with nearby escape cover: a tree or dense shrub within 10 feet for quick escape, but not so close that a cat can use it as an ambush point. The RSPB is explicit about this: site the bath on open flat ground, away from dense cover at the base. Morning sun helps keep the water from stagnating; afternoon shade slows evaporation and algae growth. If you can offer both a ground-level bath and a raised pedestal bath in the same garden, you will attract a broader mix of species.
Moving water consistently outperforms static water for attracting birds. A small submersible pump (rated for fountain use, not pool pumps) in the basin, or even a bucket with a small drip hole hung above the bath, will draw birds that would otherwise ignore the feature. This is especially true for warblers, vireos, and tanagers during migration. If you are going electric, use a GFCI-protected outlet as Audubon recommends for any powered water feature near wildlife.
Keeping your dish bird bath clean and safe
The maintenance schedule for a dish bird bath is more demanding than for a large commercial concrete bath, mostly because smaller dishes foul faster. In warm weather, that means changing the water every one to two days and scrubbing the basin with a stiff brush. A thin film of algae or biofilm on the surface is the early warning sign that the cleaning cycle is too long.
For disinfection when the bath has been heavily used, is visibly fouled, or if there are sick birds in the area, use a 1:9 bleach-to-water solution (10% bleach). Soak the basin for at least 10 minutes, then rinse thoroughly multiple times and let air dry completely before refilling. This protocol comes from UC Davis Veterinary Medicine guidance for birdbath and feeder disinfection in salmonellosis management. Salmonellosis in Wild Songbirds, UC Davis School of Veterinary Medicine recommends soaking feeders and baths in a 1:9 bleach-to-water solution for at least 10 minutes, then rinsing thoroughly and air-drying Salmonellosis in Wild Songbirds — UC Davis School of Veterinary Medicine. Do not use undiluted bleach, and do not put water in until the bleach smell is completely gone.
For winter, the golden rule from Audubon is simple: never use antifreeze or glycerin in bird baths. Both are toxic to birds. If you need ice-free water in winter, use a commercially made submersible birdbath heater with a GFCI-protected outlet, or bring your dish bath inside and offer a heated commercial bath instead. A frozen dish bath is not a problem as long as it is empty: freeze damage happens when water left in an unprotected ceramic dish expands.
Quick ideas for broken or leftover dishes
If you have cracked or broken dishes left over from a build, do not throw them out. If you prefer an upcycling approach, see a step-by-step guide on how to make a bird bath out of plastic bottles. Broken dishes are the starting point for mosaic bird baths, where you adhere tile shards to the exterior of a concrete or terracotta base bath using waterproof tile adhesive and finish with waterproof unsanded grout. This is a genuinely beautiful result and a natural companion project to the builds above. For a related project, see a short guide on how to make a planter out of a bird bath. For more broken bird bath ideas, see a short gallery of mosaic and upcycle projects that show how to turn dish shards into decorative, weatherproof water-feature surfaces. The same broken-dish approach works for decorating the exterior of a stand, facing a concrete pedestal, or creating stepping stone surround for your bath area. If you like upcycling, see a step-by-step guide on how to make a bird bath from an old lamp for another creative reuse option. For more ideas on reusing or repurposing an old or broken bird bath, see how to repurpose a bird bath.
Dish-based builds also pair well with other material approaches. For step-by-step instructions on using a stump as the base, see how to make a tree stump bird bath. Glass vases can form the stand for a dish basin in the same way a terracotta pot does, and old lamp bases are another option for a more decorative pedestal. If you enjoy working with natural materials, a wide shallow dish set into the top of a shaped tree stump produces one of the most naturalistic bird baths available, since the stump base anchors itself and ages beautifully. Wood, plastic bottles, and other recycled materials each open up their own build routes for birders who want to keep experimenting.
FAQ
What are the safest dish types to use for bird baths and which should I avoid?
Best: unglazed terracotta/unglazed ceramic and rough stoneware (provide traction); food‑grade glass bowls and heavy stainless bowls (non reactive). Use clearly labeled food‑safe, lead‑free glazed dinnerware if glazed. Avoid: vintage or unknown glazed ceramics with possible lead/metallic glazes, low‑fired pottery, or very slick, thin glass that can break easily. If you must use decorative/vintage dishes, test with a commercial lead test kit or seal with an aquarium‑grade, potable‑water rated sealant per manufacturer instructions before adding water (EPA and FDA guidance warns about lead leaching).
Which adhesives and sealants are safe and durable for assembled dish bird baths?
Use products rated for continuous water exposure and outdoor freeze/thaw: neutral‑cure aquarium silicone (inert after full cure) for smaller jobs, marine epoxies (e.g., West System type resins) or marine/polyurethane sealants (e.g., Sikaflex family) for structural joints or permanent installations. 3M 5200 is rated for permanent underwater use but becomes essentially permanent. Always read the product TDS/SDS for cure time, temperature limits and potable‑water statements; allow full cure before filling and follow safety recommendations. Avoid quick adhesives not rated for water immersion or that contain biocides not intended for wildlife use.
What basic materials and tools should I have on hand for dish bird bath projects?
Basic materials: selected dish(es), simple pedestal/stand (plant saucer holder, short terracotta pot, sturdy jar, lamp base or paver), non‑toxic adhesive/sealant rated for water, silicone caulk gun, coarse sand or small stones (for slip resistance), rubber pads or non‑slip mat, exterior primer/sealer (if sealing porous stone), optional heater/solar dripper. Tools: drill with ceramic/glass bits (if drilling required), wire brush/scrub brush, measuring cup/ruler, gloves, rag, isopropyl alcohol for surface prep, level, and zip ties/wire for anchoring.
How deep should a dish bird bath be and what shape works best?
Aim for shallow, gently sloping depths: edges ~1 inch (2.5 cm) sloping to no more than 2 inches (5 cm) at the center, per Cornell Lab guidance. Wide, shallow saucers or plates are preferred over deep bowls because many birds bathe by wading and prefer shallow water; a textured or gently sloped bottom helps foothold.
Step‑by‑step: How to make a simple saucer‑on‑stand bird bath
Materials: heavy ceramic plant saucer (10–14"), sturdy terracotta pot or concrete paver, non‑slip pads, aquarium silicone. Steps: 1) Clean and dry saucer and stand. 2) Place non‑slip pads on stand to prevent sliding. 3) Center saucer on stand; apply bead of aquarium silicone under saucer lip if a permanent bond is desired. 4) Allow full cure per manufacturer directions (usually 24–72 hours). 5) Add a shallow layer of water (1–2" deep), place a few small stones in the saucer for footing. Safety: test stability, set on level ground or anchor. Maintenance: change water every 1–2 days in warm weather and scrub weekly.
Step‑by‑step: How to make a stacked / trimmed dishes bird bath (stable, decorative)
Materials: large shallow bowl or platter, smaller bowl to create slope, waterproof adhesive (marine epoxy or aquarium silicone), coarse sand or pebbles. Steps: 1) Clean and roughen bonding surfaces; wipe with alcohol. 2) Apply marine epoxy to the mating surfaces per TDS; assemble with smaller bowl sitting upside down in center of larger to create shallow rim and slope. 3) Fill gap with sand or pebbles to provide texture and drainage; seal any joints fully. 4) Cure fully before filling. Result: deeper center with shallow edges; add stones for perches. Note: epoxy cures stronger than silicone for vertically loaded stacks.
Next Articles
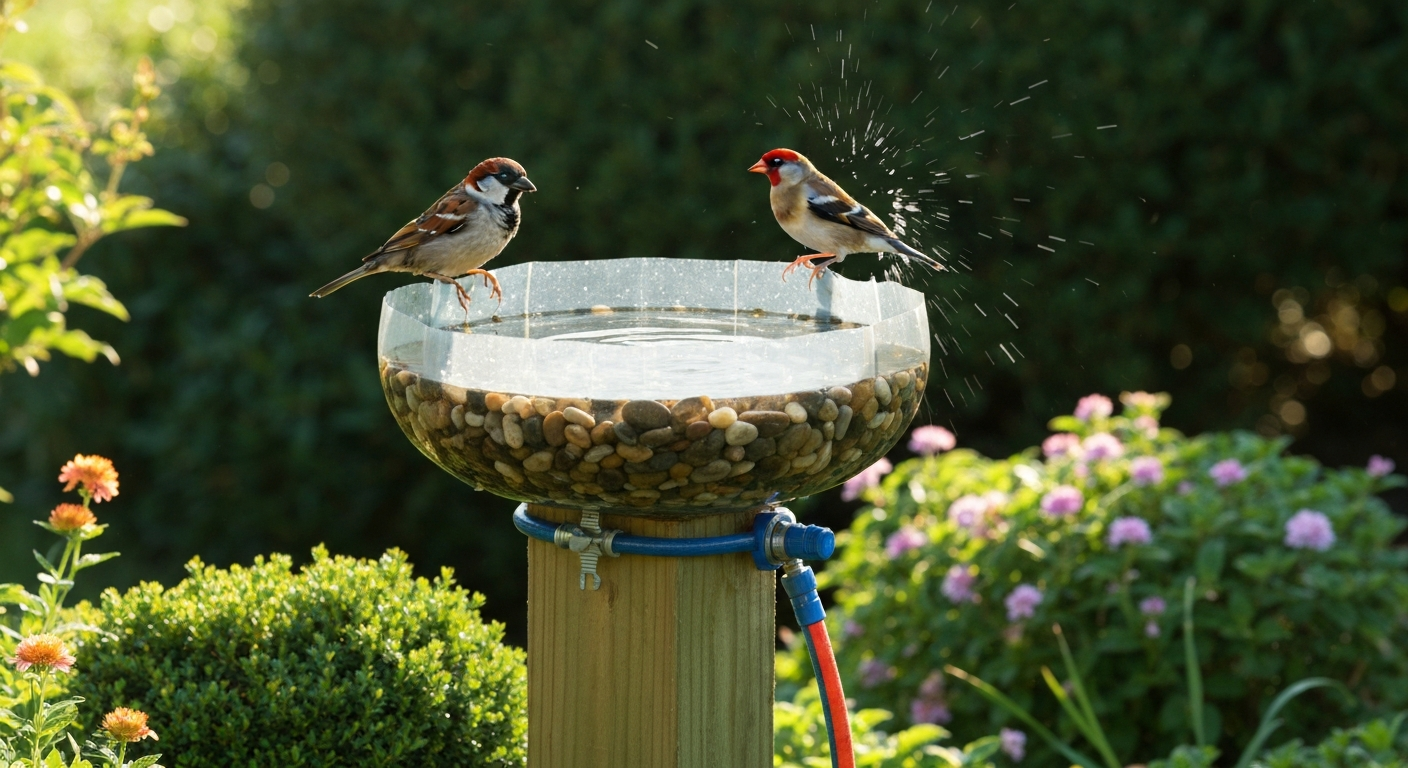
How to Make a Bird Bath Out of Plastic Bottles: DIY Guide
How to make a bird bath out of plastic bottles: step-by-step builds, materials, safety, maintenance, and costs.
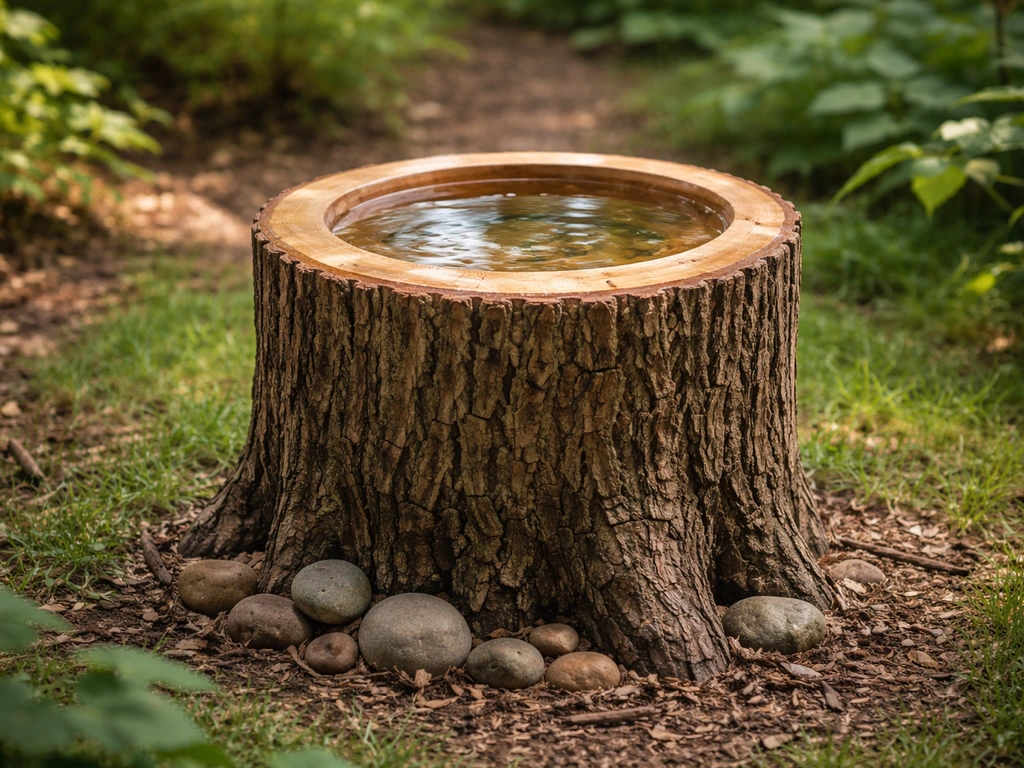
How to Make a Tree Stump Bird Bath Step by Step
Step-by-step DIY to turn a tree stump into a safe, durable bird bath with proper basin, drainage, sealing, and upkeep.
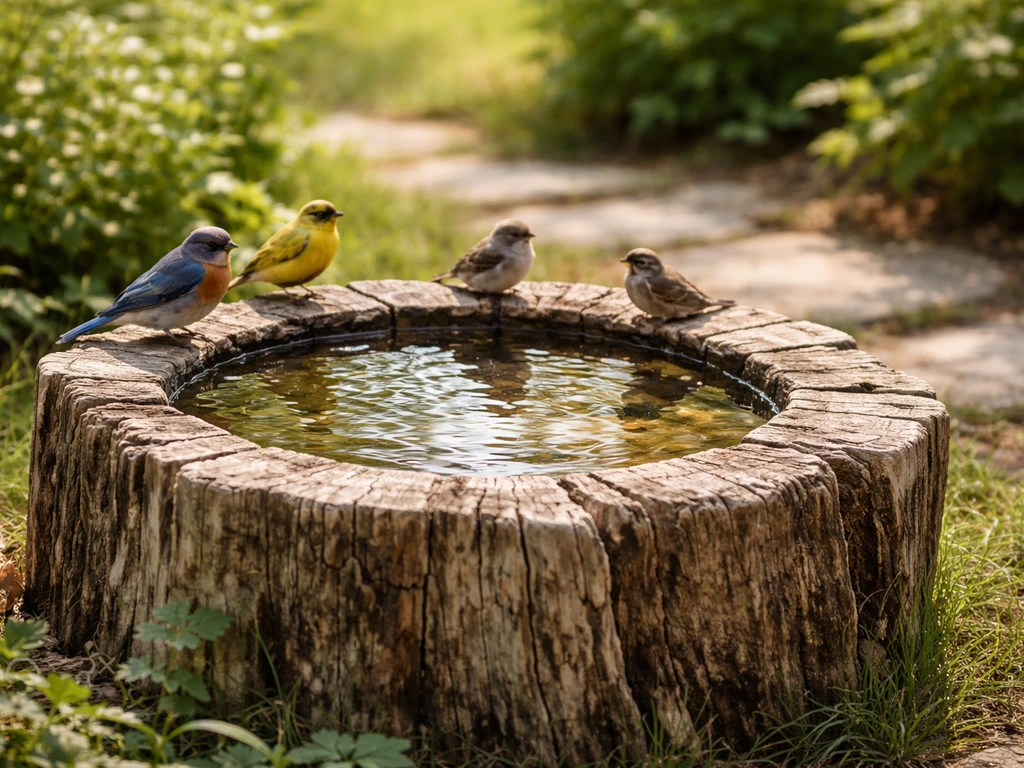
How to Make a Bird Bath From Wood: DIY Guide
Build a wooden bird bath step by step using reclaimed wood, with sealing, placement, algae control, and repair tips.