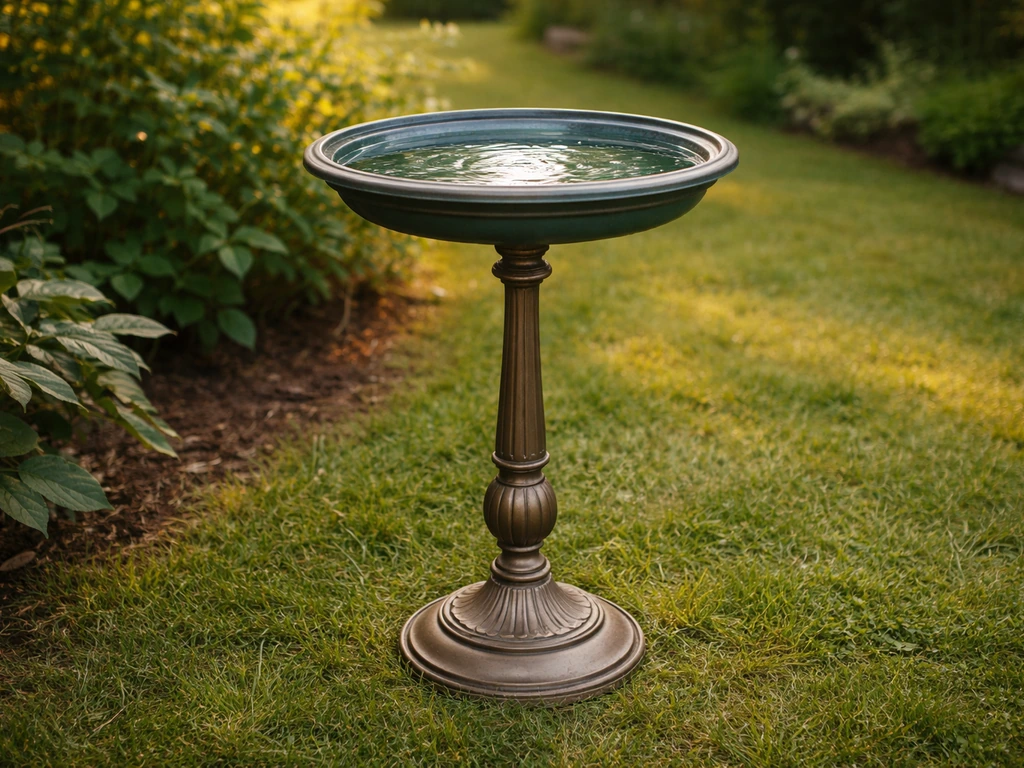
You can turn an old lamp into a fully functional bird bath in an afternoon. Strip the wiring, seal the basin with aquarium-grade silicone or epoxy, mount it securely, and you have a water feature that birds will actually use. The key steps are removing every electrical component safely, choosing a lamp with the right bowl shape, waterproofing properly, and placing it where birds feel safe enough to approach. Below is everything you need to get there.
How to Make a Bird Bath From an Old Lamp Step by Step

Marcus Henley
28 Jun 2026
Pick the right old lamp and parts to reuse
Not every old lamp converts well, so spend a few minutes evaluating what you have before you start pulling things apart. The two components you care about are the base (which becomes the pedestal) and some kind of dish or bowl at the top (which becomes the basin). Floor lamps and tall table lamps work best because they put the water at a useful height. Torchiere-style floor lamps are almost perfect candidates: the wide, upward-facing bowl at the top is already shaped like a bird bath basin.
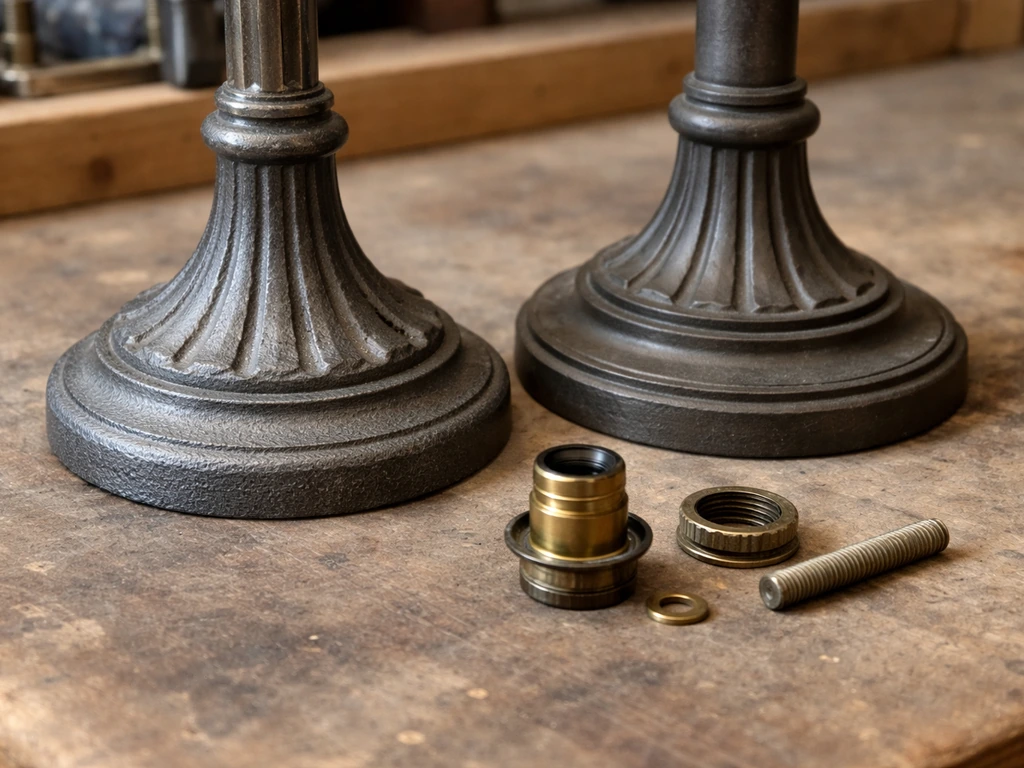
Metal lamp bases (steel or cast iron) are the most durable pedestal option, though they require rust treatment before you seal them. Ceramic or resin lamp bases also work well and skip the rust concern entirely. Avoid bases with wide horizontal flanges or decorative fins that will collect standing water and debris at ground level. For the basin itself, you need something roughly 12 to 18 inches across and no deeper than 2 inches at the center.
Audubon specifically recommends bird bath water no more than 2 inches deep, so if your lamp's built-in bowl is deeper than that, plan to fill the bottom with a layer of smooth river stones or hydraulic cement to bring the usable depth up to the 1 to 2 inch range.
If the lamp's original fixture doesn't include a usable bowl, you can repurpose the base as a pedestal and add a separate dish on top. A large glazed terracotta saucer, a glass mixing bowl, or a ceramic plant saucer all make excellent basins when secured to the top of the lamp stand. This is the same principle behind making bird baths from dishes or glass vases, and it gives you a lot of flexibility in the final look.
Tools, materials, and water-safety preparations
Gather everything before you start disassembly. Having the right materials on hand means you won't leave a half-stripped lamp sitting in the yard while you make hardware store runs.
- Flathead and Phillips screwdrivers
- Needle-nose pliers and wire cutters
- Adjustable wrench or channel-lock pliers
- Wire brush or coarse sandpaper (80 to 120 grit) for rust removal
- Rust converter (phosphoric-acid-based products like TotalBoat Rust Primer or Krud Kutter Rustex work well)
- Aquarium-grade 100% silicone sealant (DAP or similar; allow 48 hours before water contact)
- Pond-safe epoxy coating (Pond Shield or equivalent) as an alternative to silicone for metal basins
- EPDM pond liner or liner offcuts if you want a belt-and-suspenders waterproofing approach
- Smooth river stones or glass pebbles for depth adjustment
- Marine-grade or exterior spray paint if you plan to repaint the base
- Construction adhesive or epoxy putty for bonding a separate dish to the lamp top
- Exterior concrete or mortar mix if you want to pour a stable footing
- Rubber gloves and safety glasses for the rust converter and sealant steps
On water safety: the only sealants and coatings you should use in the basin are ones rated non-toxic once cured. Aquarium-grade silicone is the easiest option and widely available. DAP's 100% silicone reaches full cure in 24 hours but the manufacturer recommends waiting 48 hours before water contact, which is the standard I follow for bird baths too. Pond Shield epoxy is another solid choice, advertised as non-toxic to fish and plants once cured for at least 24 hours. Avoid standard construction caulk, latex paint, or any coating that isn't explicitly rated for water contact with aquatic life.
Step-by-step conversion: turning the lamp into a basin
Work through these steps in order. If you want a cheaper DIY version, you can also make a bird bath out of plastic bottles by cutting a basin shape and sealing it for water contact. Rushing the disassembly or skipping the cure time on sealants are the two most common mistakes.
- Unplug the lamp and cut the cord close to the base. Do not assume it's safe just because it's unplugged from the wall. The brass-colored terminal screw in the socket carries the hot wire, so treat the entire wiring assembly as live until it's physically removed.
- Remove the shade, bulb, and harp. Set them aside or dispose of them.
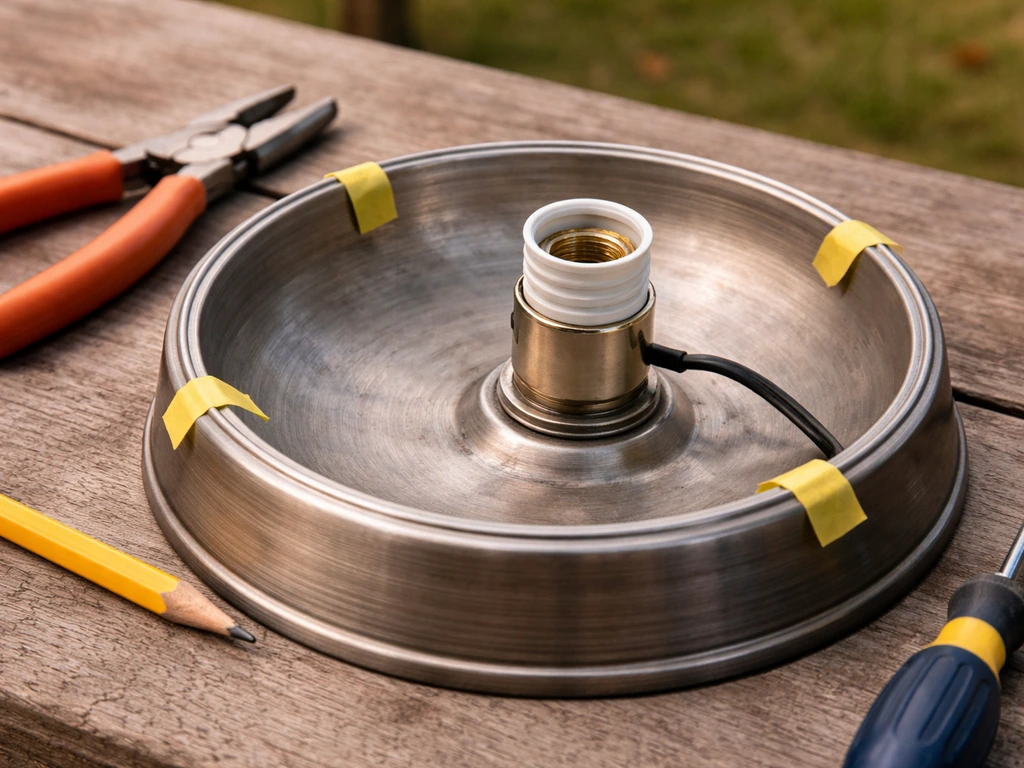
- Unscrew the socket shell. Most lamp sockets have a small slot or button at the base of the shell. Press it and the shell lifts off. Use a flathead screwdriver if it's stuck.
- Disconnect the wires from the socket terminals and pull the entire wire assembly out through the lamp column. On floor lamps, the wire runs through a hollow tube down the center of the stand. Feed it out from the bottom.
- Remove the socket cap (the piece that screwed into the lamp pipe at the top). At this point, all electrical components should be out.
- Cap or seal the hollow lamp pipe at the top. You can thread a pipe cap onto the nipple, or fill it with silicone. This stops water from draining straight down through the stand, which you don't want unless you've designed a drain path.
- Inspect the metal surfaces for rust. Wire-brush any loose rust off thoroughly. Apply your rust converter to bare metal per the product instructions. FERTAN, for example, needs at least 24 hours of reaction time at room temperature before you proceed. Don't skip this step on any metal that will sit outdoors in contact with water.
- If you're using a separate dish for the basin, attach it to the top of the lamp using two-part epoxy putty or construction adhesive. Let it cure fully before adding water.
- Clean the inside of the basin thoroughly with dish soap and rinse well to remove any oils, dust, or residue from the conversion process.
- Apply aquarium-grade silicone to the inside of the basin in a thin, even coat, paying special attention to any seams, cracks, or porous areas. Let it tack off (about 15 minutes), then allow the full 48-hour cure before adding water.
- Optionally, cut a piece of EPDM liner to fit the inside of the basin as an added waterproof layer, particularly if the basin is metal or has visible pitting. Press it smooth and seal the edges with silicone.
- Add a thin layer of smooth river stones or glass pebbles to the basin floor. This brings overly deep basins up to the 1 to 2 inch depth sweet spot, gives birds better footing, and makes the bath look more natural.
Sealing, waterproofing, and rust/electrical hazard prevention
The wiring removal step is non-negotiable. Even a disconnected lamp socket holds moisture and corroded metal that can leach contaminants into the water above it. Once the wire is out, seal the hollow pipe completely so water and insects can't enter the lamp stand from the top.
For rust prevention on metal bases, the blank" rel="noopener noreferrer">phosphoric-acid approach works well but needs to be done right. Brush off all loose rust before applying any converter. Products like TotalBoat Rust Primer and Krud Kutter Rustex convert iron oxide into a stable ferric phosphate layer, but they can leave residual acid on the surface if you rush. Follow the product instructions on drying time, then apply a coat of exterior primer and paint before the stand is exposed to outdoor moisture. If you skip the paint layer and rely on rust converter alone, you risk re-rusting within a single wet season.
For the basin specifically, aquarium-grade silicone is your best friend. It's flexible, bonds well to glass, ceramic, and metal, and is genuinely non-toxic once cured. Apply it to any joint, seam, or crack inside the basin. If your basin is bare metal (like the original reflector bowl from a torchiere lamp), coat the entire interior with Pond Shield epoxy or a similar pond-safe coating rather than relying on silicone alone. Two thin coats work better than one thick coat.
Placement for birds: height, sun/shade, and visibility
Where you put the bath matters as much as how you build it. A well-placed bird bath gets used within days; a poorly placed one sits ignored for weeks.
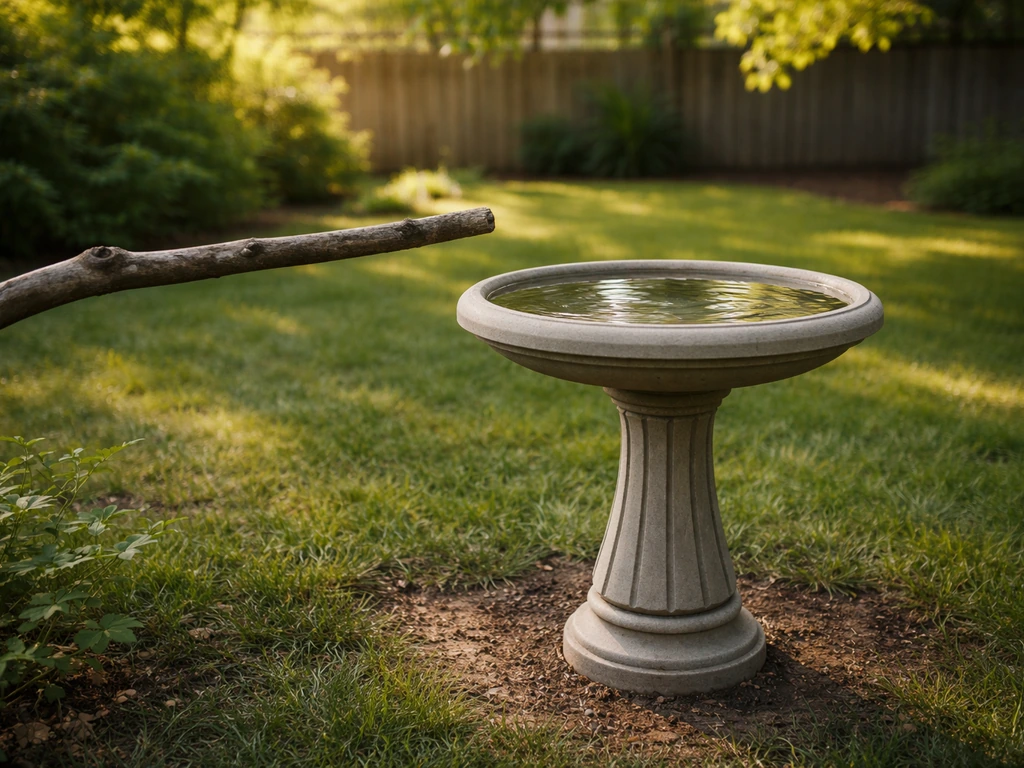
Height: most pedestal bird baths sit 24 to 36 inches off the ground, which is the traditional range that works for the majority of backyard songbirds like finches, sparrows, and wrens. If you are wondering how to make bird baths from dishes, you can use the same depth and water-safety principles when choosing the basin and setting it on a stable pedestal. Floor lamp conversions often land right in this zone naturally. Ground-level birds (robins, thrushes, towhees) will use lower baths, but a lamp base gives you a fixed height, so aim for that 24 to 36 inch sweet spot and don't worry too much about it.
Safety zone: birds won't use a bath where they feel exposed. Place the bath roughly 6 to 10 feet away from dense shrubs or brush piles so birds have clear sightlines and can spot approaching cats or hawks. That said, you want some cover nearby, not right on top of the bath. A nearby shrub or small tree 10 feet away gives birds a place to perch and preen after bathing.
Sun and shade: partial shade is the practical sweet spot. Full sun heats water fast, encourages algae growth, and means you're topping off constantly. Full shade keeps water cooler but can feel too enclosed for wary birds. A spot that gets morning sun and afternoon shade is ideal in most climates. In hot regions, lean toward more shade to reduce evaporation.
Visibility from inside the house is a personal preference, but since you built this thing yourself, you probably want to watch birds use it. A line of sight from a window you regularly look through is worth factoring in.
Installation and stability, plus filling and drainage tips
A lamp base repurposed as a bird bath pedestal is often top-heavy, especially with a large bowl of water sitting on it. Don't skip the stability step. The simplest approach is to place the lamp base on a flat paver or stepping stone and run a metal stake or rebar through the hollow center pipe into the ground below. If the center pipe is plugged, you can stake around the outside of the base with landscape staples or wire it to a nearby fence post.
For a more permanent installation, mix a small batch of quick-set concrete, pour it into a dug hole at the placement spot, and set the lamp base into the concrete before it sets. This takes about 20 to 30 minutes to rough-set and is extremely effective. Just make sure you're happy with the position before it cures.
Drainage: most DIY lamp baths won't have a built-in drain, which is fine. The practical approach is simply to dump and refill rather than drain in place. A small bird bath basin holds only a gallon or two of water, so tipping it to empty is easy. If you've secured the basin permanently and can't tip it, use a turkey baster or small pump to empty it during cleaning.
Fill the basin to 1 to 2 inches of water. After you build the pedestal and basin, follow a simple routine for filling, cleaning, and keeping water at the right depth for birds fill the basin to 1 to 2 inches. That's the right depth for most backyard birds, who splash and dip rather than fully submerge. Small songbirds like finches and wrens are comfortable with as little as half an inch near the rim. The river stones you added during assembly naturally create a shallow shelf at one end, which birds tend to prefer when they're nervous about the depth.
Maintenance: cleaning, algae control, and mosquito prevention
This is where a lot of DIY bird baths get abandoned. The build is the fun part, but the maintenance is what keeps birds coming back and keeps the water safe. The good news is that a simple weekly routine handles most problems.
Mosquitoes are the most urgent concern. Standing water in warm weather can have mosquito larvae within five days. The CDC recommends emptying and scrubbing bird baths at least once a week to break the breeding cycle. The critical word is empty, not top off. Topping off adds fresh water but leaves larvae already present. Dump the whole basin, give it a quick scrub with a stiff brush, and refill with fresh water. That weekly reset is your best defense.
Algae builds up faster in warm, sunny conditions. A weekly scrub with a stiff nylon brush (no soap, just water and mechanical action) removes algae before it establishes. If algae keeps coming back aggressively, move the bath to a slightly shadier spot or add a solar-powered wiggler or small fountain pump to keep the water moving. Still water is what algae and mosquitoes both need, so any gentle circulation helps both problems at once.
Deep cleaning every 2 to 4 weeks with a diluted white vinegar solution (one part vinegar to nine parts water) removes mineral stains and stubborn algae without harming birds. Rinse thoroughly after any vinegar wash before refilling. Never use bleach in a bird bath unless you're doing a complete disinfection and rinsing multiple times with a very long dry period before refilling.
Seasonal troubleshooting: freezing, weatherproofing, and durability
If you're in a climate that gets hard freezes, the biggest threat to your lamp bird bath is ice expansion cracking the basin or the sealant. Water expands roughly 9% when it freezes, which is enough to crack ceramic, split cast iron seams, and pop silicone away from metal surfaces.
The simplest cold-weather approach is to add a submersible bird bath heater or de-icer in late fall. These run on 50 to 150 watts and keep a small area of water ice-free even in hard freezes, which actually makes your lamp bath more valuable to birds in winter than in summer. Make sure the power cord is safely routed away from standing water and protected with an outdoor-rated GFCI outlet.
If you don't want to run electricity, the low-effort option is to drain the basin before the first hard freeze and store the lamp base somewhere protected, or simply remove the basin portion and bring it inside. A lamp base that's been properly rust-treated and painted can stay outdoors through winter, but the basin (especially if it's ceramic or glass) should come inside to avoid freeze-cracking.
At the start of each spring, inspect the sealant inside the basin for cracks or peeling. Silicone doesn't last forever outdoors, especially through freeze-thaw cycles. Reapply aquarium-grade silicone to any areas where the old coat has lifted or cracked, and let it cure fully before refilling. Check the rust treatment on the metal base too, and touch up any spots where the paint or converter layer has worn through. Doing this annually takes about 20 minutes and prevents serious corrosion from building up over multiple seasons.
In hot, dry climates the opposite problem applies: evaporation can drop a shallow basin to near-empty within a day or two in July or August. Partial shade placement helps significantly, as does adding a layer of flat stones across the bottom, which slows evaporation slightly. Just check the water level every day in peak heat rather than assuming it's fine from a weekly top-off.
Quick tips for getting birds to actually use it
New bird baths can take a week or two to get discovered. A few things speed that up. Place the bath near existing bird feeders or perching spots so birds who already visit your yard encounter it naturally. Add a solar-powered dripper or fountain attachment so the sound of moving water attracts birds from a distance. Drop a few natural-looking stones or a small branch into the water to give hesitant birds a reference point for the depth. Keep the basin visually open and free of debris so it doesn't look like a hazard to approaching birds.
If you enjoy this kind of upcycling project, the same principles apply to other materials. You can make similar DIY baths from stacked glass vases, old wooden furniture, ceramic dishes, or tree stumps, each with its own waterproofing and stability considerations. Once you understand the basics in this guide, you can reuse other items too, which is the core idea behind how to repurpose a bird bath. The lamp approach is particularly satisfying because the pedestal is already built in and the proportions are usually just right for a backyard bath.
FAQ
Can I use regular outdoor caulk or epoxy anywhere in the lamp bird bath?
For the basin interior, only use products that are explicitly non-toxic after curing and safe for aquatic life. Even “waterproof” caulk can break down faster than you expect outdoors, so if it is not rated for contact with fish or birds, skip it. You can sometimes use other sealants on the pedestal outside the water line, but avoid any chance they will touch basin water.
My lamp has a glass or metal bowl, but it has scratches inside. Do I need to coat or replace it?
Coating over scratches is usually fine if the surface is solid and you can achieve a full, continuous seal. If rust has pitted the metal or the glass is crazed (hairline cracks), coatings may not prevent leaks or eventual failure. In those cases, replace the basin or choose a different lamp so you start with an intact bowl.
How deep should the water be if I want both finches and larger birds?
Use 1 to 2 inches near the rim as your default, then consider creating a shallow gradient. Adding a small shelf of smooth stones works well, since smaller birds will dip near the edge while larger birds can wade more comfortably. Avoid going much deeper because lamp baths often sit at a fixed height that encourages full submersion attempts.
Do I need to drill holes for drainage to prevent stagnant water?
You do not need a drain if you can easily empty and refill, which is the standard approach. Drilling holes can be tricky because it can compromise the basin seal, and most lamp bowls were not designed for underside plumbing. If you cannot tip the basin, use a small pump or turkey baster during weekly cleaning instead of drilling.
How can I keep mosquitoes away without changing the water too often?
The most effective habit is weekly emptying and scrubbing, do not rely on topping off. If you want an extra layer of defense, add gentle circulation using a solar wiggler or a small pump, but still do the weekly dump and scrub since algae and larvae can persist in slow-moving water.
Will birds splash out the water, and how do I protect the ground?
Yes, splash is normal, especially with shallow water and “dip” behavior. Place the pedestal on pavers or compacted gravel so runoff does not erode soil and undermine the stake or concrete base. Also keep the bird bath away from sensitive mulch beds if you do not want soggy spots forming around the pedestal.
Is it safe to add stones or sand in the bottom to control depth?
Smooth river stones are the safest choice for creating a shallow shelf and reducing frightening depth. Avoid sharp rocks, gravel with sharp edges, or anything that can trap debris and be hard to scrub. Keep stones loose enough to remove during cleaning, or plan for a good way to rinse them thoroughly.
What should I do if the sealant smells strongly after curing?
If there is still an obvious odor or the material feels tacky, do not fill and use it yet. Extend the cure time beyond the label guidance and keep the basin dry and ventilated. Only proceed once the sealant has fully cured and there is no lingering chemical smell.
Can I paint the pedestal or metal parts to prevent rust, and will that affect the birds?
Painting the parts above the water line is usually safe as long as you use exterior paint rated for outdoor use and let it cure fully. Do not paint inside the basin unless the product is specifically safe for water contact after curing, and do not rely on paint alone if the metal will be submerged.
How do I secure a top-heavy lamp base if the center pipe is blocked?
If you cannot stake through the center, stake around the outside using landscape staples, or tether the base to something solid like a nearby fence post. Another option is to set the whole base into quick-set concrete at the chosen location, which reduces the wobble risk during bird landings.
What signs tell me the basin seal is failing before it leaks?
Look for water weeping at seams, growing gaps around silicone edges, or corrosion starting under a joint. During cleaning, wipe the inside and run your fingers along seams, if you feel lifting or peeling, reseal those areas and let it cure before refilling.
How can I make the lamp bird bath easier for shy birds to use?
Reduce “surprise” by placing it within sight of existing feeders or near a known perching spot. Add a small branch or a few natural-looking stones for a reference point, and keep the basin visually open with minimal debris. Moving it to partial shade can also help because cooler water is less likely to look like a hazard in hot weather.
Next Articles
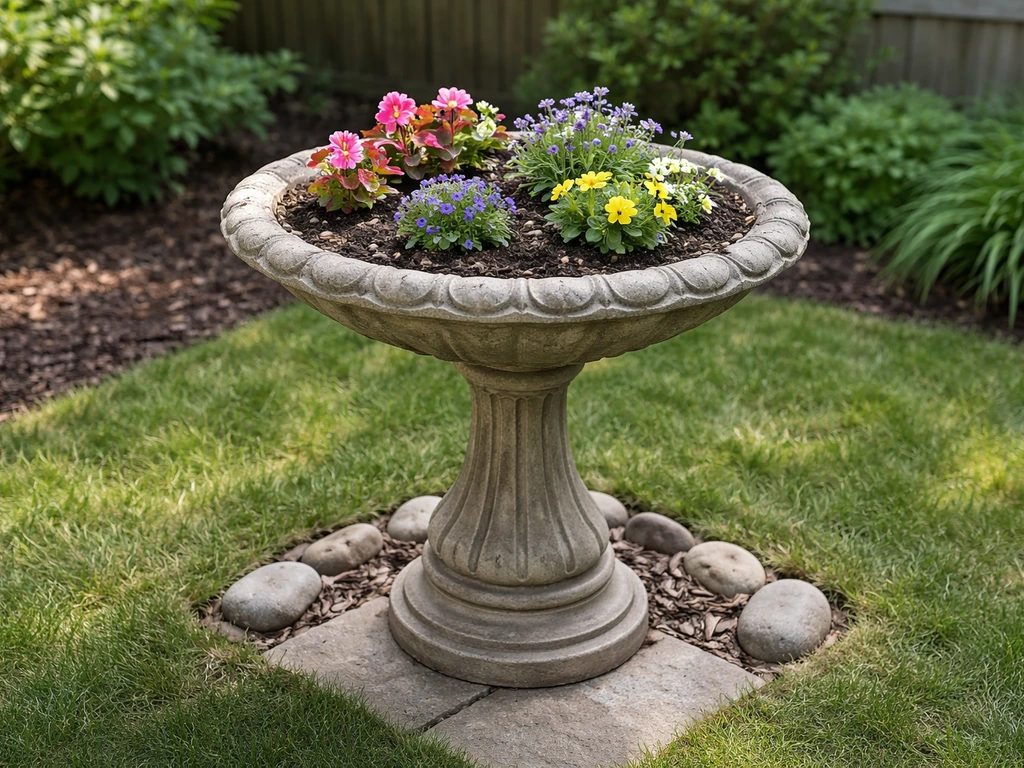
How to Make a Planter Out of a Bird Bath Step by Step
Step-by-step guide to turn a bird bath into a drainage planter using liners, safe soil, and bird-friendly placement.
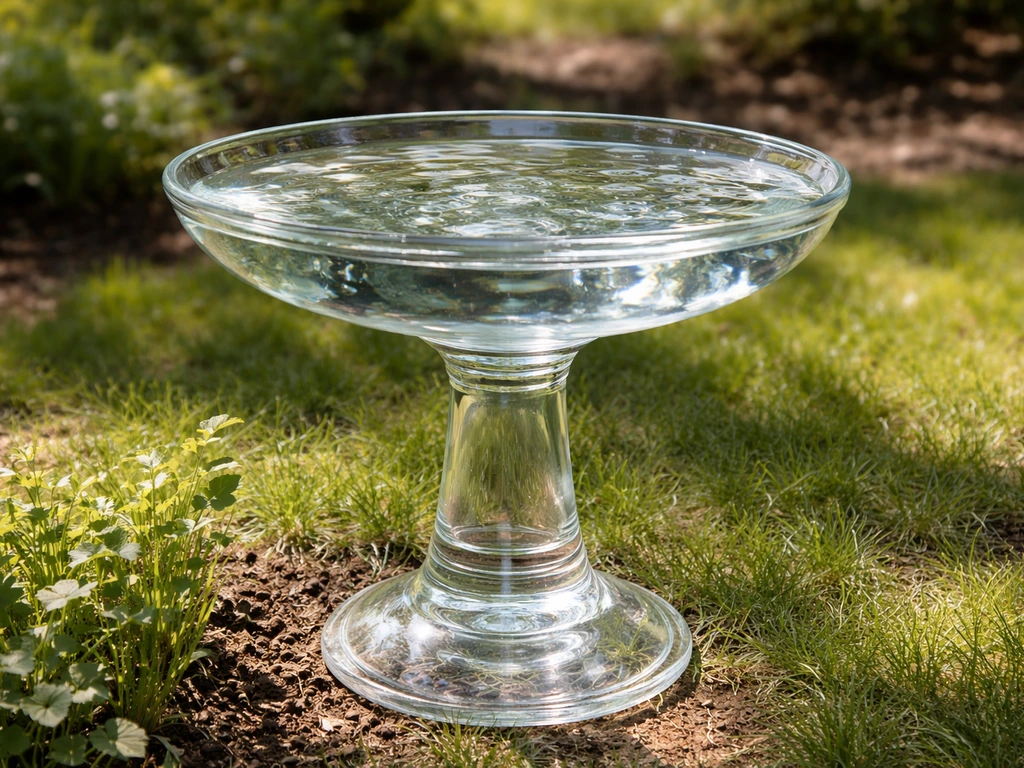
How to Make a Bird Bath From Glass Vases
DIY guide to make a glass bird bath from vases with safe sealing, stable base tips, and care to prevent algae and freezi
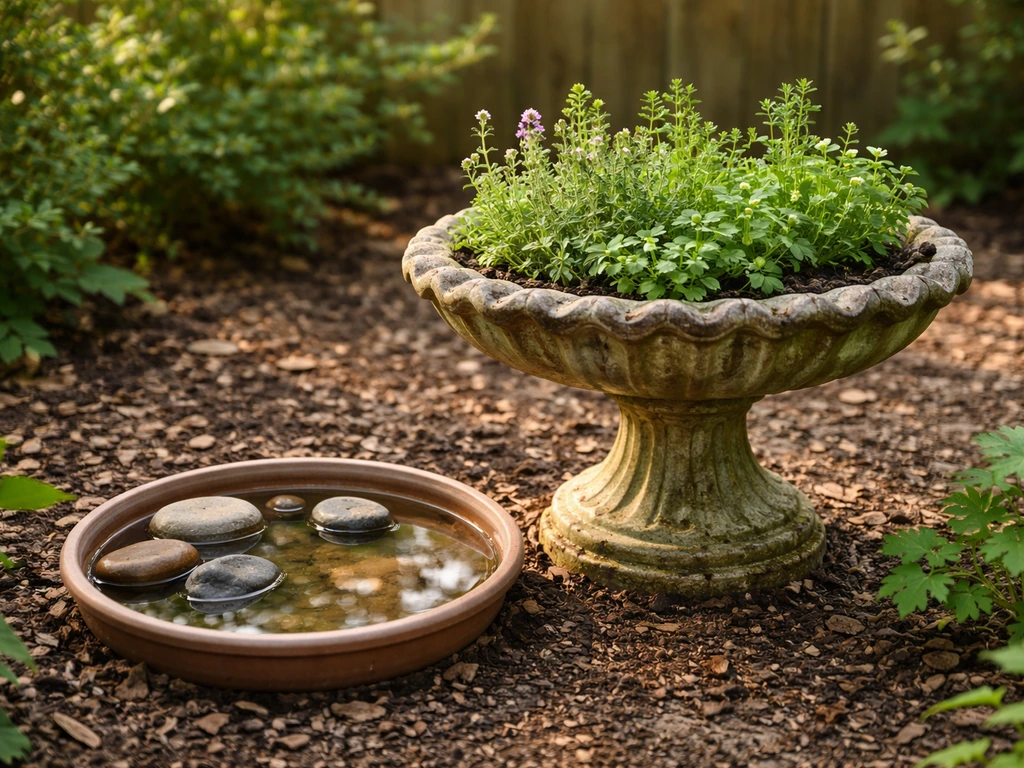
How to Repurpose a Bird Bath: Easy Options and Steps
Step-by-step ways to repurpose an old bird bath into planters or wildlife water features, with cleaning and setup tips.