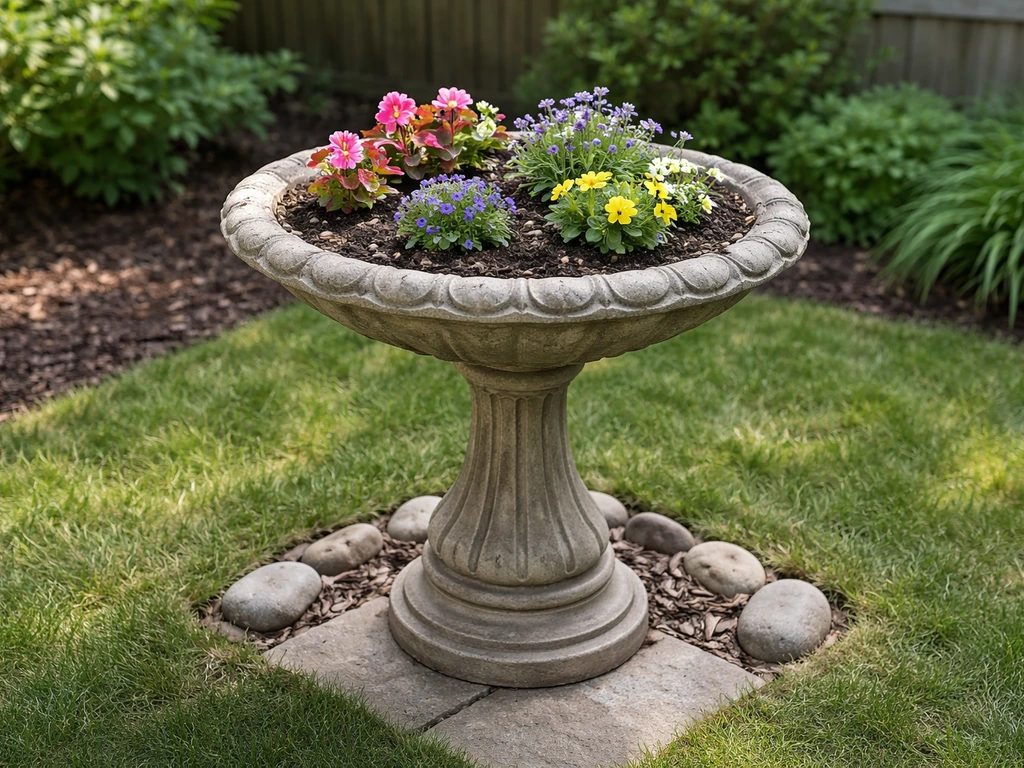
You can turn almost any bird bath into a planter in an afternoon. The core steps are: drill drainage holes in the basin, seal any cracks (or add a liner if needed), fill with a quality potting mix, and plant. The trickiest part is drainage. Get that right and the rest is straightforward. Here's exactly how to do it, from picking the right bird bath to keeping the finished planter healthy long-term. If you are starting from scratch, you can also make a bird bath from wood by building a simple basin, sealing it, and making sure it drains properly.
How to Make a Planter Out of a Bird Bath Step by Step

Marcus Henley
17 Jun 2026
Choosing the right bird bath to convert
Not every bird bath makes an equally good planter, and the material matters a lot for how you'll prep it. If you are wondering how to make a tree stump bird bath, you can use the same drainage, waterproofing, and plant-soil choices so the planter stays healthy and doesn't rot bird bath planter. Here's a quick breakdown of the three most common types:
| Material | Drainage hole difficulty | Sealing needed? | Freeze-thaw risk | Best for |
|---|---|---|---|---|
| Concrete | Easy with masonry bit | Yes — seal with concrete sealant | Moderate (thick walls handle it better) | Perennials, succulents, herbs |
| Ceramic / terra-cotta | Tricky — high crack risk | Usually not needed if glazed | High — can crack and spall | Annuals, seasonal plantings |
| Metal (cast iron, galvanized) | Moderate — use a metal drill bit | Rust-proof interior with spray sealant | Low — expands/contracts but holds up | Succulents, drought-tolerant plants |
A concrete bird bath is the most forgiving to convert. If you are wondering how to make a bird bath from an old lamp, start by choosing a sturdy lamp base and mounting a shallow, waterproof basin on top. The basin is deep enough to give roots decent room, and concrete drills well with the right bit. A ceramic or glazed pedestal bath looks beautiful as a planter but requires a gentler drilling approach and more caution in cold climates, since freeze-thaw cycles can crack the basin. If yours has a hairline crack already, you can use a rubber pond liner inside the basin instead of drilling at all. Metal bird baths are underrated for this project. They drain well once drilled, they won't rot, and they add a nice industrial or rustic look depending on the finish.
The one thing to check regardless of material is basin depth. When you are also thinking about how to make bird baths from dishes, basin depth is still the key factor for keeping the water usable and bird-friendly. Aim for at least 6 inches of usable depth once you account for a drainage layer at the bottom. Eight inches is better if you want to grow anything beyond shallow-rooted annuals or succulents. Most standard pedestal bird baths have basins that are 3 to 5 inches deep at the center, which is workable but tight. Wall-mounted or large freestanding concrete baths with deeper bowls are ideal.
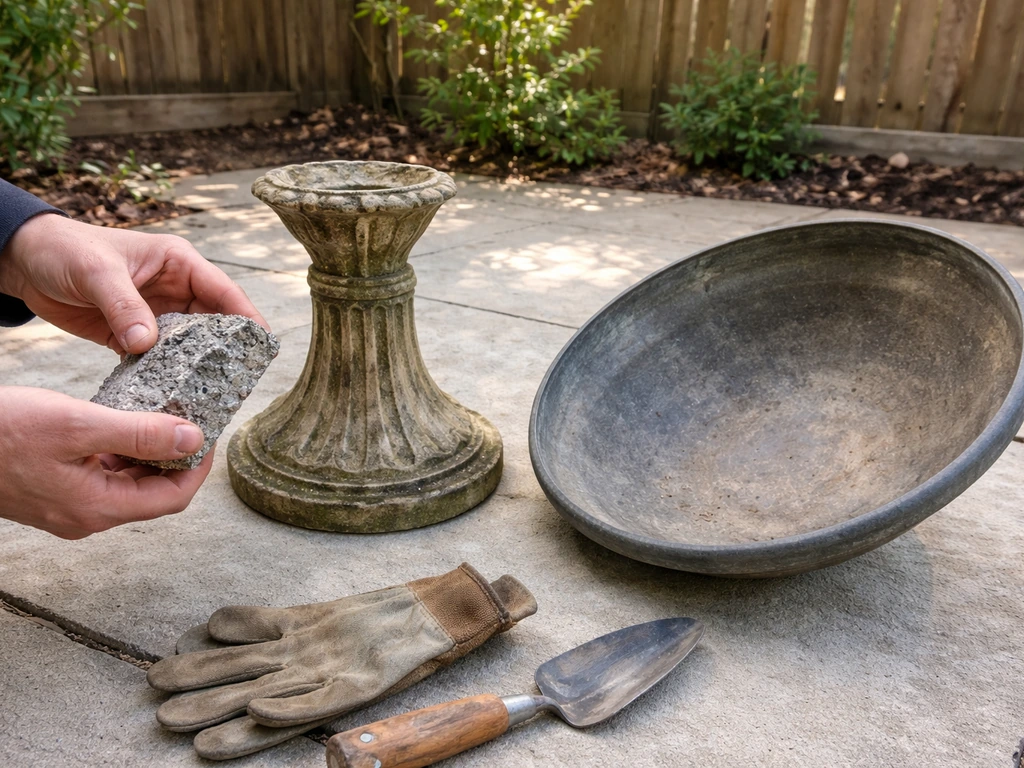
Tools and materials you'll need
Gather everything before you start. If you are starting from scratch, you can also follow a plastic bottle bird bath plan to build a shallow basin and drainage setup. Having to stop mid-project because you're missing a drill bit is frustrating, and some steps (like sealing) need uninterrupted drying time.
- Drill with a masonry bit (for concrete), diamond-tipped bit (for ceramic/glazed), or standard metal bit (for metal baths)
- Quarter-inch drill bit as your primary size for drainage holes
- Painter's tape (for ceramic — reduces crack risk while drilling)
- Concrete sealant or pond-safe epoxy sealer (for concrete baths)
- Rust-inhibiting spray sealant (for metal baths)
- Rubber pond liner or heavy-duty landscape fabric (optional but useful for cracked or porous baths)
- Coarse gravel or pot shards for a drainage layer
- High-quality potting mix (not garden soil)
- Perlite or vermiculite to amend the potting mix if needed
- Safety glasses and work gloves
- Spray bottle of water (for keeping ceramic cool while drilling)
- Waterproof marker to mark your drill points
Drainage and waterproofing so it doesn't rot or flood
blank" rel="noopener noreferrer">Poor drainage is the number one reason container gardens fail. UNH Extension also notes that poor drainage frequently causes container gardening failure. A bird bath basin that holds water for birds will absolutely drown plant roots if you don't fix the drainage before you plant. This section is worth doing carefully.
Drilling the drainage holes
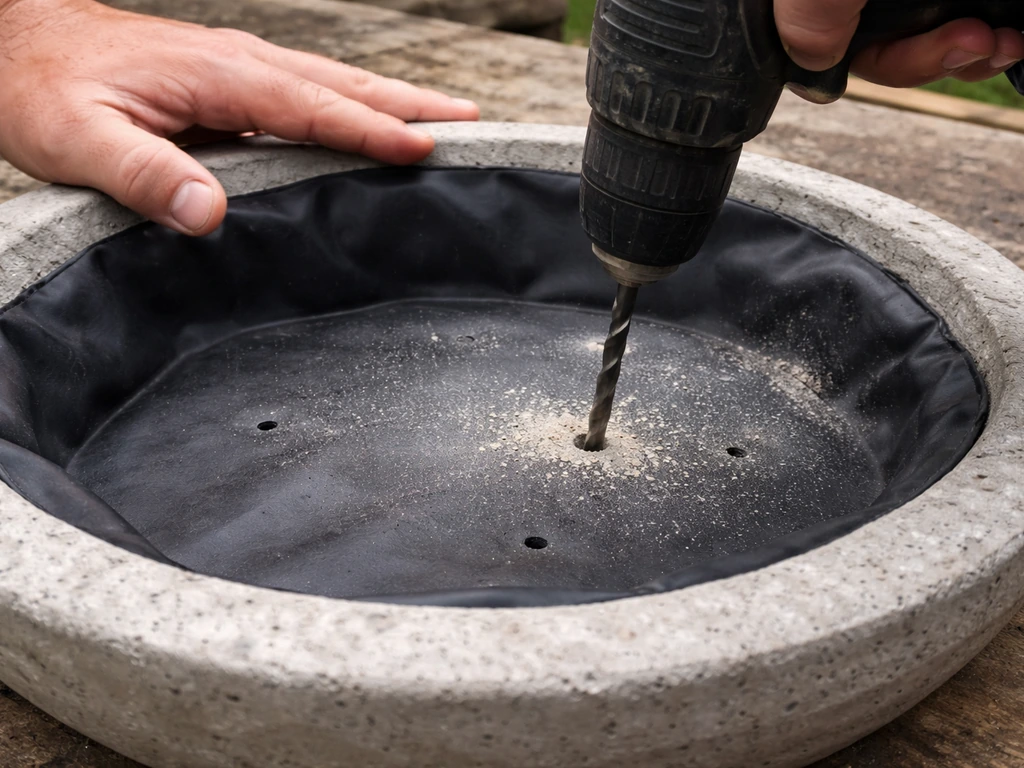
The target is multiple quarter-inch holes spaced every 2 to 3 inches across the lowest point of the basin, not a single large hole. Multiple small holes distribute drainage more evenly and reduce the chance of any one hole clogging. For most standard bird bath bowls, four to six holes across the bottom is plenty.
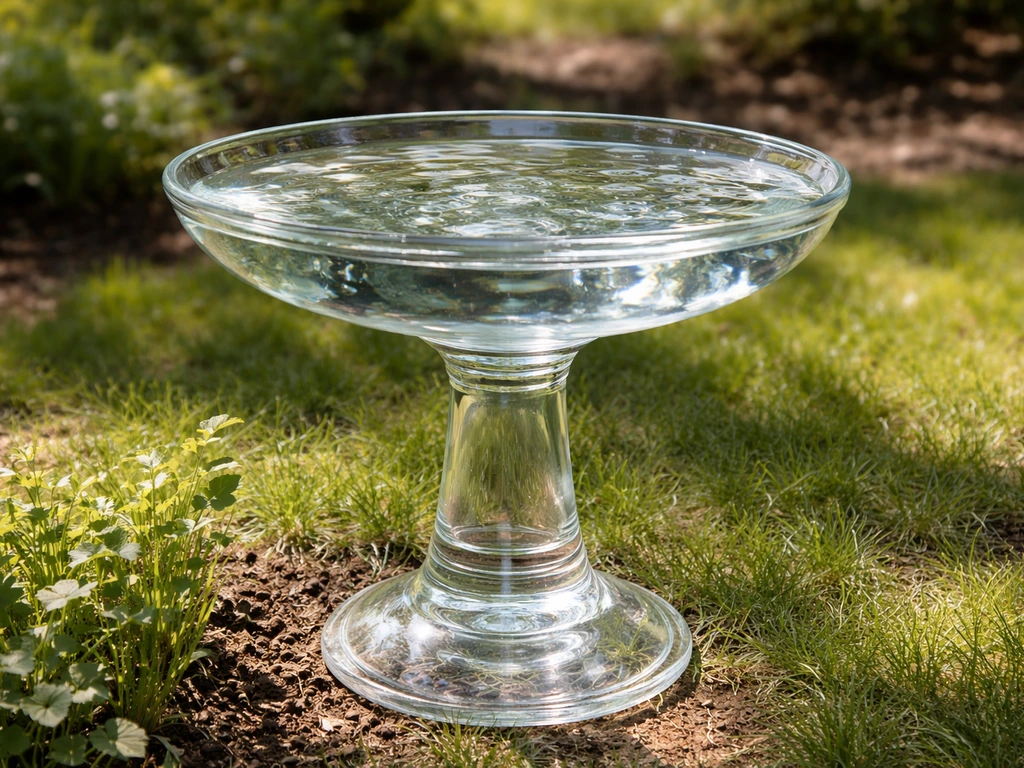
For concrete: use a masonry bit, go slow, and keep the drill at low speed with steady pressure. Concrete dust is fine, so work outside and wear safety glasses. For ceramic or glazed baths: this is where people run into trouble. If you are starting with glass vases, the same planter principles apply, but you may need different drilling and sealing steps to keep everything water-safe. Place a strip of painter's tape over each drill point, start at the lowest drill speed possible, and keep the surface wet with a spray bottle as you drill. The water reduces heat buildup that can crack the glaze. Let the bit do the work rather than pushing hard. If you hear a high-pitched ping sound, ease off immediately. For metal: a standard HSS metal drill bit works fine. Clamp the basin if it can be moved, or brace it securely, and use cutting oil if you have it to extend bit life.
Sealing concrete and metal (skip this for ceramic)
If your concrete bird bath is new or freshly cleaned, wait at least 28 days after any concrete patching before sealing, since concrete needs that time to fully cure. For older baths in good shape, a concrete sealant like DAP Silicone Plus is a solid choice. It becomes water resistant in about 30 minutes and reaches full cure in 24 hours under normal conditions, but let it cure fully before you add soil or water. Sealing protects the concrete from repeated wet-dry cycles that degrade it over time and also prevents moisture from wicking into the pedestal below.
For metal baths, spray the interior with a rust-inhibiting sealant or a pond-safe paint before planting. Galvanized metal in particular can leach zinc over time, which isn't ideal for plants or soil organisms. A coat of sealant inside the basin solves this cleanly.
Using a liner instead of drilling (or in addition to it)
If your basin has a hairline crack, is a material you don't want to risk drilling (antique ceramic, for example), or if you simply want a belt-and-suspenders approach, a rubber pond liner cut to fit inside the basin is a great option. Line the inside, fold the edges down neatly, and then poke drainage holes through the liner itself at the lowest points with a sharp awl or screwdriver. If you do use a liner, consider placing a layer of protective landscape fabric between the liner and the gravel layer so sharp stones don't puncture it over time.
Step-by-step conversion process
- Assess the basin: check depth, condition, and material. Note any cracks, rust spots, or areas of flaking. Decide whether you'll drill directly or use a liner.
- Clean the basin thoroughly: scrub out algae, mineral deposits, and old debris. A diluted white vinegar rinse works well for most surfaces. Let it dry completely before sealing or drilling.
- Mark your drainage hole positions: use a waterproof marker to mark four to six evenly spaced points across the lowest area of the basin floor.
- Drill the drainage holes using the technique appropriate for your material (see the drilling section above). Take your time, especially with ceramic.
- Seal the interior if needed: apply concrete sealant or rust-inhibiting spray to the basin interior and let it cure fully — at least 24 hours before proceeding.
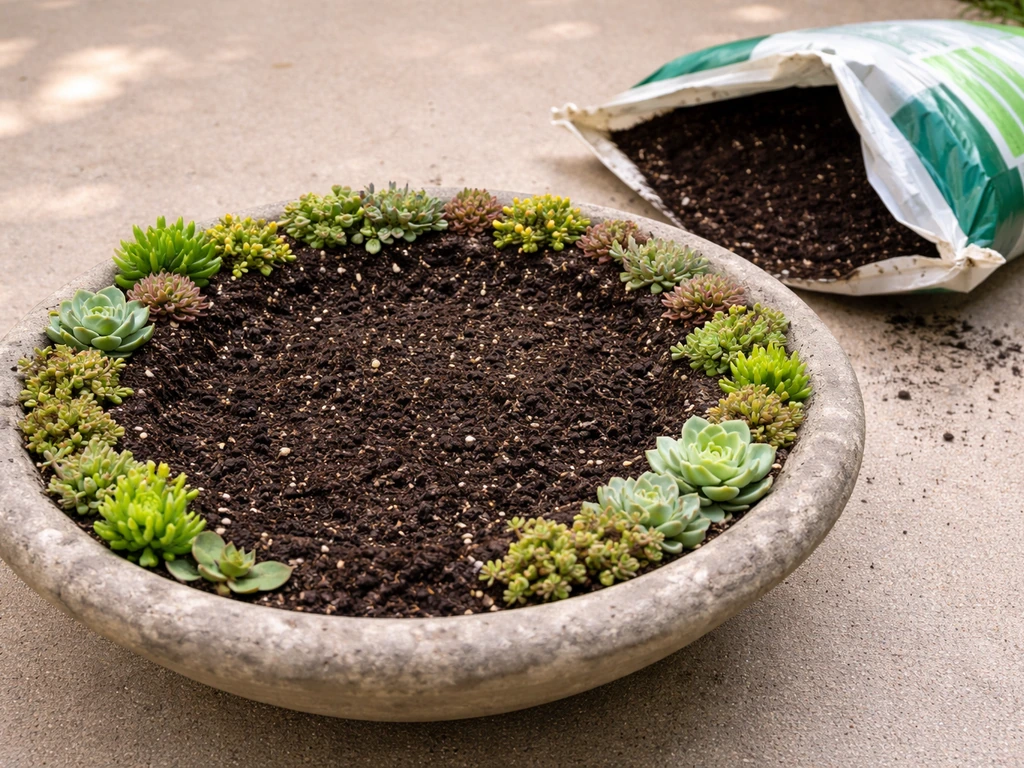
- Add the drainage layer: place a 1-inch layer of coarse gravel, pot shards, or pea gravel over the drainage holes. This prevents potting mix from washing down and clogging the holes.
- Fill with potting mix: add your chosen potting mix, leaving about an inch of space below the basin rim so water doesn't run straight off during watering.
- Plant and water in: set your plants, firm the soil gently around roots, and water slowly until water runs from the drainage holes. This confirms your drainage is working.
- Position the finished planter and do a final check that it's stable on the pedestal and won't tip in wind or when bumped.
Plant and soil selection for a bird-bath planter
Always use potting mix, not garden soil
Garden soil by itself in a container is a recipe for failure. It compacts, drains poorly, and suffocates roots in the confined space of a basin. Use a quality bagged potting mix instead, these are soilless blends built from ingredients like peat moss, coir, perlite, vermiculite, and compost that hold moisture without waterlogging. If your basin is on the shallow side (under 6 inches), mix in an extra handful of perlite per gallon of potting mix to boost drainage and aeration further.
Choosing plants that fit the space
Bird bath basins are typically wide and relatively shallow, which shapes your plant choices. Shallow-rooted plants work best. Succulents and sedums are almost perfect for this use: they love good drainage, tolerate the shallow depth, and look great in a stone or concrete basin. Herbs like thyme, oregano, and basil work well too, especially if the planter gets good sun. For a more ornamental look, trailing annuals like calibrachoa, bacopa, or sweet potato vine fill out the basin nicely and spill over the edge attractively.
If you have pets that access the yard, take a moment to cross-check your plant choices against the ASPCA's toxic plant database before you plant. Some popular choices like azaleas and foxglove are genuinely harmful to dogs and cats, and a bird bath planter sits at an inviting height for curious animals.
For a deeper basin (8 inches or more), you can expand into small perennials, compact ornamental grasses, or even a dwarf shrub as a centerpiece with trailing annuals around the edges. The key is avoiding plants with aggressive taproots or large root systems that will quickly outgrow the container.
Placement for sun, birds, and easy maintenance
Where you put the planter affects plant health, maintenance effort, and whether birds still interact with it. For more broken bird bath ideas, focus on how to choose a basin, improve drainage, and select plants that match the space bird-bath planter. Most flowering plants and herbs need at least 6 hours of direct sun, so a location that was already sunny enough for a bird bath is usually a good fit. If your bird bath was in a shaded spot (which actually works great for birds), you'll need to adjust plant selection toward shade-tolerant options like impatiens, ferns, or hostas rather than sun-lovers.
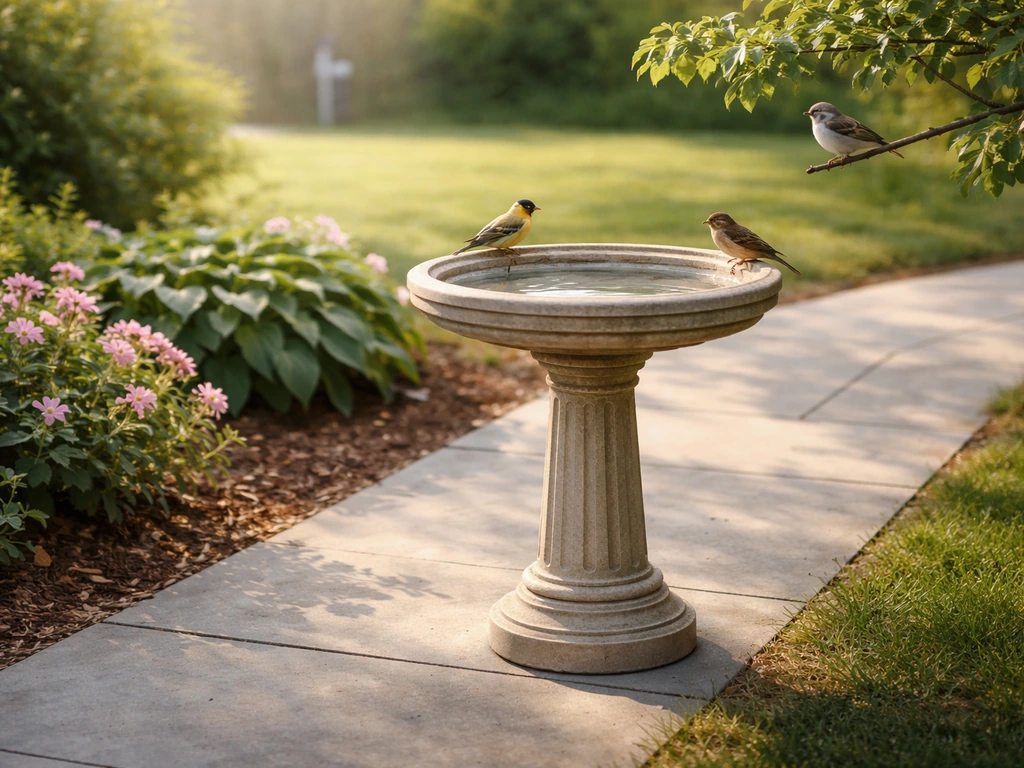
Height is one of the underrated advantages of a bird bath planter. The pedestal elevation keeps the planting at eye level, makes watering and deadheading easier on your back, and can deter slugs and ground-level pests. It also keeps the planting visible from inside the house, which is a nice bonus. If you want to leave a separate water source nearby for birds (which I'd encourage), keep the new planter and any replacement bird bath at least a few feet apart so birds don't associate the planted basin with their bathing spot.
One practical note: pedestal bird baths can be top-heavy once filled with soil and plants. If the pedestal is narrow or the base isn't on a flat stable surface, use a rubber mat under the base or anchor it to prevent tipping, especially in windy spots.
Ongoing care and troubleshooting
Watering and general upkeep
Container plantings dry out faster than in-ground beds, especially in a shallow basin. Check the top inch of soil every day or two in warm weather. Water slowly and thoroughly until it runs from the drainage holes, then let the mix dry slightly before watering again. Overwatering in a properly drained planter is less of a risk than underwatering, but soggy soil is still a problem if you let water pool at the surface consistently. Fertilize with a slow-release granular fertilizer at planting and a liquid feed every two to three weeks through the growing season, since nutrients leach out with each watering.
Mosquitoes and standing water
This is where the bird bath background of this planter matters. A basin that holds standing water from rainfall or overwatering becomes a mosquito breeding site in as little as a week. The CDC's guidance is direct: eliminate standing water wherever possible, and scrub or dump any water that collects. In your planter, the solution is making sure drainage holes are actually working and that water isn't pooling on top of the soil after rain. Check after a heavy rain event and clear any clogged holes with a thin wire or skewer. If the basin is in a low spot where water pools, elevate the pedestal base slightly so the whole structure tilts just barely enough to shed water.
Algae and mold
If you see green algae or white mold on the soil surface, it usually signals one of two things: too much shade and moisture, or poor airflow. Algae on the basin exterior (especially concrete) is mostly cosmetic but can be scrubbed off with a stiff brush and diluted vinegar solution during your seasonal cleaning. Mold on the soil surface typically resolves itself once you improve drainage and let the top inch of soil dry between waterings. If it persists, scratch the top layer of soil lightly and add a thin layer of perlite or coarse sand on top to discourage spore growth.
Freeze-thaw and winter care
This matters most for ceramic and glazed baths in climates that see hard freezes. Soil expands as it freezes, and a basin full of wet soil in a freeze-thaw cycle can crack even a concrete bath over multiple winters. In USDA zones 6 and colder, plan to empty the basin in late fall, clean it out, and either store the basin or cover it with burlap and a lid to limit moisture infiltration. If the pedestal and basin are one-piece concrete and too heavy to move, remove as much soil as possible and place a breathable cover over the basin to limit freeze damage. Metal baths handle this better than ceramic or thin concrete, so if you're in a cold climate, a metal bird bath is actually the best candidate for a year-round planter.
Weed control and annual refresh
Pull weeds by hand as they appear since there's no real space for a hoe in a basin this small. At the start of each planting season, refresh the top few inches of potting mix with new material. After two or three years, dump and replace the entire potting mix, since it breaks down and compacts over time, losing its drainage and aeration properties.
Other ways to repurpose a bird bath
Converting a bird bath into a planter is one of the most popular ways to give an old bath new life, but it's far from the only option. If you have a broken or unusable bird bath, there are clever ideas for using even a cracked basin creatively. Some people build bird baths from entirely different materials, including glass vases, old lamps, wooden bases, or even tree stumps, which shows how flexible the basic pedestal-and-basin concept really is. If your bird bath is in decent shape and you're on the fence about permanently converting it, a liner-based approach (no drilling) lets you try it as a planter this season and convert it back to a water feature later if you change your mind.
FAQ
Can I skip drilling drainage holes and just use a liner?
Yes, if you use a pond liner and then poke drainage holes through the liner at the lowest points. Keep the holes small and numerous (similar spacing to the drill-hole plan) so one clog doesn’t trap water, then place landscape fabric between the liner and any gravel to prevent punctures.
What size planter should I aim for if my bird bath basin is very shallow?
If the usable depth is under 6 inches after drainage, stick to sedums, thyme, oregano, and other shallow-rooted plants, and boost drainage with extra perlite in the potting mix. For anything that typically needs more depth (most vegetables and many perennials), choose a deeper bird bath or you’ll be forced into frequent, careful watering.
How do I prevent soil from washing into the drainage holes?
Add a thin layer of gravel at the bottom, then cover it with landscape fabric before adding potting mix. This keeps the potting mix in place while still letting water move freely through the holes.
My ceramic or glazed bird bath has a crack, is it still safe to drill?
If it is already cracked, drilling can worsen the damage, especially in cold climates. A no-drill liner approach is safer, or you can patch the crack first and then wait for full cure before sealing, but avoid drilling if the glazing looks crazed around the crack line.
How can I tell if my drainage holes are actually working after heavy rain?
Do a one-time water test before planting: fill the basin and watch how quickly the water level drops. After a downpour, check again and clear any clogged holes using a thin wire or skewer, because fine roots or soil fines can block openings over time.
Should I use potting soil, or is a bagged potting mix required?
Use a quality bagged potting mix, not garden soil. Garden soil compacts and drains poorly in containers, so even with drainage holes you may get waterlogging and root suffocation.
Is it okay to plant directly into the basin without a drainage layer?
It is not ideal. Even with holes, adding a small drainage layer (and fabric over it) helps distribute water, reduces the chance of mix clogging the holes, and improves aeration at the bottom of the container.
How often should I water a bird-bath planter?
Check the top inch every day or two during warm weather, water slowly until you see runoff from the holes, then wait for the surface to dry slightly before watering again. Containers usually fail from irregular underwatering, so avoid watering on a strict schedule without checking moisture.
Can I keep the planter outdoors year-round in freezing weather?
Often yes, but it depends on the material and your setup. In zones 6 and colder, plan to empty and store the basin in late fall, especially for ceramic or glazed pieces, because freeze-thaw and wet soil can crack basins. Metal usually tolerates year-round use better than ceramic.
What should I do if I see algae or mold on the soil surface?
Algae and surface mold usually point to too much moisture, too little airflow, or too much shade. Improve drainage first and let the top inch dry between waterings, then if needed lightly scratch and top-dress with a thin layer of perlite or coarse sand to discourage persistent surface growth.
Will the planter attract birds, and can it replace a bird bath?
It can attract birds, but you should decide whether it’s meant to be a water feature. If you want birds to bathe elsewhere, keep the new planter a few feet away from the remaining bird bath so they do not associate the planted basin with their bathing spot.
How do I keep the pedestal planter from tipping once it’s filled?
Place it on a flat, stable surface, and use a rubber mat under the base for grip. If the pedestal is narrow or in a windy area, anchor it (or add weight at the base) so the filled structure cannot wobble or tip during storms.
Do I need fertilizer for a bird-bath planter?
Yes, because nutrients leach quickly in containers. Use slow-release fertilizer at planting, then supplement with a liquid feed every two to three weeks during the growing season, adjusting down if plants look lush but not flowering.
How often should I refresh or replace the potting mix?
Refresh the top few inches at the start of each season, and plan to completely replace the mix after about two to three years. Over time, even good potting mix compacts in shallow basins and loses the aeration that drainage depends on.
Next Article
How to Make a Bird Bath From Glass Vases
DIY guide to make a glass bird bath from vases with safe sealing, stable base tips, and care to prevent algae and freezi