A clay bird bath top is the bowl or basin that holds the water, sitting on top of a separate pedestal or base. It's usually made from fired ceramic, glazed stoneware, or a lightweight material called fiber clay that mimics the look and feel of traditional clay. Getting the right one means matching the diameter and base fitment first, then installing it level so it doesn't rock, and following a simple cleaning routine to keep it crack-free for years.
Clay Bird Bath Top Guide: Fit, Install, and Maintenance

Marcus Henley
10 Jun 2026

What a clay bird bath top actually is (and why it matters)
The 'top' is just the bowl half of a two-piece bird bath setup. The base or pedestal is the support structure, and the top is what birds actually land on, drink from, and splash around in. Clay tops are popular because they look natural, hold water well, and are easy to swap out when they chip or crack without replacing the whole unit.
When people search for a 'clay bird bath top,' they're usually talking about one of two things: a traditional glazed ceramic bowl fired in a kiln, or a fiber clay bowl, which is a composite material that's significantly lighter but styled to look like solid ceramic. Fiber clay tops, like the Tierra Garden 19-inch fiber clay birdbath top, have become popular because they're easier to move, less likely to shatter on impact, and still give you that classic terracotta or earth-toned look. Either way, the shopping and installation process is mostly the same.
Why does the top specifically matter? Because it's the part that takes all the abuse: UV exposure, freezing water, algae, mineral deposits, bird claws, and the occasional squirrel. A quality clay top that fits your base properly and gets basic seasonal care can last many years. One that's the wrong size, installed on an uneven surface, or left full of water over winter often cracks by spring.
Matching a clay top to your existing base
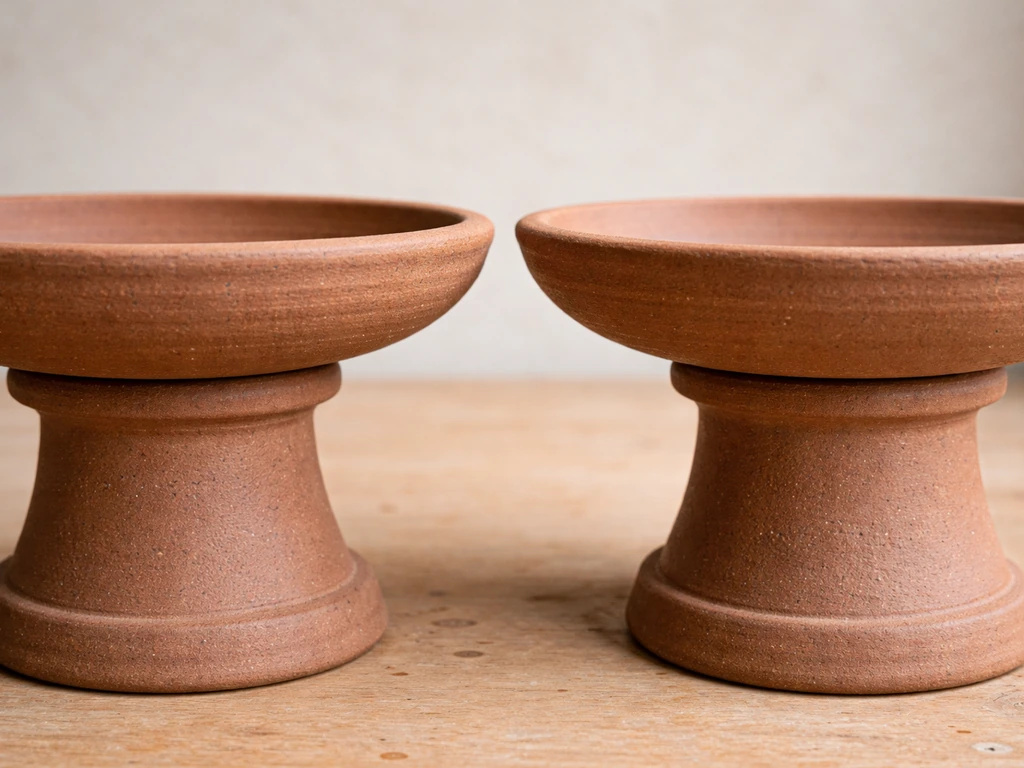
This is where most people run into trouble, and it's the most important step to get right before you buy anything. A clay bird bath top doesn't just 'rest' on the pedestal in a perfectly universal way. Many tops have a recessed circle or ridge on the bottom that locks into a corresponding raised ring or indentation on the base. If those don't match up, you'll end up with a bowl that rocks or sits off-center, which causes water to pool unevenly and can eventually chip the base contact point.
The Tierra Garden fiber clay top, for example, has a bottom ridge diameter of about 4.25 inches that's designed to seat onto specific base models (SKUs 46-0753 and 46-0753BLK). That means even if the overall bowl diameter is right, the wrong base won't give you a secure fit. Always check both the overall bowl diameter and the base-interface dimension when shopping for a replacement.
Some bird bath assemblies go further and use bolts and a rubber gasket to mechanically secure the top to the base. If your existing base has bolt holes, you need a replacement top that accommodates that same hardware pattern. Don't assume a bowl that's 'close enough' in diameter will work if the gasket and bolt positions don't align.
If you're replacing just the top and keeping your existing pedestal, the safest approach is to measure the base's top surface and note any raised ring or recess. Then look for a replacement top that explicitly lists compatibility with your base model, or at minimum matches those dimensions. Metal bird bath tops use a similar fitment logic, so if you've ever replaced one of those, the process here is familiar.
Key measurements to take before you shop
- Overall bowl diameter: measure the widest outer edge of the existing top (or the base's top surface if you're replacing a broken bowl)
- Base interface diameter: measure any raised ring or recessed circle on the top of the pedestal
- Bowl depth: aim for 1 to 2 inches of water depth so birds can wade comfortably without risk of drowning
- Bottom ridge or recess on the bowl: check whether your base uses a raised ring, a bolt pattern, or just a flat surface
- Overall weight: fiber clay is noticeably lighter than fired ceramic, which matters if your base is designed for a lighter load
Choosing the right size, shape, and drainage style
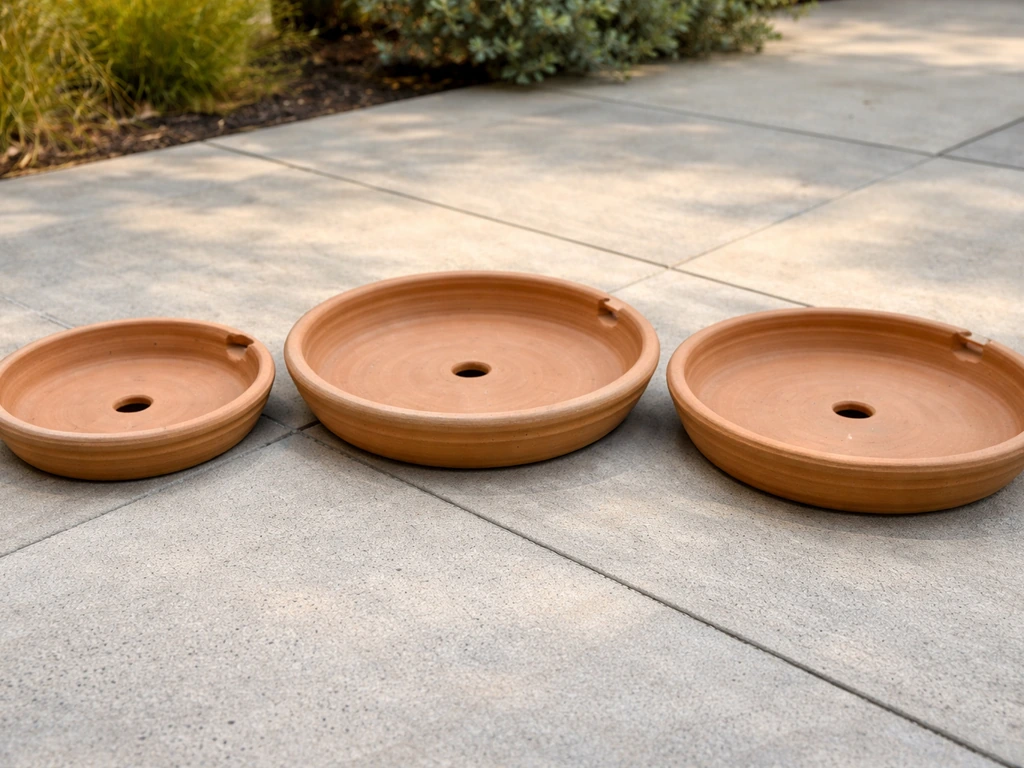
Most clay bird bath tops fall between 14 and 20 inches in diameter. A 14.5-inch bowl is on the compact end and works well for smaller yards or when you want something that won't dominate the space visually. A 19-inch bowl like the Tierra Garden fiber clay top is closer to the standard 'full size' that most songbirds prefer because it gives them more room to maneuver and keeps water from getting depleted too quickly on a hot day.
Shape matters more than people think. A wide, shallow bowl (about 1 to 2 inches deep at the center) is the sweet spot for attracting the most species. Bowls that are too deep make smaller birds nervous, and bowls that are perfectly flat with no contour don't give birds a gradual entry point. A gently sloping bowl with a slightly deeper center is the most functional design for backyard birds.
Drainage is worth thinking about too. Some clay tops have a small drainage hole at the lowest point, which lets you tilt the bowl to empty it quickly during cleaning or before a freeze. Others have no drainage hole, which is fine if you're willing to dump and refill manually. If you live somewhere with hard water, a smooth glazed interior makes it easier to scrub off mineral deposits than an unglazed clay surface, which is more porous and holds scale more stubbornly.
How to install and level your clay bird bath top properly
Start with the base placement, not the bowl. Set the pedestal on a firm, smooth, level surface. Every assembly manual I've seen for pedestal bird baths says the same thing: do not install on uneven ground or loose soil. This isn't overly cautious advice. If the base rocks even slightly, the bowl sitting on top will also rock, water will pool to one side, and over time the uneven pressure will chip or crack the contact point on a ceramic bowl.
If you're placing the bath on grass or a garden bed, consider putting a flat paving stone or stepping stone under the base first. It only needs to be a few inches wider than the base footprint, but it makes a huge difference in stability over a season as the ground shifts.
- Choose a location with partial shade to reduce algae growth and slow evaporation
- Place a flat paving stone or solid pad on the ground where the base will sit
- Set the pedestal base on the pad and check it with a small level in two directions
- Shim with gravel or a thin rubber pad under the base if it's not perfectly level
- Lower the clay bowl onto the base, aligning the bottom ridge or recess with the base interface
- If your assembly uses a rubber gasket, seat the gasket first before placing the bowl
- If there are bolt holes, hand-tighten the bolts just enough to prevent wobble without over-torquing the ceramic
- Fill the bowl partially and observe whether water sits level in the basin before topping it off
After installation, give the bowl a gentle push from each side before you walk away. There should be no rocking at all. If it rocks, address the base leveling before leaving it. A rocking bowl that's repeatedly filled with water will eventually crack at the contact point, and it's a safety issue for birds too since unstable baths can tip over. A DIY bird bath top can still last for seasons, but only if it is level and stable after you install it.
Cleaning and maintaining a clay bird bath top
Clay and ceramic tops need to be emptied and scrubbed at least once a week during warm months, more often if you have a lot of bird traffic or you're in a hot climate. The routine doesn't need to be complicated: dump the old water, scrub the bowl with a stiff brush, rinse thoroughly, and refill. The key is doing it consistently because algae and biofilm build up fast, especially in direct sun.
Safe cleaning solutions for clay and ceramic
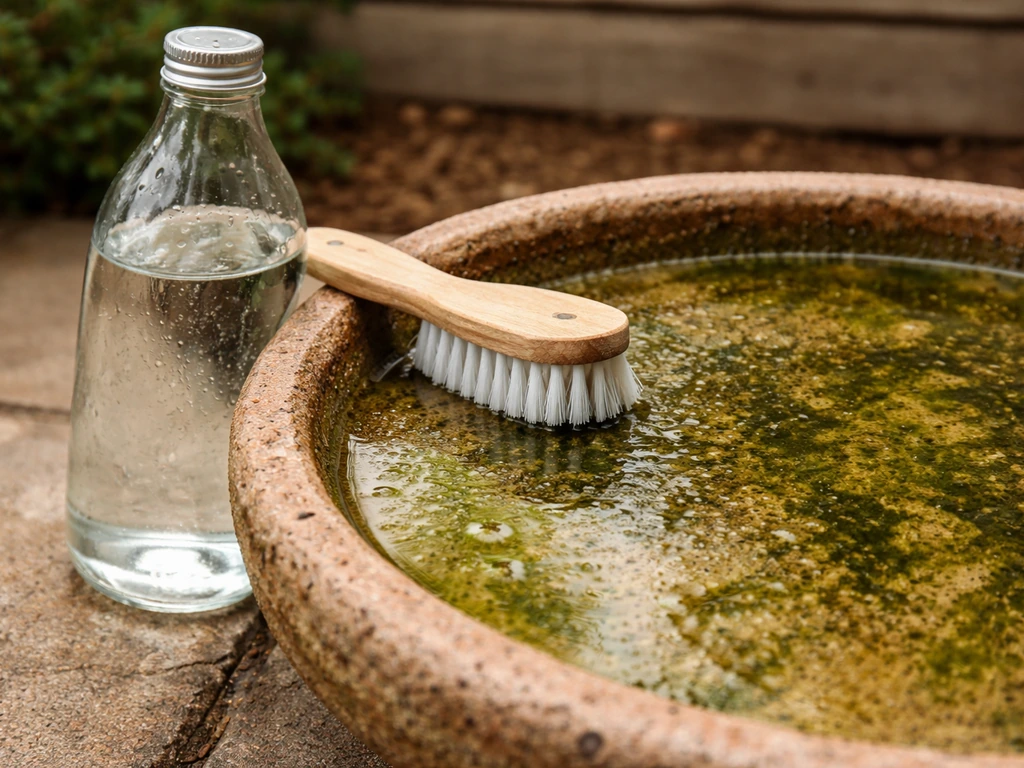
Distilled white vinegar is the go-to cleaner for clay bird bath tops, and it works for two reasons. First, the mild acidity breaks down algae and biofilm effectively without leaving a residue that's harmful to birds. Second, vinegar counteracts the mineral scale that hard water leaves behind when water evaporates, which on an unglazed or lightly glazed surface can build up into a rough, chalky layer fairly quickly. A solution of one part vinegar to nine parts water, left in the bowl for 10 to 15 minutes, then scrubbed and rinsed well, handles most routine cleaning jobs.
For heavier buildup, you can use hydrogen peroxide or a paste of baking soda and water to scrub the surface. Baking soda is especially useful for textured or slightly rough clay surfaces because its mild abrasiveness gets into the texture without scratching a glaze. Avoid bleach on clay tops unless absolutely necessary, and if you do use it, rinse the bowl multiple times and let it air dry completely before refilling.
One thing to keep in mind: vinegar is acidic, which is why it works well on mineral deposits, but it can be too harsh for certain materials. For clay and glazed ceramic, it's generally safe and widely recommended. The material caveat applies more to fiberglass or metal tops, so if you're also maintaining a metal bird bath top alongside a clay one, check the specific care guidance for that material separately.
Preventing algae and mineral buildup
- Place the bath in partial shade rather than full sun to slow algae growth significantly
- Change the water every 2 to 3 days in summer rather than waiting for it to get visibly green
- Add a small solar-powered fountain agitator to keep water moving, which discourages both algae and mosquitoes
- Use a dedicated bird bath enzyme or copper penny (genuine pre-1982 pennies release trace copper that inhibits algae without harming birds) for persistent algae problems
- In hard water areas, use rainwater or distilled water when possible to reduce mineral scale accumulation
Protecting the surface from cracking
The surface texture of a clay or ceramic top can degrade over time if you're using abrasive tools or harsh chemicals. Stick to a stiff nylon brush rather than metal scrubbers, which can scratch the glaze and create micro-abrasions where algae and mineral deposits take hold more easily. If the bowl starts feeling rougher than it did when new, that's often a sign the glaze has been worn down or etched by hard water scale, and it's time to be more diligent about weekly cleaning to keep the surface clear before buildup hardens.
Troubleshooting: leaks, poor fit, grime, and winter problems
The bowl is rocking or sitting off-center
Nine times out of ten, rocking comes back to either an uneven base placement or a mismatch between the bowl's bottom ridge and the base interface. Go back to basics: check that the base is level, then lift the bowl off and inspect the bottom for any debris or irregularity that might be holding it off-angle. If the base surface is flat but slightly rough from weathering, a thin rubber anti-slip mat (the kind sold for drawer liners) cut to size and placed between the base and bowl can absorb minor irregularities and reduce rocking without affecting fit.
The bowl is leaking
A clay top that loses water faster than evaporation accounts for probably has a crack somewhere, and the crack isn't always obvious from the top surface. Look at the bowl from underneath while it's holding water, or fill it indoors over a towel and watch for dripping.
Hairline cracks in ceramic can be sealed with a food-safe waterproof sealant designed for pottery, but be realistic about the repair: a crack that runs across the floor of the bowl or near the drain interface is usually easier and cheaper to replace than to reliably seal. DoItYourself notes that whether a broken birdbath bowl can be repaired or should be replaced depends on the type of break and the bowl's condition.
Sometimes the leak is actually at the bowl-to-base interface rather than in the bowl itself, in which case re-seating the rubber gasket (if your assembly has one) or adding a thin bead of aquarium-safe silicone sealant at that junction fixes it.
Persistent grime that won't scrub off
If you're dealing with staining or buildup that regular vinegar scrubbing isn't touching, the problem is usually one of two things: mineral scale that has hardened over time, or algae that has etched into a worn glaze surface. For hardened mineral scale, soak the empty bowl in undiluted white vinegar for 30 to 60 minutes before scrubbing. For staining embedded in a worn glaze, a baking soda paste left on for 15 minutes before scrubbing tends to lift it better than liquid solutions alone. If neither works, the glaze may be too far gone and a replacement top is a better call than fighting it every week.
Cracking and winter protection
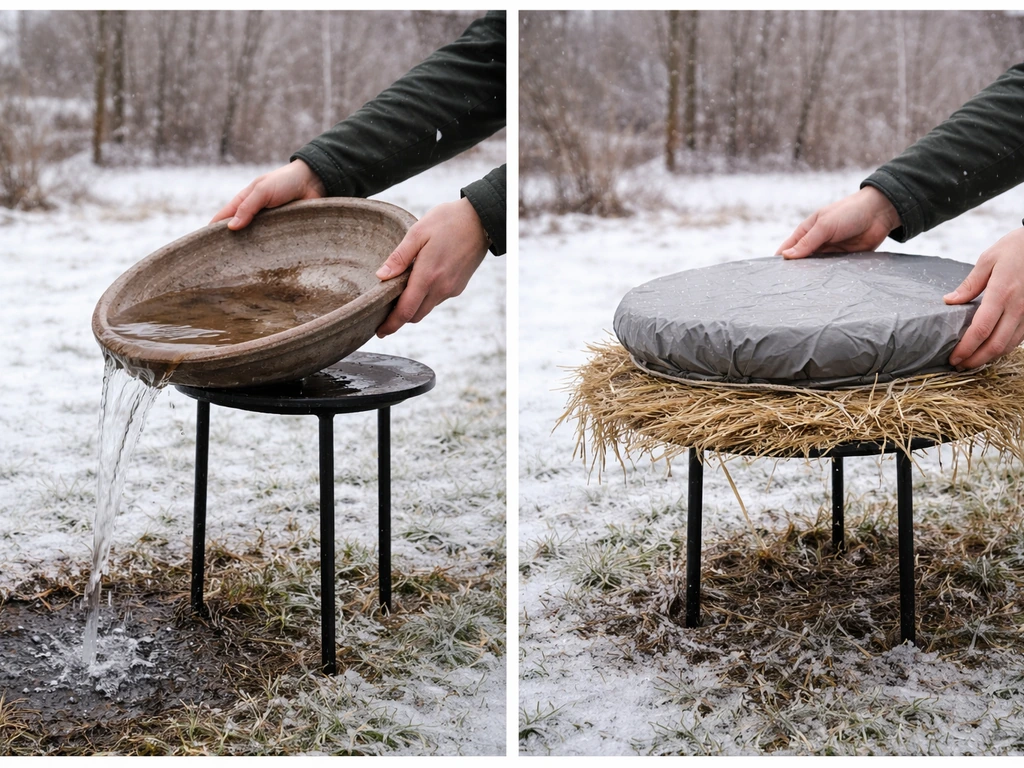
This is the number one killer of clay and ceramic bird bath tops in colder climates. Water expands when it freezes, and if the bowl is full when temperatures drop below 32°F, that expansion puts enormous pressure on the clay or ceramic from the inside. Freeze-thaw cycles repeat this stress over and over until the bowl cracks or spalls. The solution is straightforward but you have to actually do it: when freezing weather is forecast, empty the bowl completely and store it indoors or in an unheated garage. Don't leave it outside full of water and hope for the best.
If you want to keep offering water to birds through winter, you have two good options. One is a heated bird bath designed for cold-weather use (the heating element prevents ice from forming). The other is a DIY approach where you check the bath daily and dump any ice before it becomes a problem, which is workable in climates with only occasional light freezes but impractical in consistently cold regions. Either way, bringing the clay top inside during the hard-freeze months is the single most effective thing you can do to extend its life.
Quick-reference troubleshooting guide
| Problem | Likely Cause | Fix |
|---|---|---|
| Bowl rocking | Uneven base or mismatched ridge/interface | Level the base; use rubber liner between bowl and base |
| Leaking bowl | Hairline crack or failed gasket | Inspect underside; re-seat gasket or seal with aquarium silicone |
| Algae growth | Direct sun, infrequent water changes | Move to partial shade; change water every 2 to 3 days |
| Mineral scale buildup | Hard water evaporation | Soak in undiluted vinegar 30 to 60 min, then scrub |
| Bowl cracked after winter | Ice expansion during freeze-thaw cycle | Empty and store indoors before first hard freeze each year |
| Persistent staining | Worn glaze or embedded algae | Baking soda paste + extended scrub; consider replacement if glaze is gone |
| Poor fit on existing base | Wrong bowl model or diameter | Re-measure base interface; check manufacturer compatibility specs |
If you're starting from scratch or shopping for a replacement, the process comes down to four steps: measure your base interface before buying, confirm the bowl diameter and bottom ridge match your pedestal, install on a level surface and check for rocking before filling, then commit to a weekly vinegar-scrub routine and bring the bowl inside before the first hard freeze. Do those four things and a clay bird bath top will reliably serve your backyard birds for many seasons.
A good choice of cardinal bird bath top can make those weekly visits easier for birds while keeping the bowl in better shape. If you’re shopping specifically for a replacement bird bath bowl top, measuring compatibility and choosing the right bowl profile are the keys to a secure fit.
If you're also curious about other top materials, fiber clay, metal, and heritage-style replacement tops each have their own fitment and care quirks worth comparing against what a traditional clay top offers. If you are looking at a heritage-style replacement top, you will still want to verify the bowl diameter and bottom fitment like you would for a clay bird bath top heritage-style replacement tops.
FAQ
Can I make a clay bird bath top fit if it is slightly off from my existing base dimensions?
Yes, but only if the top is designed for that base junction. Look under the bowl for a ridge or recessed seating ring and check whether your base uses a matching raised ring, a bolt pattern, or a gasket. If your top is meant to be flush without a mechanical lock, shaving or adding shims can create rocking and accelerate cracking at the contact point.
What should I do if my clay bowl still rocks after installation, can I use a rubber mat or pad?
You can, but it is usually not the best fix. If the bowl rocks because the base interface is uneven, a liner mat can reduce rocking, but it will not correct a ridge-to-recess mismatch. Only try the rubber anti-slip mat after you have verified the base is level and the bottom ridge seats the way the manufacturer intends.
Is vinegar safe to use frequently on clay or glazed ceramic bird bath tops, and how long can it sit?
For routine cleaning, dilute vinegar (about 1 to 9) is preferred. For stubborn mineral scale, undiluted vinegar can be used as a soak, but do not leave it soaking for many hours, and always scrub and rinse thoroughly after. If you see dulling or roughness spreading, reduce frequency and switch to gentler methods like baking soda paste.
My clay bird bath top has a drainage hole, can I leave it outside in winter?
If your top has a drainage hole, you can drain and reduce freeze risk by tipping or emptying right before cold snaps. However, do not rely on a small hole to fully empty deep bowls, sloped bowls, or bowls with mineral-clogged outlets. In consistently freezing weather, the safest approach is still to empty completely and store indoors.
How can I tell whether a crack is fixable or whether I should replace the clay bird bath top?
A hairline crack that only shows after the bowl is filled is often structural, not just cosmetic. The best check is to observe dripping after filling indoors, then inspect whether the crack is on the floor, near the lowest point, or close to the bowl-to-base junction. Cracks that affect where water sits, or any crack near the drain interface, are usually better replaced than sealed.
Can I use bleach to clean algae or stains on a clay bird bath top?
Typically no, because bleach can damage finishes and leave residue that birds may ingest. If bleach is unavoidable due to heavy contamination, use the smallest effective amount, rinse multiple times, and let the bowl air dry fully before refilling. When you can, switch to hydrogen peroxide or the vinegar routine for algae and biofilm.
How do I clean a clay bird bath top if algae is coming back very fast?
Yes, but focus on gentle perimeter cleaning and quick scrubbing of the landing and splash zones. Remove the bulk algae first by draining, then scrub with a stiff nylon brush. If mineral scale keeps returning quickly, shorten the interval between cleanings and ensure the bowl is not left with water for long periods in direct sun.
What changes should I make if my clay top is unglazed or getting rough and chalky?
Glazed ceramic tends to resist mineral buildup better than unglazed or textured surfaces. If your top feels rough or chalky, mineral scale is likely etching the surface, and you may need more frequent vinegar or longer vinegar soaks on an empty bowl. For unglazed texture, avoid harsh scrubbing tools because you can permanently abrade the surface.
How do I confirm the clay bird bath top is securely installed before adding water?
Test it empty first. Before filling, push the bowl gently from opposite sides and confirm no rocking, then recheck after the first fill because water weight can expose a marginal fit. If you have a gasketed or bolted assembly, confirm the gasket is seated evenly and bolts are snug but not over-tightened.
Is a smaller clay bird bath top (around 14 to 15 inches) worse for birds than a standard 19 inch bowl?
A 14.5 inch top can work, but it drains and warms differently than 19 inch. Smaller bowls deplete faster in hot weather and may encourage more aggressive bird behavior because there is less room to maneuver. If you have multiple birds, a standard or larger profile is often easier to keep at comfortable water levels between weekly maintenance.
Next Articles
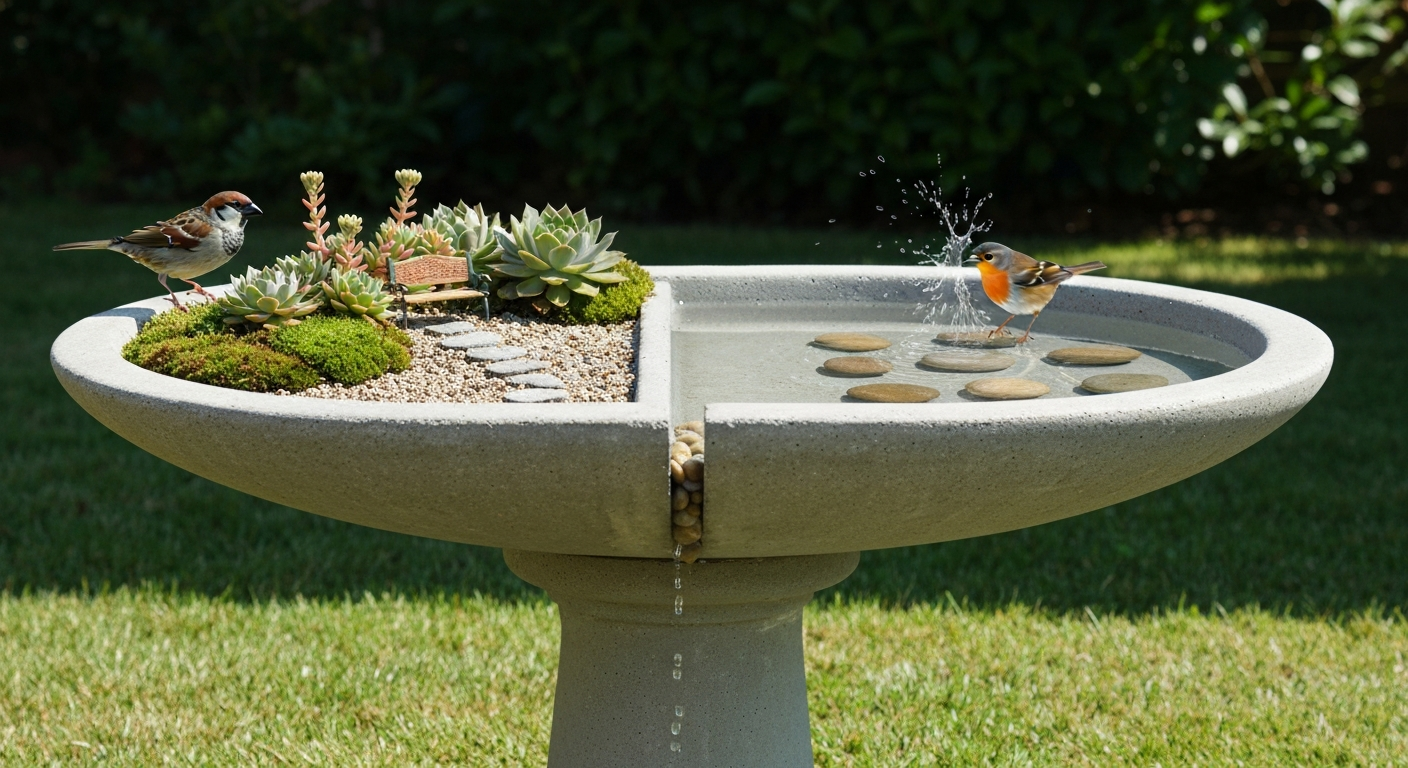
How to Make a Fairy Garden in a Bird Bath: Safe Build & Care
Create a bird-safe fairy garden in a bird bath: step-by-step build, plant choices, safety, care, troubleshooting
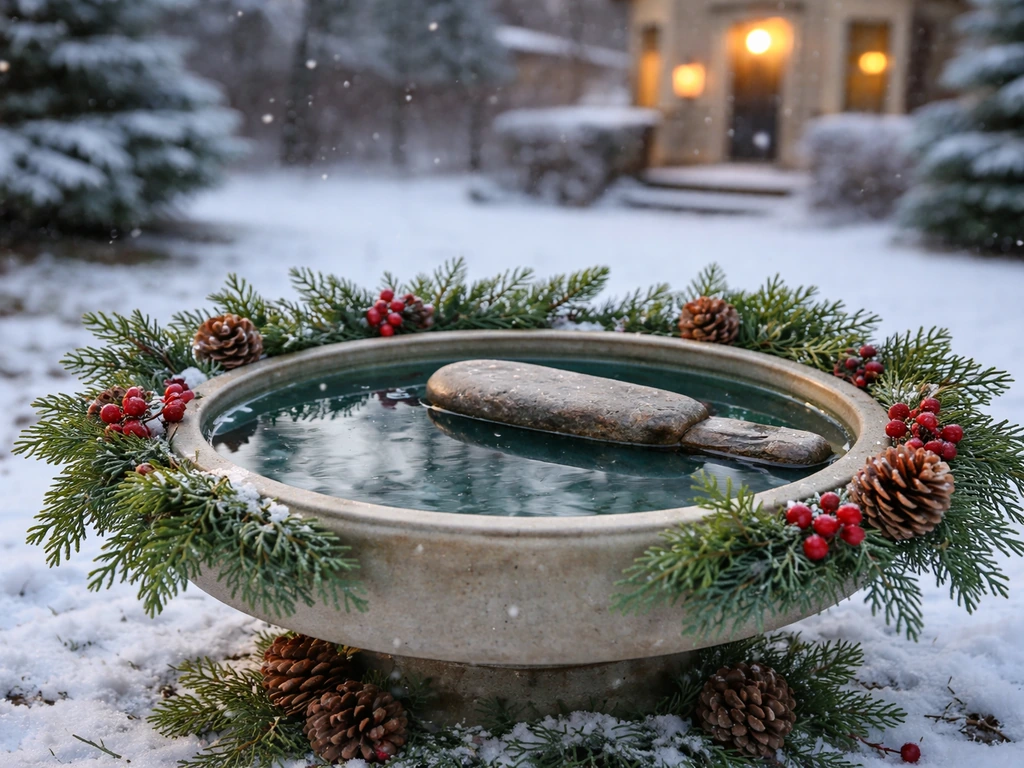
How to Decorate a Bird Bath for Christmas Safely
Step-by-step tips to decorate a Christmas bird bath with safe non-toxic accents, prevent freezing, and keep water clean.
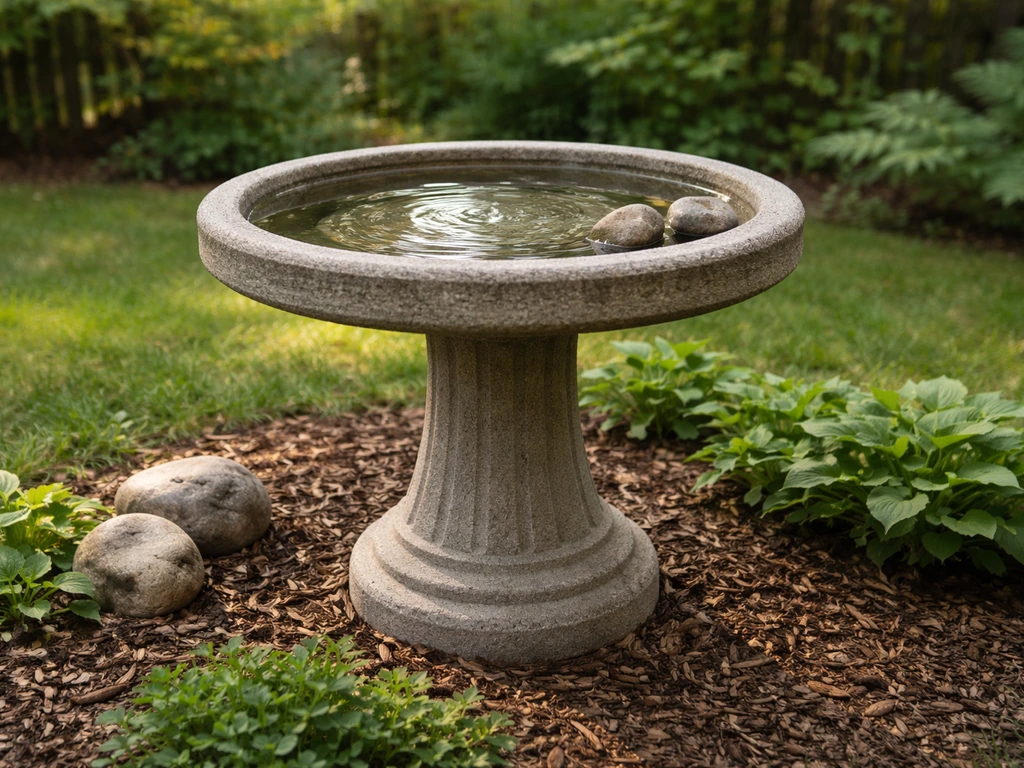
How to Decorate a Bird Bath: Step-by-Step Ideas
Step-by-step tips to decorate a bird bath safely, including concrete fixes, bird-friendly landscaping, and easy upkeep i