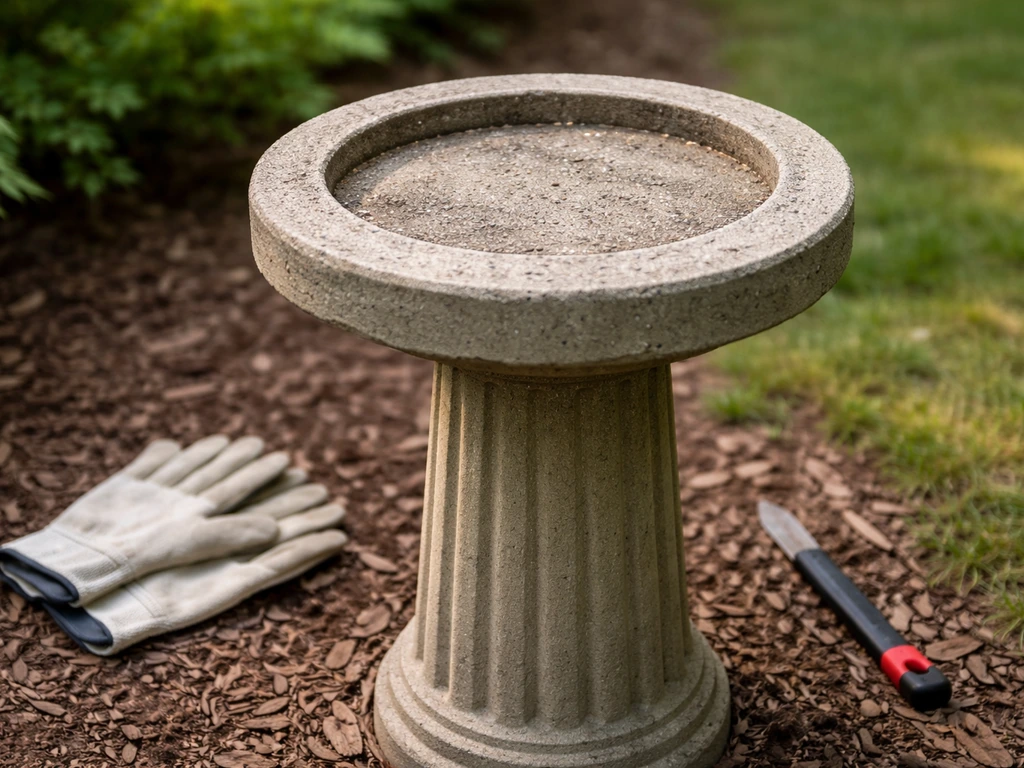
If your ceramic bird bath top is cracked, chipped, badly stained, or just falling apart after a rough winter, you don't need to replace the whole bath. You can buy a ceramic bird bath top only and swap it out in under an hour. If you only need the replacement piece, choosing a large bird bath top only that matches your measurements and mounting style is the quickest path to a secure fit. The tricky part is getting the right fit, because a top that doesn't seat properly on your base will wobble, leak, or just look terrible. This guide walks you through everything: when to replace, how to measure and match your base, what to expect from ceramic versus terracotta, and how to keep the new top looking good and staying intact for years.
Ceramic Bird Bath Top Replacement Guide for a Perfect Fit

Marcus Henley
21 Apr 2026
When you actually need a replacement (and when you don't)
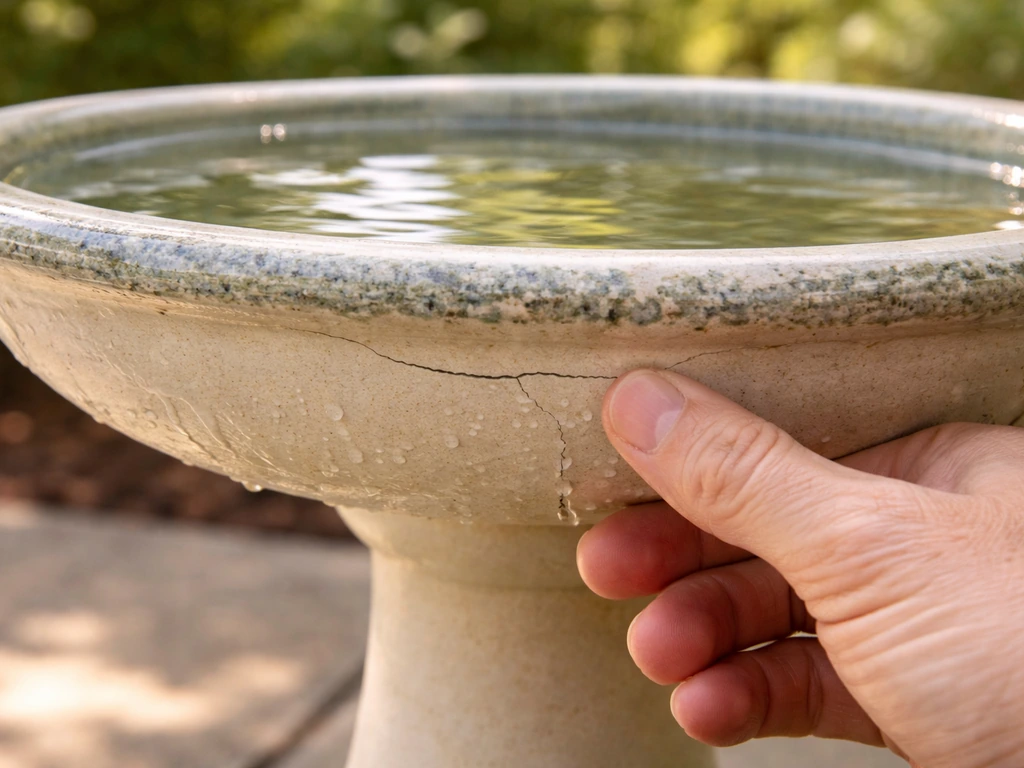
Not every crack or chip automatically means you need a new top. A hairline crack on the exterior, with no water seeping through the bottom, can often be sealed with a product like FlexSeal Clear. The priority with any crack is stopping water from slowly leaking out, which can undermine the base and worsen the damage over time. For surface chips or minor cosmetic wear, a sealed repair might buy you another season or two.
That said, there are situations where replacement is clearly the better call. If the crack runs across the basin floor and water drains faster than birds can use it, it's done. If freeze-thaw cycling has caused a piece to split or flake off, more failure is likely coming the next cold season because water keeps penetrating whatever porosity remains. If the glaze is so degraded that algae is embedding itself into the surface and routine cleaning no longer helps, a new top will be cleaner and safer for birds. And if the bowl is structurally compromised at the mounting point where it meets the pedestal, even a sealed repair won't hold reliably.
- Through-crack in the basin floor that causes rapid water loss
- Freeze-thaw splitting or deep flaking after a hard winter
- Glaze so degraded that algae embeds in the surface permanently
- Structural damage at the base contact point or mounting area
- Large chips that create sharp edges where birds could injure feet
- Severe fading or surface erosion that makes cleaning ineffective
If your situation fits any of those, stop trying to patch it. A ceramic bird bath top replacement is the practical move, and it costs far less than a whole new bath.
How to find a replacement top that actually fits your base
This is where most people run into trouble. They buy a top that looks about right and then discover it's 2 inches too wide, has the wrong base indent, or rocks side to side on the pedestal. Getting the measurements right before you order saves a lot of frustration.
Measurements you need before you shop
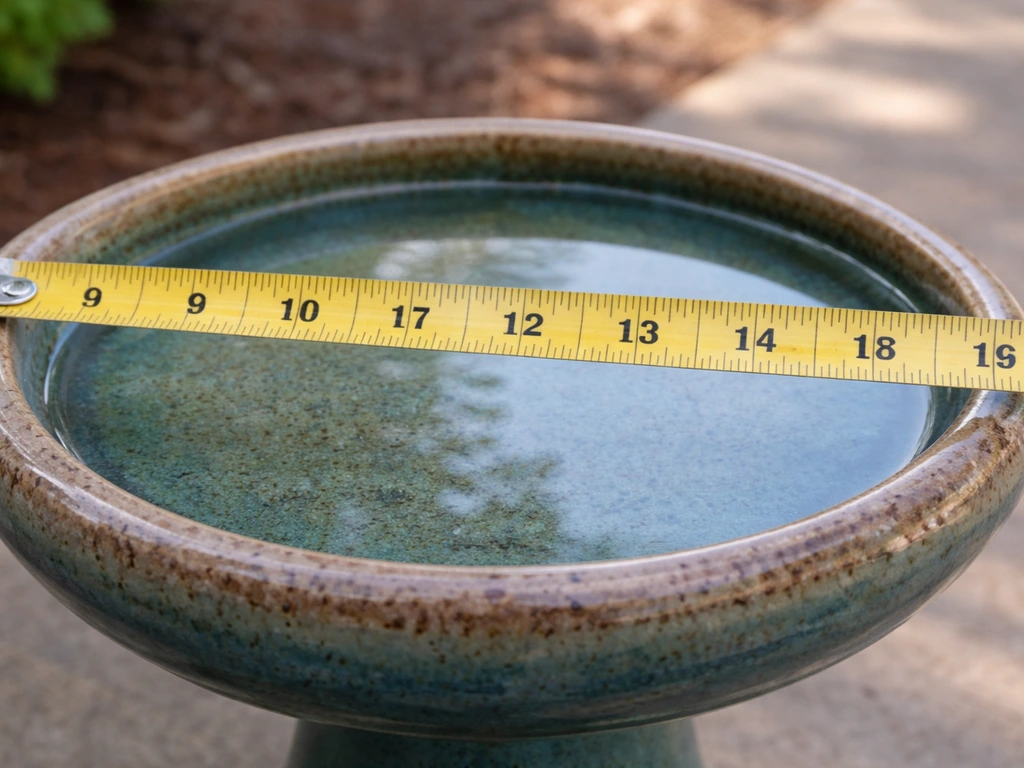
Start with the outer diameter of your existing top or the space it occupied. blank" rel="noopener noreferrer">Measure across the widest point. Most standard replacement tops range from 18 to 24 inches in diameter, but there are smaller decorative options and larger statement pieces outside that range. Also measure the basin depth, which is how far down the center of the bowl goes from the rim. For most backyard birds, 1 to 2 inches is the sweet spot. Much shallower and the water evaporates fast; much deeper and smaller birds won't wade in.
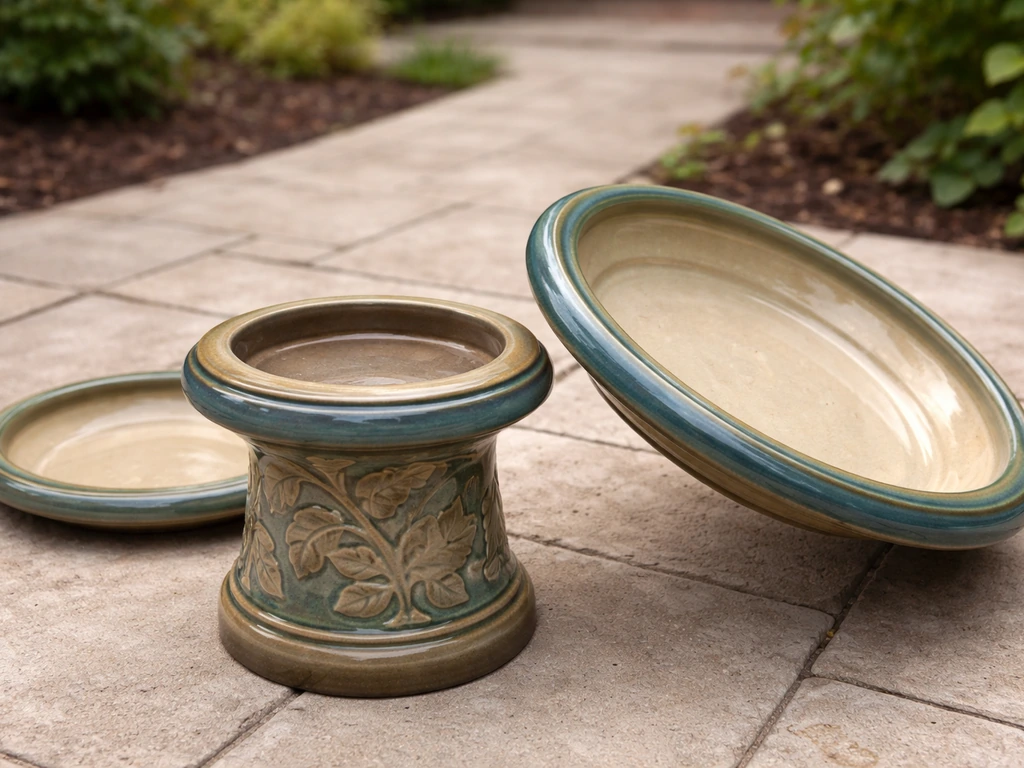
Next, look at the underside of your old top or directly at the top of your pedestal. Most ceramic and concrete pedestals have one of three mounting styles: a flat platform where the top just rests and relies on weight for stability, a raised center post or peg that fits into a matching indent on the top's underside, or a recessed cup at the top of the pedestal that the bowl base sits down into. Knowing which one you have is critical. A bowl designed for a flat-rest pedestal won't lock into a cup-style pedestal, and a bowl with a deep center indent will rock on a flat platform.
Also check whether your old top had any overflow notch or drain hole. Some do, some don't. If yours had one and the new one doesn't, water will pool differently and you may end up with overflow running down the pedestal.
Matching the mounting style
When you're browsing replacement tops, manufacturer product pages and listings will usually specify the mounting type or describe the underside profile. If you're buying in person at a garden center, flip the top over and look. For online purchases, don't hesitate to contact the seller and ask for the underside dimensions and mounting description. This is especially worth doing if you have a branded pedestal, since some manufacturers like to sell matched replacement tops and the mating dimensions are specific to their design.
| Mounting Style | What to Look For on the Top's Underside | Stability Notes |
|---|---|---|
| Flat platform pedestal | Flat or slightly concave underside with no post indent | Relies on weight and proper centering; add rubber pad for grip |
| Center post / peg pedestal | Molded indent or hole in the center that slides over the post | Most secure; measure post diameter and indent depth to match |
| Cup / recessed top pedestal | Rounded or flat base that drops into the cup | Good stability; measure cup opening diameter carefully |
Ceramic vs terracotta bird bath tops: real differences that matter
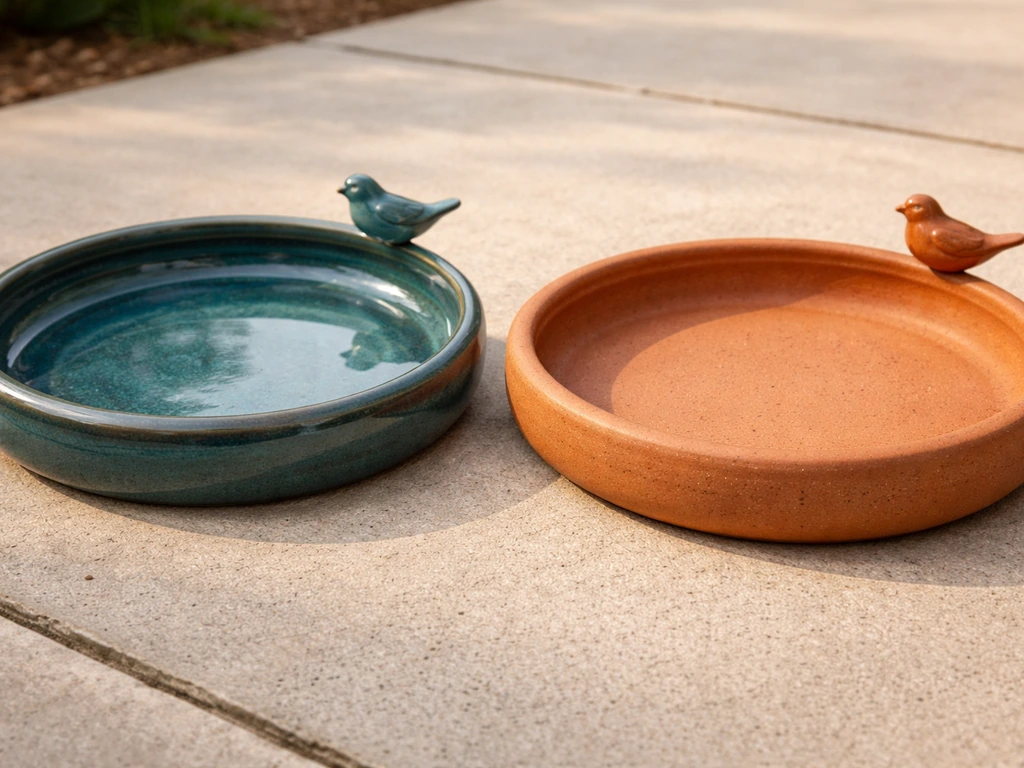
These two materials are often sold side by side and look similar in photos, but they behave pretty differently in the yard. Knowing what you're getting helps you choose the right one for your climate and maintenance routine.
Glazed ceramic tops have a sealed surface coating that reduces water absorption. That lower porosity is a real advantage in freeze-thaw climates because water can't penetrate as deeply, which means less internal expansion when temperatures drop below freezing. The glazed surface also resists algae staining better and cleans up faster. The tradeoff is that glaze can chip or craze over time, especially with temperature swings, and once the glaze is compromised the underlying ceramic becomes vulnerable.
Terracotta tops are unglazed fired clay, and they are genuinely porous. They look warm and natural, and birds sometimes seem to gravitate toward the slightly textured surface for grip. But terracotta absorbs water readily, and that open porosity is exactly what makes it vulnerable to freeze-thaw damage. Any ceramic or clay material with measurable water absorption can be damaged when absorbed water freezes and expands inside the material. In cold climates, a terracotta top that isn't stored indoors over winter is likely to crack within a few seasons. If you live somewhere that gets hard freezes, go with glazed ceramic or plan to bring the terracotta top inside from November through March.
| Property | Glazed Ceramic | Terracotta |
|---|---|---|
| Water absorption | Low (sealed glaze) | High (porous, unglazed) |
| Freeze-thaw resistance | Better, but not immune once glaze chips | Poor without indoor winter storage |
| Algae resistance | Good; smooth glaze cleans easily | Fair; pores can harbor staining |
| Bird grip on surface | Moderate; smooth finish | Good; natural texture aids footing |
| Aesthetic | Wide range of colors, glazed finish | Warm earthy tones, natural look |
| Weight | Moderate to heavy depending on thickness | Lighter on average |
| Price range | Moderate to higher | Budget-friendly to moderate |
My recommendation: if you're in USDA zones 7 and warmer, terracotta is a perfectly fine and attractive choice if you commit to storing it indoors during freezing weather. In zones 6 and colder, glazed ceramic is the smarter long-term investment, and even then you should plan to bring it in or at least tip it so water can't collect in the basin overnight during hard freezes.
How to replace the top yourself: step-by-step
This is genuinely a simple project. You don't need special skills, just the right materials and about 20 to 30 minutes. Here's what you'll need before you start.
- New ceramic bird bath top (verified to match your base's mounting style and dimensions)
- Rubber non-slip mat or rubber furniture pad (cut to size for flat-rest pedestals)
- Waterproof silicone sealant or exterior-grade construction adhesive (optional, for added security)
- Clean rag or sponge and mild dish soap
- Measuring tape
- Level (a small torpedo level works fine)
- Work gloves (ceramic edges can be sharp)
- Remove the old top carefully. Even a cracked top can be heavy, so have a second set of hands if it's 20 inches or larger. Set it aside rather than dropping it, because ceramic shards are a hazard.
- Clean the pedestal top thoroughly. Remove any algae, dirt, old rubber pads, or sealant residue. A damp rag and mild soap works. Let it dry completely before placing the new top.
- Dry-fit the new top without any adhesive. Place it on the pedestal and check the seating. It should sit flat without rocking. If it rocks, the contact surfaces need to be addressed before going further.
- If using a flat-rest pedestal, cut a rubber non-slip pad to fit the contact area on the pedestal top. This cushions the ceramic from hard pedestal contact, which can cause stress cracking over time, and adds grip to prevent sliding.
- For post-style pedestals, lower the top gently over the post so the indent seats correctly. Don't force it. If the fit is tight, check your measurements again before applying any pressure.
- Check level. Use your torpedo level across the basin in two directions (front-to-back and side-to-side). If it's slightly off, add thin rubber shims under the low side before the top is permanently seated.
- Once seated and level, you can optionally apply a thin bead of waterproof silicone sealant around the joint where the top meets the pedestal on flat-rest styles. This helps in windy locations and adds stability, but is not mandatory. Skip adhesive if you want to be able to remove the top for winter storage.
- Fill the basin with fresh water and let it sit for 10 to 15 minutes. Check the pedestal and ground around the base for any drips, which would indicate a crack or improper seating you didn't catch during dry-fit.
- Wipe down the basin interior with clean water before birds arrive, especially if any sealant or handling residue is present.
One note on sealing the inside of the basin: if the new top's glaze is intact and shows no cracks, there's no need to coat the interior. If you bought an unglazed terracotta top and want to slow water absorption, a coat of non-toxic waterproof sealant rated for outdoor use will help. Just make sure any product you use is fully cured and safe for wildlife before filling it with water for birds.
What to look for when choosing the best ceramic bird bath top
Not all replacement tops are worth buying. A cheap one with thin walls and poor-quality glaze might crack after its first winter even if you do everything right. Here are the features that actually matter when you're comparing options.
- Glaze quality and coverage: Look for a fully glazed interior basin with no bare clay spots. Gaps in the glaze are entry points for water and the start of future cracking.
- Wall and base thickness: Thicker ceramic holds up better to temperature swings and physical stress. Avoid tops that feel thin or hollow when you tap them.
- Basin depth of 1 to 2 inches: This is the functional sweet spot for attracting the widest range of backyard birds. Shallower than 1 inch dries out too fast; deeper than 2.5 inches discourages wading birds.
- Flat or slightly textured basin floor: Birds need to grip the surface. A completely smooth glazed floor can be slippery. Some tops have a slightly matte interior glaze or a subtle texture specifically to address this.
- Stable underside profile: The underside geometry should match your base exactly. A top that requires shimming or improvised cushioning to sit level is not well-matched to your pedestal.
- Drain or overflow notch: Useful in rainy climates to prevent overfilling, though not essential if you monitor water levels regularly.
- Frost-rated or outdoor-rated label: Some manufacturers explicitly rate their ceramics for outdoor use and freeze-thaw resistance. This is worth seeking out if you're in a cold climate.
If you're also weighing other materials for your replacement, it's worth knowing that concrete, glass, and other top materials each have their own tradeoffs alongside ceramic. Concrete tops are extremely durable and naturally porous in a way birds like, but they're heavy. Glass tops are striking and clean easily, but are fragile. A glass top bird bath can be a striking option, but you'll want to make sure it fits correctly and is able to handle your local weather. Ceramic sits in a practical middle ground for most backyard setups.
Keeping your ceramic top crack-free, clean, and algae-free
The most common reasons a replacement ceramic top fails prematurely are freezing damage and neglected algae buildup. Both are preventable with a consistent routine.
Regular cleaning
Change the water every two to three days during warm weather, and scrub the basin weekly with a stiff brush and a diluted white vinegar solution (one part vinegar to nine parts water). This breaks up mineral deposits and early-stage algae before they can embed in the glaze. Avoid harsh chemical cleaners, bleach in high concentrations, or wire brushes that can scratch glazed surfaces. Rinse thoroughly before refilling so birds aren't drinking residue.
Algae and mosquito prevention
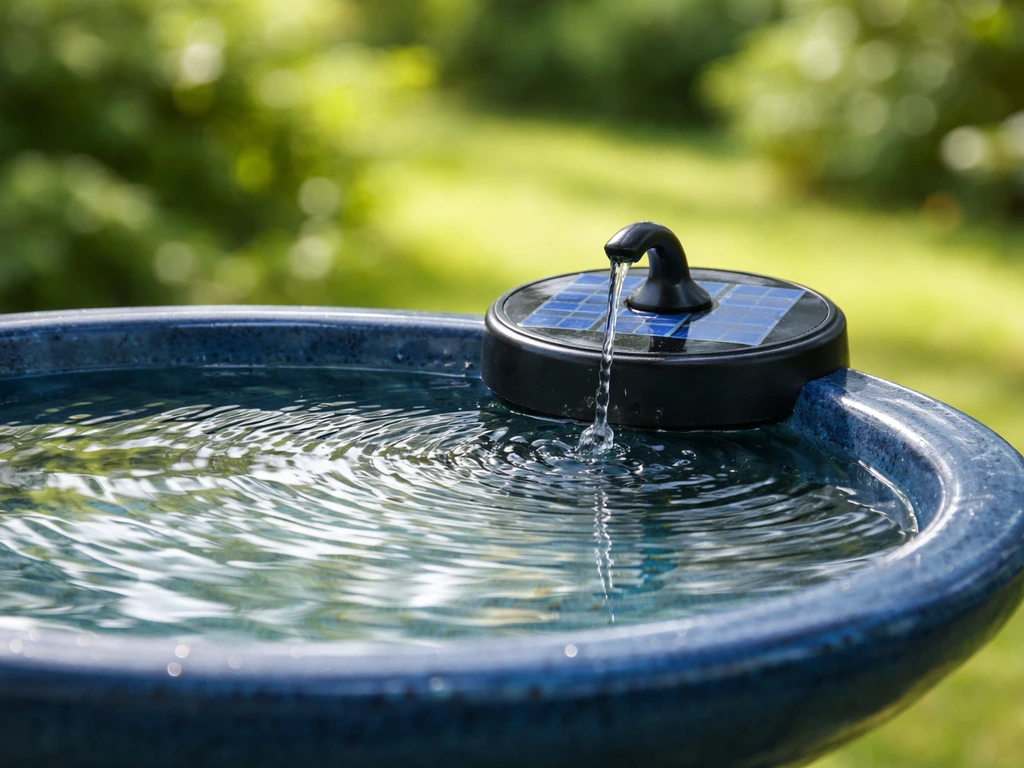
Algae thrives in still, sun-warmed water. Moving water helps a lot, so if you can add a small solar-powered dripper or wiggler to your setup, do it. Those devices also help deter mosquitoes by preventing standing water from becoming the stagnant, undisturbed environment mosquito larvae need. If you don't want to add a dripper, a barley straw extract product sold for ponds and water features can slow algae growth and is safe for birds. Change water frequently enough that mosquito larvae, which need several days of undisturbed standing water to develop, never get the chance to establish.
Protecting against freezing
This is the big one for ceramic longevity. If you're in a climate that gets freezing temperatures overnight, you have three options: bring the top indoors for winter, use a bird bath heater to keep the water from freezing in the basin, or tip the top so water cannot collect in the bowl. Never let water freeze solid in the basin repeatedly, because each freeze-thaw cycle forces water into whatever micro-porosity exists in the glaze or clay body and gradually weakens the material. Also avoid placing the pedestal where it can freeze to the ground, which can cause uneven stress on the top if the pedestal shifts.
If you're using a heated bird bath element, confirm it's rated for ceramic surfaces and that it won't concentrate heat at one spot, which can cause thermal stress cracking. Most submersible or float-style heaters are gentle enough, but always check the product specs.
Troubleshooting after installation
Even with everything done right, you might run into a few common issues in the first days after a replacement. Here's how to handle them.
The top wobbles or rocks
This means the contact surfaces aren't fully matched. Remove the top and inspect both the underside of the bowl and the top of the pedestal. If there's debris or a high spot causing rocking, clean and smooth it. For minor instability on a flat-rest pedestal, rubber furniture pads or a purpose-cut rubber mat under the bowl will typically solve it. If the rocking is significant, the dimensions may not be well-matched and you may need a different top or a filler pad system.
Water is draining or leaking unexpectedly
If the water level drops faster than evaporation can explain, run your hand along the underside of the basin while it's full and feel for moisture. Even a hairline crack can allow slow seepage. A crack in a brand-new replacement top is rare but does happen in shipping. Contact the seller for a replacement rather than trying to patch a new bowl. If the leak is at the joint between the top and pedestal, a bead of silicone sealant around the outside of that joint (not inside the basin) usually resolves it.
Birds aren't using it right away
Give it a few days. Birds are cautious around anything that changes in their environment, and a new shiny glazed surface can look unfamiliar or even alarming to birds that were used to a weathered old bowl. Rinse the basin thoroughly to remove any manufacturing residue or handling scents. Placing the bath in the same location as the old one helps. Adding a dripper or mister nearby creates sound and movement that attracts birds faster than a static basin. If the basin floor is very smooth and slippery-looking, adding a few small stones or a rough river rock to the center of the bowl gives birds visible footing cues and speeds up adoption.
Water pools unevenly or all runs to one side
This is almost always a leveling issue. Go back to your torpedo level, check the basin in both directions, and add shims under the low edge of the top where it contacts the pedestal. Rubber or composite shims work well and won't compress over time the way foam does. Even a quarter-inch of tilt can cause noticeable water pooling on one side, which birds will notice before you do.
Your next steps for today
Here's a concrete plan if you're ready to move forward today. Measure your existing pedestal top's diameter, identify the mounting style (flat, post, or cup), and measure the pedestal's contact area dimensions. Choosing a replacement top for your bird bath starts with matching the mounting style and measuring the right dimensions before you order replacement top for bird bath. Write those numbers down before you shop. If you're replacing a branded bath, search the manufacturer's name plus 'replacement top' first, since matched tops are the easiest path to a secure fit. If you're shopping generic, filter by diameter and confirm the underside mounting profile with the seller.
Once your replacement arrives, do the dry-fit before committing to any sealant. Level it before filling. Check for leaks before birds arrive. And if you're heading into a winter season soon, plan now whether you're storing the top indoors, using a heater, or tipping the bowl, because that single decision will do more for the longevity of your new ceramic top than anything else. A properly matched, leveled, and winterized ceramic bird bath top should easily last five to ten years with regular cleaning.
FAQ
How do I know whether I need the ceramic bird bath top replacement or just a sealant repair at the joint?
If the crack is only at the seal line where the top meets the pedestal, and the bowl wall and basin floor are intact, you can usually re-seal that joint. Do a dry inspection, then run water and watch for seepage trails, if water appears first at the seam and not through the basin, re-sealing is a better first step than replacing the entire top.
What should I do if my replacement ceramic top has a slightly different drain hole or overflow notch than the original?
Test it before the bath is fully installed by filling with a small amount of water and observing where it runs. If the new top lacks the original overflow or notch, the water may spill differently and wet the pedestal, which can cause algae and freeze damage, so plan to adjust the pedestal positioning or consider a top with the same underside geometry.
Can I drill a new hole or notch in a ceramic bird bath top replacement to match my old one?
Avoid drilling unless you have experience with ceramic cutting, because cracks and glaze crazing can start immediately. If your replacement lacks the hole you need, it is usually safer to return it and order a top with the correct underside or drainage configuration rather than modifying the material.
What type of silicone sealant should I use if I need to seal the joint between the top and pedestal?
Use a clear, outdoor-rated, aquarium or food-safe type that cures fully, and apply only around the outside joint. Do not put sealant inside the basin, and wait until the manufacturer’s full cure time is complete before refilling so birds are not exposed to uncured chemicals.
How soon can I let birds use the new ceramic bird bath top replacement after installing it?
After a rinse and any sealing work, give it a full drying and curing window, then refill and run a brief rinse, empty, and refill if you still smell sealant or manufacturing residues. Birds can be cautious, so starting with normal water levels and adding sound or movement nearby often improves acceptance within a few days.
Is a rubber pad or shim under the ceramic top safe and durable over time?
Yes, if it is a weather-resistant rubber or composite material designed for outdoor exposure. The key is to keep the shim away from the water contact points and to ensure the top fully seats on all intended support areas, so the shim corrects tilt without creating new rocking points.
Do I need to coat the inside of a glazed ceramic bird bath top replacement?
Usually no, if the glaze is intact and free of cracks, because the glazing already reduces water absorption and slows staining. You should reserve interior coating for unglazed terracotta or damaged surfaces, and only use a wildlife-safe, outdoor-rated product that is fully cured before use.
What’s the safest way to clean a new ceramic top replacement without harming the glaze?
Stick to a stiff brush and diluted vinegar solution, then rinse thoroughly. If you must remove stubborn mineral scale, use gentle soaking in vinegar-water rather than scraping with metal tools, since scratches in glaze can become starting points for algae embedding and faster staining.
My replacement ceramic top rocks slightly even after leveling, what are my options?
If rocking persists after leveling, the underside geometry may not match your pedestal. Try cleaning contact surfaces first, then confirm the mounting style (flat-rest, post, or recessed cup). If it still rocks, use a purpose-cut leveling pad system only if the fit is otherwise correct, otherwise replace with a top that matches the pedestal’s underside profile.
How can I prevent freeze-thaw cracking if I cannot bring the ceramic bird bath top replacement indoors?
Use a winterization plan that prevents ice formation in the basin, tip the bowl when hard freezes are expected, or use a bird bath heater rated for ceramic and designed to distribute heat. The critical rule is to avoid repeated freezing of water held in the bowl, because each cycle drives stress into micro-porosity.
Is it normal for a new ceramic bird bath top replacement to look shinier and attract less water staining at first?
Yes, new glazed surfaces often shed algae early and can look unusually reflective. Even so, ensure you rinse out residues and keep a consistent cleaning and water change rhythm so algae and minerals do not get a foothold once the surface starts aging.
How do I estimate the right replacement top size if the old top is missing or broken and I cannot measure it directly?
Measure the pedestal’s contact area instead of guessing the bowl rim diameter, including the width of the recessed cup or the location of the post indent if present. Then choose a replacement top whose underside profile matches that pedestal geometry and whose outer diameter leaves appropriate clearance without forcing the top into a rocking fit.