For a bird bath that holds water, survives freeze-thaw cycles, and stays safe for birds, the best concrete mix is a Portland cement and sand mortar at roughly a 1:2 ratio (one part Type I/II Portland cement to two parts coarse sand), with a low water-to-cement ratio around 0.40 to 0.45, and an air-entraining admixture added if you live somewhere that freezes hard in winter. That combination gives you a dense, low-porosity shell that resists cracking, sheds water instead of soaking it up, and cures to a surface that birds can grip and won't leach chemicals into the water.
Best Concrete Mix for Bird Bath: DIY Ratios and Steps

Marcus Henley
5 Jun 2026
What 'Best' Actually Means for a Bird Bath Mix
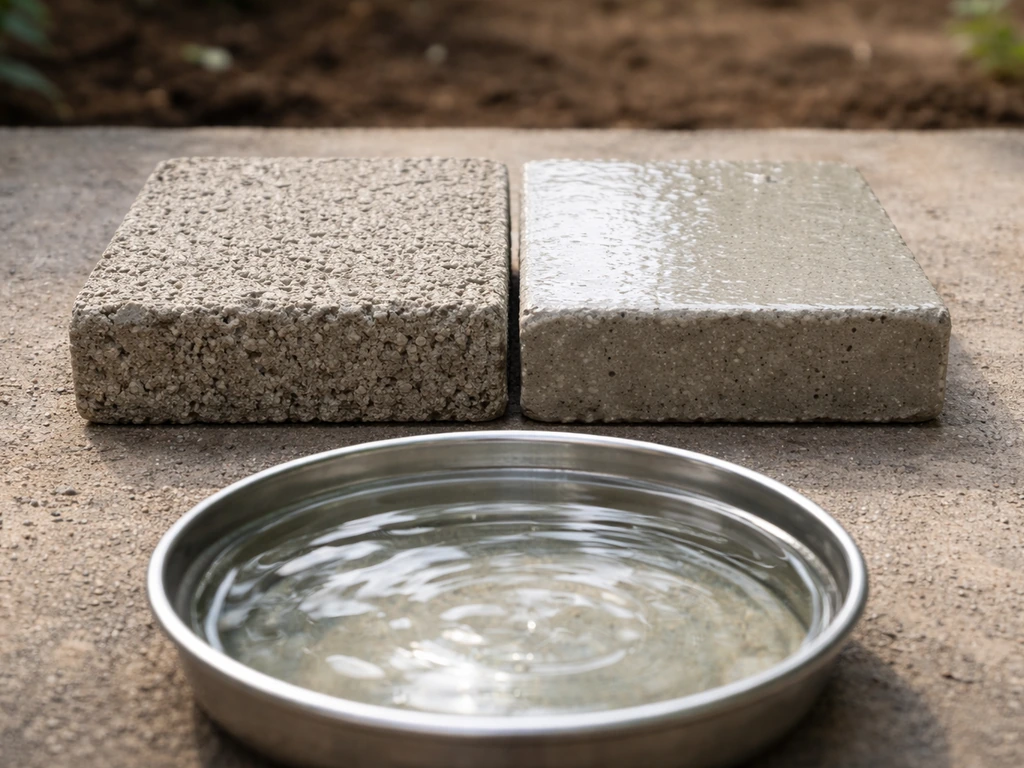
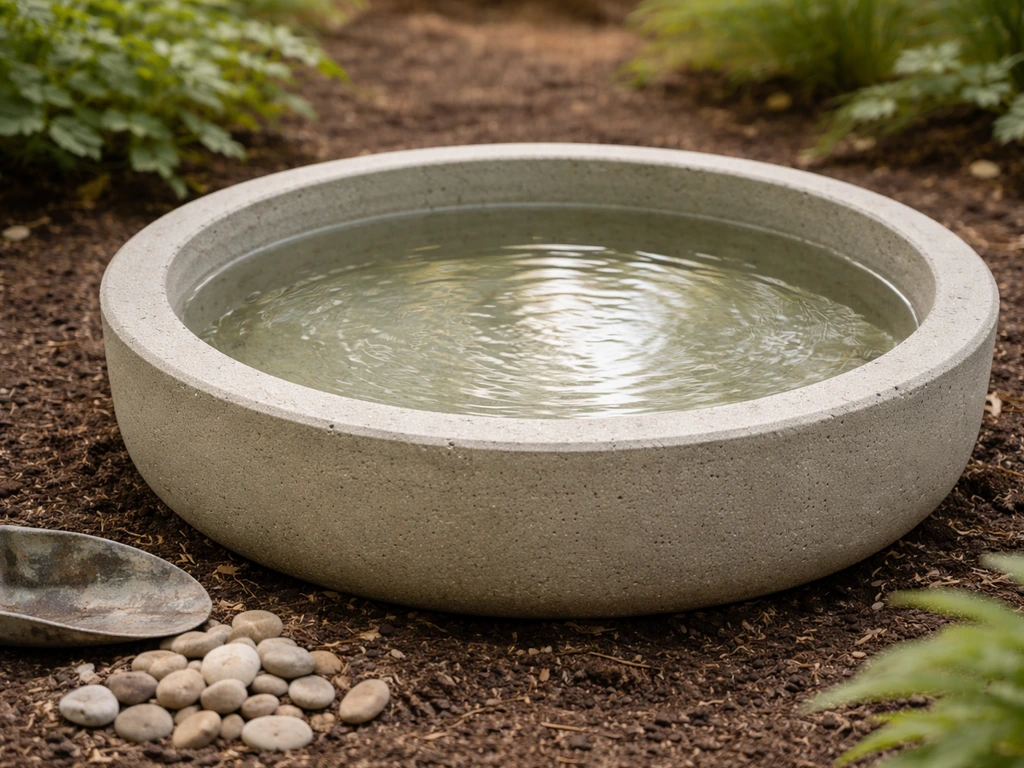
A bird bath has a surprisingly demanding job. It sits outside year-round, holds standing water constantly, and needs to be non-toxic for birds drinking and bathing in it. Most concrete failures in bird baths come down to three things: cracking from freeze-thaw stress, slow leaking through a porous shell, and surface spalling that makes the basin rough or chemically active. So when people ask about the 'best' mix, they're really asking for a mix that checks four boxes: water-tight enough not to drain overnight, tough enough not to crack when water in the pores freezes, smooth enough that birds aren't scratched and cleaning is easy, and free of anything that could hurt birds.
Bird safety is non-negotiable here. Once cured properly, plain Portland cement and sand mortars are chemically inert and are considered safe for contact with drinking water (think pool plaster, which uses the same base chemistry). What causes problems is using additives, pigments, or sealers that aren't rated for potable or at least aquatic contact, or rushing the cure so that free lime is still leeching into the water. Keep those principles in mind and you have a useful filter for every product decision below.
Your Three Main Mix Options
There isn't one single mix that beats all the others in every situation. The right choice depends on whether you're casting a whole bath from scratch, sculpting a freeform basin over an armature, or patching an existing one. Here's how the main approaches stack up.
Portland Cement + Sand (the go-to from-scratch mix)
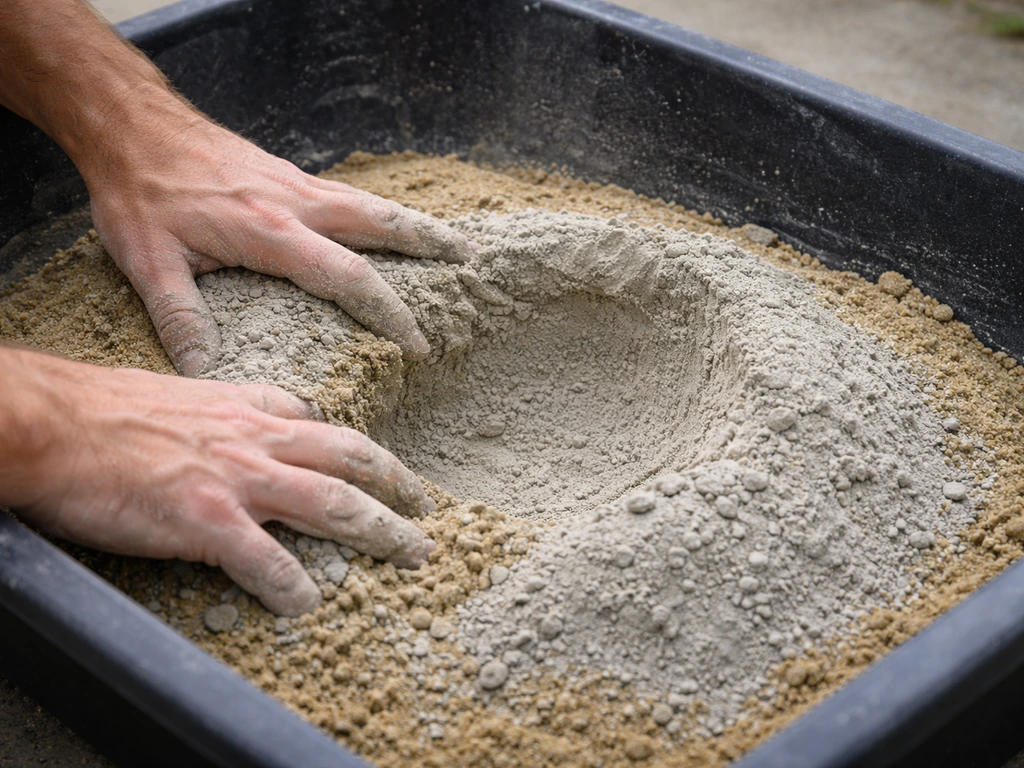
This is the mix I'd use if I were building a bird bath today. You buy a bag of Type I/II Portland cement and a bag of coarse builder's sand (not play sand, which is too fine and weakens the mix) and blend them yourself. The 1:2 ratio by volume gives you a mortar that's strong, dense, and workable enough to press into a mold or shape over wire mesh. Add a liquid air-entraining admixture at the manufacturer's dosage if you're in a climate with hard winters. Keep water additions minimal: aim for a consistency like thick peanut butter or stiff cookie dough. If it's soupy, you've added too much water and the final product will be weak and porous.
Mortar and Hypertufa-Style Mixes (great for sculpted basins)
If you want to sculpt a freeform, naturalistic basin rather than pour into a rigid mold, a mortar-based or hypertufa-style mix works better. A classic hypertufa ratio is 1 part Portland cement, 1.5 parts peat moss or perlite, and 1.5 parts coarse sand. The organic components reduce weight and make the mix incredibly easy to shape, but they also increase porosity, so a hypertufa bath almost always needs a good sealant applied after curing. The trade-off is worth it for the aesthetics and ease of sculpting, but if you skip the sealing step you'll have a bath that slowly drains and hosts more algae than you want.
Pre-Mix Bags (the fast, reliable option)
Bags labeled 'mortar mix' or 'sand mix' (not standard concrete mix, which has large gravel) work well for bird baths and require zero sourcing of separate ingredients. Products like Quikrete Sand/Topping Mix or Sakrete Mortar Mix are essentially pre-blended Portland cement and fine aggregate and produce a smooth, consistent surface. Follow the bag's water instructions and err toward the drier end of the range. Pre-mixes are slightly more expensive per pound than buying components separately, but for a first bird bath or a repair job, the convenience is absolutely worth it. Avoid general-purpose concrete mixes with pea gravel or larger aggregate: the coarse stone makes finishing the interior basin surface frustrating and results in a rougher texture.
| Mix Type | Best For | Freeze-Thaw Durability | Water-Tightness | Ease of Use |
|---|---|---|---|---|
| Portland + sand (1:2 DIY) | Casting full basins from molds | High (add air entrainer in cold climates) | High with low w/c ratio | Moderate (requires sourcing) |
| Mortar/Hypertufa style | Sculpted or freeform basins | Moderate (needs sealing) | Low to moderate (seal required) | Easy to shape |
| Pre-mix bag (sand/topping mix) | Repairs and first-timers | Moderate to high | Good with careful water ratio | Very easy |
Handling Freeze-Thaw, Cracking, and Constant Wetness
If you live somewhere that drops below freezing regularly, this section matters more than almost anything else. Water expands about 9% when it freezes. If it's sitting inside tiny pores in your concrete, that expansion cracks the shell from the inside out, a process called spalling. The engineering solution is [air-entrainment: tiny, evenly spaced microscopic bubbles deliberately introduced into the mix that act as pressure-relief valves](https://www.
fhwa. dot. gov/pavement/concrete/pubs/06118/) when pore water freezes. Research from FHWA and ACI guidelines target [a total air content of around 6% (plus or minus 1%)](https://www.
concrete. org/frequentlyaskedquestions. aspx? faqid=659) in the finished concrete, with the air-void spacing factor at 0.
20 mm or less (measured by ASTM C457). For mortar-fraction mixes like the ones we're talking about, an air content around 9% in the mortar portion is often cited as sufficient to reach that threshold.
In practical terms for a DIY bird bath, you don't need a lab to measure any of that. You just need to add a liquid air-entraining admixture (brands like Daravair or MasterAir are sold at masonry suppliers; some pre-mix bags include it already) at the dosage printed on the bottle. The mix will feel slightly creamier when you work it. That's the goal. Even if you can't measure spacing factor, the admixture brings you dramatically closer to freeze-thaw resistance than a plain mix ever would.
Beyond air entrainment, keeping the water-to-cement ratio low is your other best tool. A w/c ratio around 0.40 to 0.45 means just enough water to hydrate the cement and make the mix workable, but not so much that large capillary pores form as the excess water evaporates. Those large pores are what make concrete thirsty, leaky, and vulnerable to cracking. If your mix is stiff and hard to press into a mold, fight the urge to add water. Add a small amount of plasticizer (also called a water-reducer, available at masonry stores) instead.
Getting a Bird-Safe, Smooth Finish (and What to Do About Sealers)
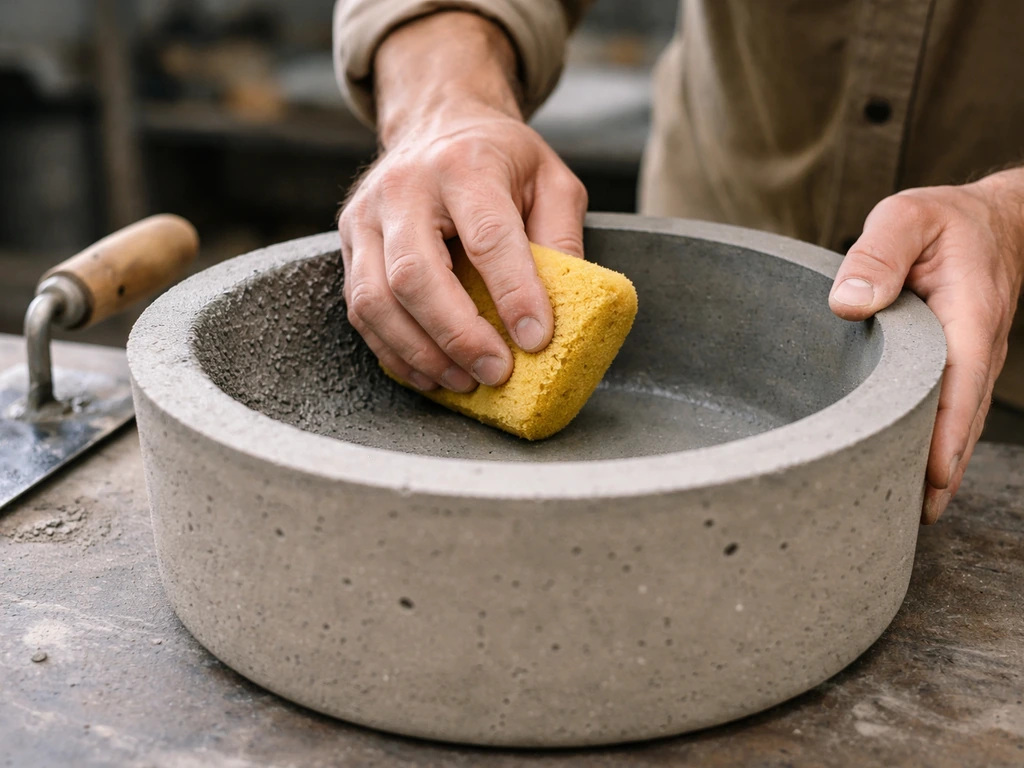
The interior surface of the basin is where birds come into direct contact with both the concrete and the water. You want it smooth enough that birds aren't cut on rough aggregate, but with a tiny bit of texture so they can grip and bathe comfortably. A 1:2 Portland-to-sand mortar finished with a steel trowel hits that target naturally. If you're using a pre-mix, a slightly wet trowel or a damp sponge float in the last stages of setting will close the surface without making it glass-smooth.
Whether you need a sealer depends entirely on your mix approach. If you are sealing to make the surface water-tight, the best sealant for a concrete bird bath should be rated for potable or aquatic contact once cured depends entirely on your mix approach. A dense, low-w/c-ratio Portland and sand mix that's properly cured often doesn't need one. A hypertufa or peat-based mix almost always does, because of its inherent porosity.
If you do apply a sealer, stick to products that are explicitly rated as safe for potable water contact once cured, such as a pool paint (like Drylok Masonry Waterproofer or a two-part epoxy pool coating), or a penetrating concrete sealer that has dried fully for the recommended dwell time before introducing water and birds. Avoid latex or solvent-based paints not rated for water contact, and skip anything that lists warnings about aquatic environments.
The sealing and painting decisions connect closely to the topics of how to seal a concrete bird bath and what paint works safely on concrete, which are worth digging into separately. To choose the best paint for concrete bird bath use, look for products explicitly rated as safe for potable or aquatic contact once cured, and apply them only after your basin is fully leached and ready for water.
If you do need a sealer, choose one rated safe for potable or aquatic contact and apply it after the concrete has cured fully how to seal a concrete bird bath. To seal a concrete bird bath, choose a sealer that is rated safe for potable or aquatic contact once cured, then apply it only after the concrete has finished curing how to seal a concrete bird bath.
Mixing Ratios and Batch Guidance for a Typical Bird Bath
A standard bird bath basin holds roughly 1 to 3 gallons of water with walls 1 to 1.5 inches thick. That volume of concrete is surprisingly small. You don't need to mix a full bag: for most basins you'll use 5 to 10 pounds of Portland cement and 10 to 20 pounds of sand per session. Here's a practical batch recipe for a medium bird bath using the 1:2 Portland-to-sand approach.
- Measure 2 cups (approximately 1 lb) of dry Portland cement Type I/II into a mixing bucket or wheelbarrow.
- Add 4 cups (approximately 2 lbs) of coarse builder's sand and mix the dry components together thoroughly until uniform in color.
- If using an air-entraining admixture, mix it into your water first at the manufacturer's dosage (typically a few milliliters per liter of water).
- Add water gradually, starting with about 0.8 cups of water for every 3 cups of dry mix total. Mix thoroughly with a margin trowel or drill-mounted paddle mixer.
- Check consistency: the mix should hold its shape when squeezed in your fist and not slump, but should press smoothly against a mold or mesh without crumbling. Think dense, stiff cookie dough.
- If the mix is too stiff, add water in very small splashes (a tablespoon at a time). If too wet, add small amounts of dry mix at the same 1:2 ratio.
- Use within 30 to 45 minutes before the mix begins to stiffen and become unworkable.
Scale up by simply multiplying. For a larger casting, 5 lbs Portland to 10 lbs sand plus appropriate water covers a good-sized basin with 1.25-inch walls. Work in thin layers (under an inch each) if you're building over wire mesh, pressing out air pockets by tamping firmly with gloved fingers or the back of a trowel. Voids are your enemy: they become the first places cracks propagate and the first points where leaks develop.
Curing Time and First-Week Care
Concrete doesn't dry: it cures through a chemical reaction called hydration, and that reaction needs moisture to work properly. The most common mistake with a DIY bird bath is leaving it in the sun after demolding and letting the surface dry out too fast. That causes shrinkage cracks before the concrete has developed any real strength.
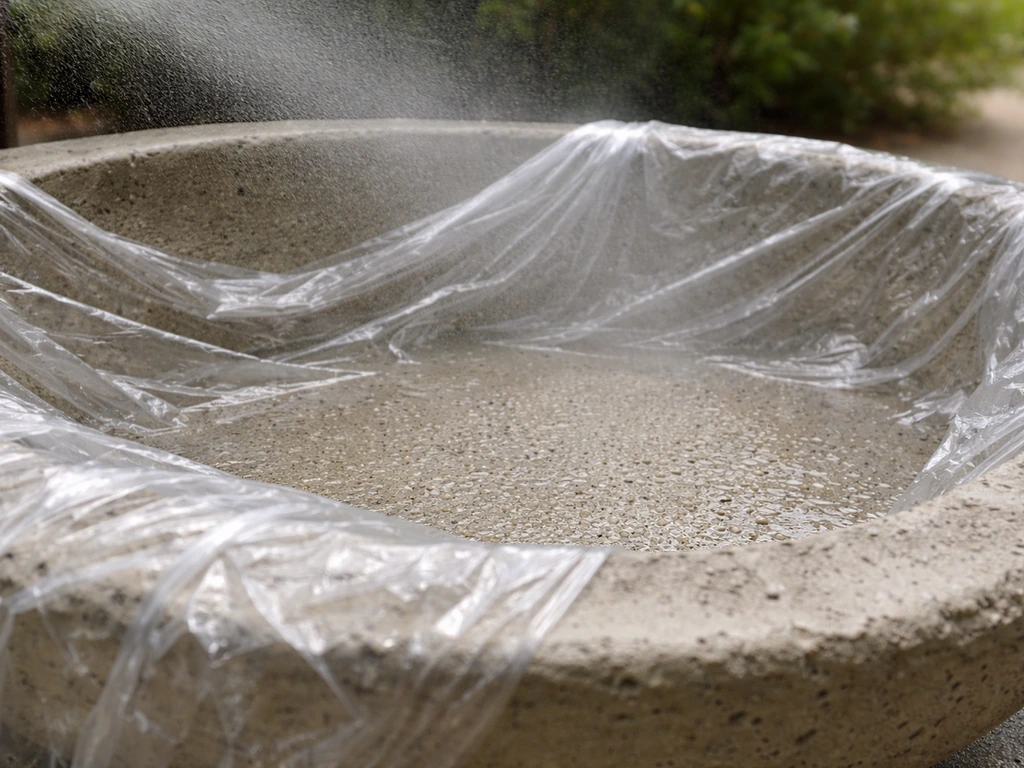
After demolding (wait at least 24 hours after the last pour), cover the bird bath loosely with a plastic bag or damp burlap and keep it in the shade for the first week. Mist the surface with water two or three times a day if you can. Seven days of damp curing gets you to around 70% of final strength.
Twenty-eight days gets you to full strength, but a week of careful curing is the minimum before you should fill it and leave it outside.
There's another first-week task that often gets skipped: leach testing. Fresh Portland cement has a high pH from free lime, and that alkalinity can irritate birds. Fill the cured basin with water, let it sit for 24 hours, dump it, and repeat three to five times over the first week. After the third or fourth fill-and-dump cycle, test the pH with a simple aquarium strip. You're aiming for a pH below 8.5 before birds use it. If pH is still high after five rinses, a mild acid wash (one part white vinegar to ten parts water, left in the basin for an hour, then rinsed thoroughly) neutralizes residual lime quickly and safely.
To test for seepage, fill the bath and check the water level after 24 and 48 hours. Factor out evaporation (a marked reference cup of water set beside the bath gives you a baseline). If water drops faster than the evaporation baseline, you have seepage and need to either apply a penetrating sealer or use a hydraulic cement patching compound on the interior. A well-mixed, low-w/c-ratio batch usually passes this test without any sealer at all.
Installation and Placement Tips That Protect Your Concrete
Even the best concrete mix will fail prematurely if the bird bath is installed badly. Leveling matters: an unlevel basin concentrates water weight unevenly, stresses the pedestal joint, and means water sits against the same spot of the rim constantly, speeding up freeze-thaw erosion in that one spot. Use a bubble level on the basin before the pedestal adhesive or cement sets. If you need to attach or re-seat a pedestal, use the best glue for concrete bird bath so the joint stays stable and resists future cracking from freeze-thaw cycles.
Foundation support is just as important. A bird bath set directly on soil can shift, heave with frost, or tilt over time, all of which crack the pedestal or the basin. A simple 2-inch thick compacted gravel pad, or a few flat pavers set level, distributes the weight and lets drainage flow away from the base. In cold climates, consider emptying and storing the bath from December through March, or at minimum removing standing water before hard freezes. Even the most air-entrained concrete takes a beating from repeated freeze-thaw cycling of water sitting in a thin-walled basin.
Placement also affects how fast algae and mosquitoes become a problem, which feeds back into how hard you're scrubbing the concrete surface and how quickly you wear it down. A spot with morning sun and afternoon shade is the sweet spot: enough sun to slow algae growth, enough shade to reduce evaporation and keep water cooler. Avoid placing the bath directly under trees with heavy sap or berry production, since those deposits accelerate staining and algae colonization. If you're in a region prone to hard winters, a spot against a south-facing wall catches radiant heat and delays overnight freezing by a meaningful margin.
Once the bath is in use, the surface condition matters for long-term concrete health. Aggressive wire brushing of the basin can scratch and open the surface, increasing porosity over time. A soft-bristle brush and plain water handles most algae cleanup. If you're seeing red or rust-colored staining develop on the basin walls, that's usually iron in local water or mineral deposits reacting with the concrete surface, a separate issue worth investigating to keep the basin looking clean and birds coming back.
FAQ
Can I fix a leaking bird bath with patching compound instead of redoing the whole basin?
Yes, but choose the right patch type. For interior leaks or pinholes, use a hydraulic cement patching compound rated for exterior, water-exposure use, and follow a “drier surface first” rule (remove loose material, then wet the substrate lightly before patching if the product instructs it). Avoid epoxy or thick coatings as a first fix, if you do not first find and eliminate the voids, because trapped moisture will create new pathways behind the patch.
If my concrete mix is dense, do I still need a sealer for safety and water-tightness?
Most sealers and paints fail the bird-bath test if they are not explicitly rated for potable or aquatic contact once cured. Even when a product is “concrete waterproofing,” it can still be unsafe if it includes biocides, solvents, or pigment systems that are not meant for drinking-water contact. If your mix is dense and properly cured, skip sealer first, then apply only products that you can confirm are safe after full cure, and wait the full cure and any leach period before refilling.
What sand should I use, and can I substitute play sand or masonry sand?
Don’t use ordinary play sand, and don’t use general-purpose concrete with pea gravel. Fine sand mortar typically finishes smoothly and creates a denser matrix, while play sand is too fine and weakens the mortar bond structure. Larger aggregate makes interior finishing rough and increases voids, which raises the risk of seepage and bird foot abrasion. Stick to coarse builder’s sand for the 1:2 mortar approach, or use a premix labeled mortar or sand topping.
Will adding an air-entraining admixture guarantee it won’t crack in freezing climates?
Air-entrainment is still one of the best tools for freeze-thaw, but it does not make the bath “maintenance free.” You should still prevent repeated wetting and freezing of the rim area by leveling the basin, emptying the bath before hard freezes (especially after heavy rains), and removing standing water if you get extended sub-freezing periods. If you cannot empty it safely, prioritize a thick-walled basin and robust air content over shortcuts.
My mix is too stiff, can I just add more water to make it easier to shape?
If you are using an admixture, adding extra water is the most common mistake because it cancels out the low water-to-cement ratio benefits. Instead of adding water, adjust workability by mixing more thoroughly and using a water-reducer (plasticizer) at the product’s dosage, then keep the mix stiff enough to hold shape when pressed. Soupy mixes look easier to work, but they cure with larger pores and leak sooner.
Do I need to do the same leach and seepage testing if I only patched part of the bird bath?
Yes, but treat it like a repair rather than a new build. New or patched areas often carry higher residual alkalinity and may need longer than a week of rinse cycles before birds use it. Re-run your fill-and-dump leach test and check pH with aquarium strips at least 24 hours after each fill, then verify seepage by watching water level change over 24 and 48 hours.
How do I know if I mixed it correctly, and what if the surface looks powdery?
Use the thickest “peanut butter to stiff dough” consistency for casting and sculpting, then finish with controlled troweling and minimal water. If your surface looks chalky or powdery after curing, that is usually a sign of poor curing or too much water. For future batches, improve curing first (shade, cover, misting for the first week) rather than trying to compensate with extra water at mixing time.
Is it okay to finish with a wet trowel or sponge, and how wet is too wet?
A “slightly wet” finishing approach helps, but you want to avoid free water sitting on top during the final set, because it can create a weak surface layer. If you use a damp sponge float, use it lightly and stop once the surface is closed and uniform, then cure properly right away. Letting the interior dry early is riskier than making a small finishing pass with a damp tool.
How smooth should the interior be so birds can grip without scratching, and how do I treat rough areas later?
Bird-foot comfort matters. A good target is a smooth troweled interior with no exposed aggregate, sharp ridges, or rough scoring. If you want a slight grip, achieve it by lightly texture finishing before full set, then avoid aggressive brushing afterward. For existing rough surfaces, soften cleanup with a soft brush, and use gentle cleaning methods first to avoid opening pores further.
If my bird bath develops red stains, is that a problem with the concrete mix or something else?
If you see red or rust-like staining, it often comes from iron in local water or mineral deposits, and it does not always mean your concrete mix was wrong. Try cleaning with plain water and a soft brush, then if staining persists, investigate the source of water minerals before changing the entire mix. Frequent harsh scrubbing can damage the surface and increase porosity.