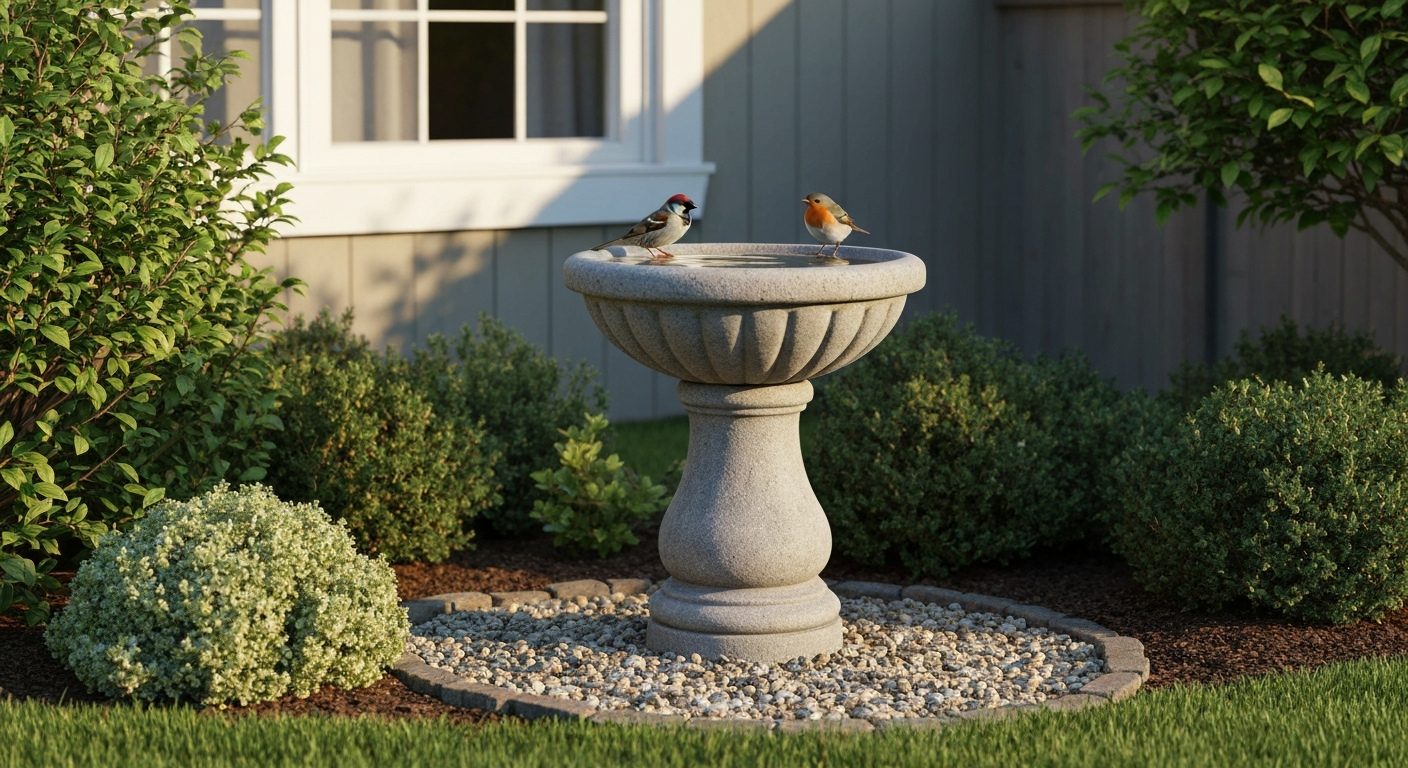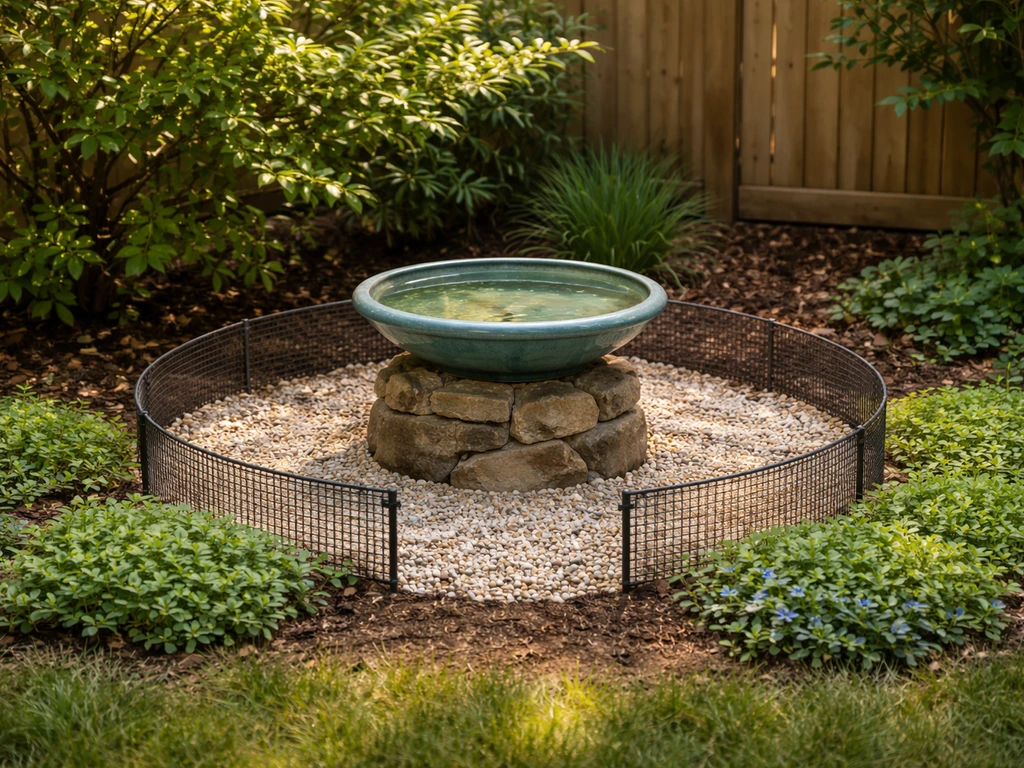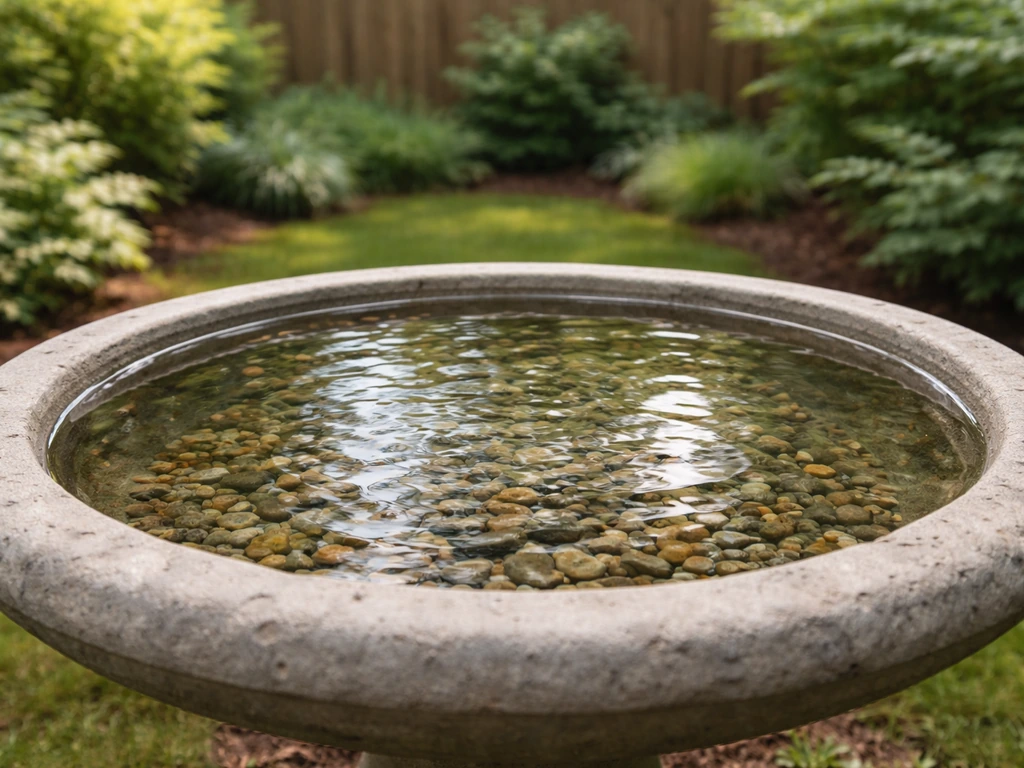
To anchor a bird bath, drive a length of rebar or a ground spike through the pedestal base and into the soil at least 12 inches deep, then check for level. That single step handles most tipping problems in a yard with normal wind and no large animals. If you have heavy wind, curious pets, or a concrete pedestal bath, you will want a more permanent fix like a poured concrete footing or anchor bolts. This article walks through every practical method, matched to your specific bath type, so you can pick what actually fits your setup.
How to Anchor a Bird Bath: Safe, Step-by-Step Methods

Marcus Henley
10 Aug 2026
Why anchoring your bird bath actually matters
A tipped bird bath is more than an annoyance. A heavy concrete pedestal falling on a pet, a child, or a visiting bird can cause real injury. I have seen a 60-pound pedestal bath go over in a moderate gust, crack in half on the patio, and that was the end of it. Beyond breakage, an unstable bath keeps birds away because they are cautious about perching on anything that wobbles. Squirrels, raccoons, and dogs all investigate bird baths and will knock over anything not properly secured. Getting the bath anchored also protects your investment: a quality concrete or stone bath can cost several hundred dollars, and a single tip can shatter it. Long-term, a well-anchored bath stays level, holds water better, and needs less frequent adjustment.
Quick decision guide: matching your anchoring method to your bath
Before you grab a shovel, it helps to match your situation to the right method. The table below covers the most common combinations of bath type, surface, and risk level. Use it as a starting point, then read the detailed sections for step-by-step instructions.
| Bath Type | Surface | Risk Level | Recommended Method |
|---|---|---|---|
| Concrete or stone pedestal | Soil or lawn | Medium to high | Rebar pin through shaft + concrete footing |
| Concrete or stone pedestal | Patio or concrete slab | Medium | Anchor bolts or adhesive epoxy into slab |
| Ceramic or glazed bowl on stand | Any | Medium | Anti-tip bracket + rubber non-slip pad + weighted base |
| Lightweight resin or plastic pedestal | Soil | Medium | Ground spike through base hole |
| Metal pedestal bath | Soil | Medium | Ground spike or welded stake driven into soil |
| Metal pedestal bath | Concrete | Medium | Bolt-through base plate |
| Hanging bath (chain/hook) | Overhead hook or branch | Low | Load-rated corrosion-resistant hardware + check anchor point |
| Portable basin (no pedestal) | Any flat surface | Low | Non-slip mat + sandbags or weighted perimeter |
Risk level goes up if you live in a windy region, have large dogs or raccoons visiting regularly, or if the bath sits on a slope. In those cases, always step up one level of security from whatever the table suggests as minimum.
Site selection and getting the bath level before you anchor
Placement decisions made before you anchor save a lot of rework later. Pick a spot that is partially shaded, ideally with a few feet of open space around the bath so birds can see approaching predators. Nearby shrubs or a small tree about 10 feet away give birds a place to land first and preen after bathing, but avoid placing the bath directly under a dense canopy where debris and droppings will foul the water constantly.
Once you have your spot, you need to level the ground before you anchor anything. A tilted bath loses water on one side and strains the pedestal joint. Here is how I approach it: set the bath roughly in position, then place a two-foot spirit level across the basin. If it reads off, remove the bath, use a flat spade to shave down the high side or add a thin layer of compacted gravel or coarse sand to the low side, and recheck. For a concrete footing install, you will set level in the concrete itself, which is covered in the pedestal section below. The topic of leveling a bird bath is worth its own deep dive, and if you are working on uneven or sloped ground, it is worth reading up on that process specifically before you start digging. For step-by-step instructions, see our guide on how to level a bird bath (bbb2306f-dbbd-4eb6-a1de-f1f8aad76b53).
Tools and materials checklist
You will not need all of these for every method, but having them on hand avoids mid-project trips to the hardware store.
- Half-inch or 5/8-inch diameter rebar, cut to 18-24 inches (for pin-through-pedestal method)
- Hacksaw or angle grinder for cutting rebar to length
- Sledgehammer or rubber mallet for driving stakes
- Power drill with hammer-drill function and masonry bits (3/8-inch and 1/2-inch) for concrete work
- Anchor bolts or wedge anchors sized to match your base plate holes (3/8-inch or 1/2-inch diameter is typical for bird bath bases)
- Adhesive/epoxy anchor system such as Hilti HIT-RE 500 series or equivalent two-part injectable epoxy for post-installed anchors in concrete
- Bag of premixed concrete (Quikrete 80 lb bag is enough for a small footing)
- Mixing bucket and paddle or margin trowel
- Corrosion-resistant hardware (stainless steel or hot-dip galvanized bolts, nuts, washers)
- Ground spikes or auger-style garden stakes (galvanized steel, 12-18 inch length)
- Spirit level (2-foot length is most useful)
- Flat spade and pointed shovel for digging
- Tape measure
- Non-slip rubber pads or matting for basin-on-surface installs
- Anti-tip brackets or L-brackets (galvanized or stainless)
- Sandbags or decorative gravel bags for portable installs
- Safety glasses, work gloves, and an N95 or P100 respirator if mixing or drilling concrete (silica dust from concrete drilling and dry-mix bags is a serious lung hazard per OSHA guidance)
Anchoring methods: what each one does and when to use it
There are seven common approaches for anchoring a bird bath, and they are not interchangeable. For a concise, step-by-step walkthrough on how to secure a bird bath, see our focused guide that matches methods to common bath types and surfaces. Here is a plain-language rundown of each.
Rebar or ground stakes through the pedestal shaft
Most concrete pedestal baths have a hollow center shaft or a hole at the base. You drive a length of half-inch rebar down through that shaft into the soil. It is the fastest, cheapest method and works well in lawns and garden beds. The trade-off is that it does nothing to prevent rotational wobble if the shaft hole is loose-fitting, and it is not suitable for hard or rocky ground.
Concrete footings
For heavy or tall pedestal baths, pouring a small concrete footing is the most permanent and secure option. You dig a hole, set the pedestal base into wet concrete, check for level and plumb, and let it cure. Manufacturer guidance like that from Haddonstone specifies using stainless steel restraining bars embedded in the shaft and filling with concrete of at least C25/30 strength. For most backyard installs, a premixed bag concrete with a 28-day strength around 4,000 psi is more than adequate. Full cure takes 28 days for maximum strength, but the bath is usable after about 7 days if you keep it moist and do not stress the joint.
Anchor bolts
If your bath sits on an existing concrete patio or slab, anchor bolts are the clean solution. You drill into the slab with a hammer drill, set a wedge anchor or epoxy anchor, and bolt through the base of the pedestal. OSHA and NIOSH note respirable crystalline silica hazards from cutting, drilling, grinding, or mixing concrete and require employers to follow the silica standard and provide appropriate controls and PPE (respirators, eye protection, gloves) when workers are exposed during drilling/coring or mixing concrete on site OSHA — Construction Hazards / Silica resources and PPE guidance. Products like the Hilti Kwik-Bolt 3 or Simpson Strong-Tie Strong-Bolt wedge anchors provide published load tables so you can confirm the anchor is sized correctly for the weight and lever arm of your specific bath.
Ground spikes
Galvanized metal ground spikes are designed for exactly this kind of application. You drive them into soil and seat the pedestal base over them. They are easier to remove than rebar if you want to relocate the bath seasonally, which I appreciate in climates where you want to bring the bath in for winter.
Adhesive and epoxy
For anchoring a bowl to a pedestal top, or a pedestal base to a concrete slab, a two-part construction epoxy creates a very strong bond. This is best used for permanent installs on non-porous or low-porosity surfaces. The Hilti HIT-RE 500 series is designed for structural adhesive anchoring into concrete, but for garden applications a hardware-store two-part construction epoxy works well for bowl-to-pedestal bonding. The limitation is that the joint is very difficult to undo, so do not epoxy anything you plan to move or transport.
Sandbags and weighted bases
For portable basins or very lightweight baths, sandbags placed around or inside the base structure add ballast. For manufacturer-style guidance on lightweight hanging and portable baths, see Outsunny, Resin Hanging Bird Bath Installation Guide (manual example) Outsunny — Resin Hanging Bird Bath Installation Guide (manual example). This is the lowest-tech solution and the easiest to adjust. It is not permanent, but it works well for basins on decks or patios where you cannot drill.
Anti-tip kits and brackets
These are small L-shaped or strap-style brackets, often sold for anchoring furniture or appliances, that can be adapted for bird baths. They work by attaching the base of the bath to a fence post, wall, or ground anchor point. They are especially useful for ceramic or fragile baths where driving a stake through the base is not an option.
Anchoring pedestal and concrete bird baths
Concrete and stone pedestal baths are the heaviest and most stable of the common types, but they are also the most dangerous if they tip, and the most expensive to replace if they crack. There are three practical options depending on whether you have a soil surface or a concrete patio.
Method 1: Rebar pin through the pedestal shaft (soil surface)
- Set the assembled bird bath in your chosen location and check for level across the basin.
- Look for the hollow center shaft in the pedestal or a hole at the center of the base. Most cast concrete baths have one.
- Cut a length of 1/2-inch rebar to about 18-24 inches using a hacksaw or angle grinder. Wear safety glasses.
- Insert the rebar down through the shaft until it contacts the soil.
- Using a sledgehammer, drive the rebar through the shaft and at least 12 inches into the ground. In loose soil, go deeper, ideally 18 inches.
- Recheck level and nudge the base if needed before the soil settles back around the rebar.
- Backfill any disturbed soil and tamp down around the base.
Pros: fast, cheap (a 2-foot rebar offcut costs almost nothing), removable with effort, and sufficient for most single-piece pedestal baths. Cons: does not work on hard or rocky ground, and a very loose shaft hole will still allow wobble. If the shaft hole is oversize, pack it with a concrete filler or use a slightly thicker rod.
Method 2: Poured concrete footing (permanent installation)
- Mark a circle about 12 inches in diameter at your chosen spot and dig down to at least 12 inches, or below the local frost line in cold climates. In northern states, frost lines can be 36-48 inches deep, so check your local building extension resources.
- Tamp the bottom of the hole firmly.
- Mix an 80 lb bag of premixed concrete per manufacturer instructions. Keep the mix fairly stiff (not soupy) to support the pedestal base without slumping. Wear a respirator when opening and mixing dry concrete bags.
- Pour concrete into the hole to about 3-4 inches below grade.
- Set a stainless steel rebar pin or restraining bar vertically in the wet concrete at the center of the hole, plumbing it carefully.
- Lower the pedestal base over the pin and into the wet concrete. The base should sit at or just above finished grade.
- Check level in two directions with your spirit level and adjust the pedestal by pressing one side down gently.
- Support the pedestal temporarily with wooden props or bricks while the concrete sets. Keep it undisturbed for at least 24 hours, and keep the concrete moist for 7 days by lightly misting it. Wait the full 7 days before placing the basin and filling with water.
- Full concrete strength is reached at 28 days.
Pros: the most permanent and secure method, handles high wind and heavy animal contact, protects expensive stone baths from tip-over cracks. Cons: time and labor intensive, truly permanent (relocating requires breaking out the footing), and not suitable if you rent or want a seasonal install. The rule-of-thumb for embedment depth is roughly one-third of the total pedestal height below grade, which aligns with standard post-installation guidance used in fencing and sign structures.
Method 3: Anchor bolts into an existing concrete patio or slab
- Position the bath base on the slab and mark the bolt hole locations through the base plate. Most pedestal bases have two to four pre-drilled holes.
- Move the bath aside and drill into the slab with a hammer drill using a masonry bit matched to your anchor bolt diameter (typically 3/8-inch or 1/2-inch).
- Clean dust from the holes with compressed air or a brush. If using an adhesive/epoxy anchor system, inject epoxy and insert the threaded rod per the product instructions, then wait for full cure before loading.
- For mechanical wedge anchors, insert the anchor, then thread on the nut and washer and torque to the manufacturer's specification (typically listed on the product data sheet). Do not overtighten, which can crack the slab near the edge.
- Reposition the bath base over the anchors and tighten the fasteners.
- Recheck level and shim with stainless steel washers under the base plate if needed before final tightening.
Pros: clean, professional-looking result on a finished patio, very strong in tension and shear. Cons: permanent holes in your patio slab, requires a hammer drill, and anchors must be sized and spaced per manufacturer load tables (check edge distance minimums, usually at least 1.5 to 2.5 inches from a slab edge). Simpson Strong-Tie and Hilti both publish free technical data for their anchor products including allowable loads, which is worth referencing if your bath is unusually heavy or tall.
Anchoring ceramic and fragile bird baths
Glazed ceramic baths are beautiful but punishing to drop. You cannot drive rebar through a ceramic pedestal, and epoxying a ceramic base to a patio is often irreversible. The goal here is to secure without stressing the material.
Non-slip pads and rubber matting
Start here before anything else. A thick rubber non-slip mat under the base of the bath eliminates small shifts and reduces vibration from wind. Cut a piece of mat slightly smaller than the base footprint so it is not visible. On a patio, this alone handles low-risk situations. It is not enough on its own if you have dogs or strong winds.
Weighted base with sandbags
For ceramic baths with a wide, hollow base or a decorative planter-style base, fill the interior cavity with play sand or purchase small fabric sandbags to pack around the base. This lowers the center of gravity significantly and makes the bath much harder to tip. I have used decorative river rock inside a hollow pedestal base as a substitute for sand, which also looks good if the base has open sides.
Anti-tip brackets for ceramic pedestals on a hard surface
- Choose a stainless steel L-bracket or flat strap with pre-drilled holes. You need two brackets positioned on opposite sides of the base.
- Drill into the patio surface (not the ceramic) and set short anchor bolts or concrete screws like Simpson Strong-Tie Titen HD screw anchors, which are designed for low-torque installation and minimize cracking risk near edges.
- Cut a small strip of rubber gasket material to sit between the bracket and the ceramic base. This prevents the bracket from chipping the glaze under vibration.
- Loosely attach the bracket arm against the ceramic base without clamping tight. The goal is lateral restraint, not compression.
Pros: reversible, no contact damage to ceramic, effective against lateral tip. Cons: visible hardware, requires drilling the patio surface. For very delicate or antique ceramic pieces, I would honestly recommend moving them to a sheltered location rather than risking a wind event. Keeping a fragile bath from falling over is an ongoing challenge, and there is a limit to how much security any non-invasive method provides. For step-by-step tips on how to keep a bird bath from falling over, see our practical guide that matches methods to bath type and site conditions.
Bonding bowl to pedestal with construction epoxy
If your ceramic bath has a separate bowl that slides onto a pedestal top, bonding the joint with a flexible, weather-resistant construction adhesive (not rigid two-part structural epoxy, which can cause stress fractures in ceramic during temperature cycling) keeps the basin from shifting or falling. Clean both surfaces with isopropyl alcohol, apply a thin bead of adhesive to the pedestal top rim, seat the basin, and let cure for 24 hours before adding water. This is a permanent bond, so confirm you are happy with the basin position first.
Anchoring metal bird baths
Metal pedestal baths are lighter than concrete but taller and more wind-prone. The good news is that most have a hollow tubular base that accepts ground spikes or rebar easily, and some come with a bolt-through base plate for hard surface mounting.
Ground spikes for metal pedestal baths in soil
- Purchase a galvanized or stainless steel ground spike sized to fit through the hollow center of the pedestal tube, typically 1/2-inch to 3/4-inch diameter and 18 inches long.
- Pre-drive the spike into the soil at your chosen spot to create a pilot hole, then pull it out.
- Seat the pedestal base over the spike's position and drive the spike through the tube and into the soil with a rubber mallet or sledgehammer, using a block of wood over the spike head to avoid deforming it.
- Alternatively, if the base has a flat flange rather than a tube, use two opposing ground stakes driven at opposing 15-degree angles through the flange holes.
- Check for level. If needed, unscrew or tap the pedestal slightly to adjust.
- Recheck annually, as frost heave can loosen the spike in cold climates.
Bolt-through base plate on concrete or hard surface
- Confirm your metal pedestal has a flat base plate with bolt holes, or weld/clamp one on if fabricating a custom mount.
- Follow the same anchor bolt process described for concrete pedestals: drill the slab, set wedge or epoxy anchors, and bolt through the base plate.
- Use stainless steel or hot-dip galvanized hardware throughout. Avoid zinc-plated hardware outdoors, as it will rust and seize within a season or two in wet conditions.
- Apply a stainless steel washer under each bolt head or nut to spread the load across the thin base plate metal.
The corrosion issue with metal baths is worth taking seriously. I have ruined two anchor setups by using the wrong hardware, only to find the bolts welded solid with rust a year later. Stainless steel fasteners are more expensive upfront but they will still turn freely after a decade of outdoor exposure.
| Method | Surface | Pros | Cons | Best For |
|---|---|---|---|---|
| Rebar pin through shaft | Soil/lawn | Fast, cheap, removable | Does not prevent wobble if shaft is loose; no use on hard ground | Concrete/stone pedestals in garden beds |
| Concrete footing | Soil/lawn | Most permanent, handles high wind | Truly permanent, labor intensive, frost depth matters | Heavy stone baths, high-wind locations |
| Wedge/epoxy anchor bolts | Concrete slab | Strong, clean finish | Holes in patio, requires hammer drill | Patio installs, all pedestal types |
| Ground spike | Soil/lawn | Easy to install and remove | Less secure than rebar in loose soil | Metal or lightweight resin pedestals |
| Anti-tip brackets + rubber pad | Any hard surface | No damage to fragile material | Visible hardware, lateral restraint only | Ceramic and delicate baths |
| Construction adhesive/epoxy | Non-porous surfaces | Strong, invisible joint | Permanent, not suitable for ceramic-to-ceramic under freeze-thaw | Bowl-to-pedestal bonding |
| Sandbags + non-slip mat | Any surface | No drilling, fully portable | Not secure against strong wind or large animals | Portable basins, deck use, renters |
Cat-proofing and predator considerations when anchoring
Anchoring prevents tipping, but placement and design choices also affect whether the bath is safe for birds using it. A securely anchored bath in a location that gives cats easy cover to ambush from is still a problem. Position the bath at least 5-6 feet away from dense low shrubs or fences a cat could launch from, and aim for open ground around the base so birds can see the approach. If you have a specific cat problem, a tall pedestal of 24-30 inches reduces (but does not eliminate) a cat's ability to reach the basin rim. Making a bird bath truly cat-proof involves a combination of placement, physical deterrents, and sometimes a dedicated cat-proof feeder station design, which is worth exploring separately if you have persistent feline visitors. For specific strategies on placement, barriers, and deterrents, see our guide on how to make a cat proof bird bath.
Keeping water in the bath after anchoring
Once the bath is anchored, water retention becomes the next thing to manage. A tilted basin loses water fast on the downhill side. If you have leveled correctly, the main remaining causes of water loss are evaporation, splash from bathing birds, and wind. For splash, a slightly deeper basin (1.5-2 inches at the center, 1 inch at edges) reduces the volume lost with each bird's bath session. You can add a lip extender or leave the basin slightly underfilled. Placing a flat stone or small river rocks in the center of a deep basin gives birds a secure perch while reducing the splashing zone. Wind-driven evaporation is reduced by a site with partial shelter, not full shade. Keeping water in a bird bath consistently across different weather conditions and seasons is a topic on its own, and the solutions vary quite a bit by climate and basin design. For detailed strategies on how to keep water in a bird bath across climates and basin designs, see our guide on how to keep water in a bird bath.
Winter care and freeze-proofing your anchored bath
In climates where temperatures drop below freezing, an anchored bird bath needs extra thought. Water expands when it freezes, and that expansion can crack a ceramic or concrete basin from the inside. If you have permanently anchored a concrete or stone bath with a footing, the basin itself should be removable at the end of the season. Store it in a garage or shed to avoid freeze-thaw cracking, and leave the anchored pedestal in place. For metal baths with heated elements, the anchor method does not change, but make sure the electrical cord path to the basin does not create a tripping hazard or abrasion point. Use a GFCI-protected outdoor outlet for any heated bath element. If you choose to keep a concrete bath in place through winter, draining it completely in late fall prevents freeze damage, but even an empty basin can crack from frost heave if the footing is too shallow. Setting the footing below the frost line at installation is the only real prevention for that.
Maintenance: keeping the anchor secure over time
Even a well-anchored bath needs periodic checks. Soil settles, frost heave shifts pedestals, and hardware corrodes. I do a quick inspection every spring and fall. Check that the pedestal has not shifted out of level (place your spirit level across the basin), look for rust on any exposed fasteners, and tug the pedestal gently to feel for looseness. If a rebar pin has worked loose, you can often drive it deeper or swap in a longer one. If anchor bolts have corroded, replace the hardware before the next season, not after. While you are checking the anchor, it is a good time to clean the basin. Cornell Lab's Project FeederWatch and NC State Extension both recommend scrubbing bird baths weekly during warm months and sanitizing with a 10 percent bleach solution (one part household bleach to nine parts water), rinsing thoroughly, and refilling. Mosquito control is also part of the maintenance routine: change the water every 2-3 days during summer, and if that is not practical, EPA-registered Mosquito Dunks use Bacillus thuringiensis israelensis (Bti) to kill mosquito larvae without harming birds, following the product label for dosing in small water features. See CDC, Larvicides and Mosquito Control (homeowner guidance) for its recommendation that homeowners use EPA‑registered larvicides such as Mosquito Dunks (Bti) or remove/refresh standing water to prevent mosquito breeding CDC — Larvicides and Mosquito Control (homeowner guidance).
When to hire a professional
Most bird bath anchoring is a genuine DIY project, but there are situations where calling in help makes sense. If your bath weighs more than 200 pounds and needs a deep footing below the frost line in rocky soil, hiring a landscaper with a power auger is faster and safer than hand-digging. If you want anchor bolts in a reinforced concrete slab and are not sure where rebar runs (cutting into it with a hammer drill causes serious headaches), a concrete contractor with a rebar locator is worth the call. And if you are mounting a wall-mounted fountain or basin on an exterior masonry wall and are not confident in the wall's condition, a mason can check the substrate and select appropriate anchors, especially since an overloaded or deteriorated masonry anchor point can fail suddenly under a loaded basin.
A note on "bird bath" video game searches
If you landed here looking for help with the bird bath location in the video game Grounded, or trying to figure out how to reach the top of the in-game bird bath or get to a specific grounded area near it, this article will not be much help. Those are game-specific navigation questions with their own dedicated guides covering the in-game map and climbing mechanics. For video-game players, see grounded how to get on top of the bird bath for a step-by-step in-game guide. If you were actually asking where is the bird bath in Grounded, see the dedicated Grounded guide for the exact in-game location and navigation tips. This article is entirely about real-world backyard bird baths.
FAQ
Why should I anchor a bird bath?
Anchoring improves safety and stability: prevents tipping from wind, large birds, raccoons, or pets; reduces spillage and water loss; deters theft; and keeps hanging or wall-mounted baths secure. Proper anchoring also helps prevent injury to birds and reduces maintenance from repeated refilling and cleaning.
How do I choose the right anchoring method for my bird bath type?
Match method to material and location: heavy stone or concrete pedestals need permanent footings and mechanical anchors or filling the shaft with concrete; ceramic or resin pedestals often work with concrete/epoxy infill or rebar/ground spikes; metal baths on stands can use ground spikes, stake anchors or bolted bases; hanging baths require rated hardware (chain, cable, carabiner) to a strong branch/beam; wall-mounted baths need masonry anchor bolts or toggle bolts per substrate. Consider weight, wind exposure, frost depth and whether the installation should be removable.
Step-by-step: How do I anchor a pedestal (concrete/stone) bird bath?
1) Site it on stable, level ground or poured concrete pad. 2) For permanent: excavate footing sized to weight and local frost depth, pour concrete (use premix), cure per instructions (keep moist 7–28 days). 3) Set pedestal aligned, use stainless starter bars or rebar dowels embedded into footing and into pedestal base; epoxy adhesive (rated for concrete) or mechanical anchors can be used for post‑installation. 4) Check level and grout any gaps; backfill and compact. For removable: fill hollow pedestal shaft with bagged concrete or use threaded stainless connectors and matching base plate bolted into a concrete pad.
Step-by-step: How do I anchor a ceramic or lightweight basin on a pedestal?
1) Ensure pedestal top is flat and level; add a rubber non‑slip pad. 2) For light basins use construction adhesive or marine epoxy between basin and pedestal, plus short stainless screws into reinforcement if accessible. 3) For greater stability, fill pedestal cavity with concrete or sand (w/ sealed cap) to add weight, or add a metal restraining ring/strap bolted into the pedestal. 4) Inspect seasonal movement and reapply adhesive or re‑secure bolts as needed.
Step-by-step: How do I secure metal stands, portable basins or plastic baths?
1) Use ground spikes or U‑shaped rebar driven through base legs for lateral restraint. 2) For soft soil, use longer stakes or screw‑in earth anchors. 3) Add non‑slip pads on top of stand feet and weigh the base with sandbags hidden under decorative rocks or inside hollow bases. 4) For stands on hard surfaces, bolt the base into a concrete pad using wedge anchors or expansion anchors rated for outdoor use.
Step-by-step: How do I anchor a hanging bird bath safely?
1) Choose a sturdy support (healthy branch, beam, or purpose‑built shepherd hook). 2) Use rated stainless steel chain or braided stainless cable and weather‑rated hardware (eye bolt, quick link, carabiner). 3) For beams/rafters, use lag eye screws or through‑bolted eye plates with washers and locknuts. 4) For tree branches, use tree‑friendly straps or wide webbing rather than single bolts to reduce damage. 5) Add a secondary tether to limit swinging and inspect hardware regularly.