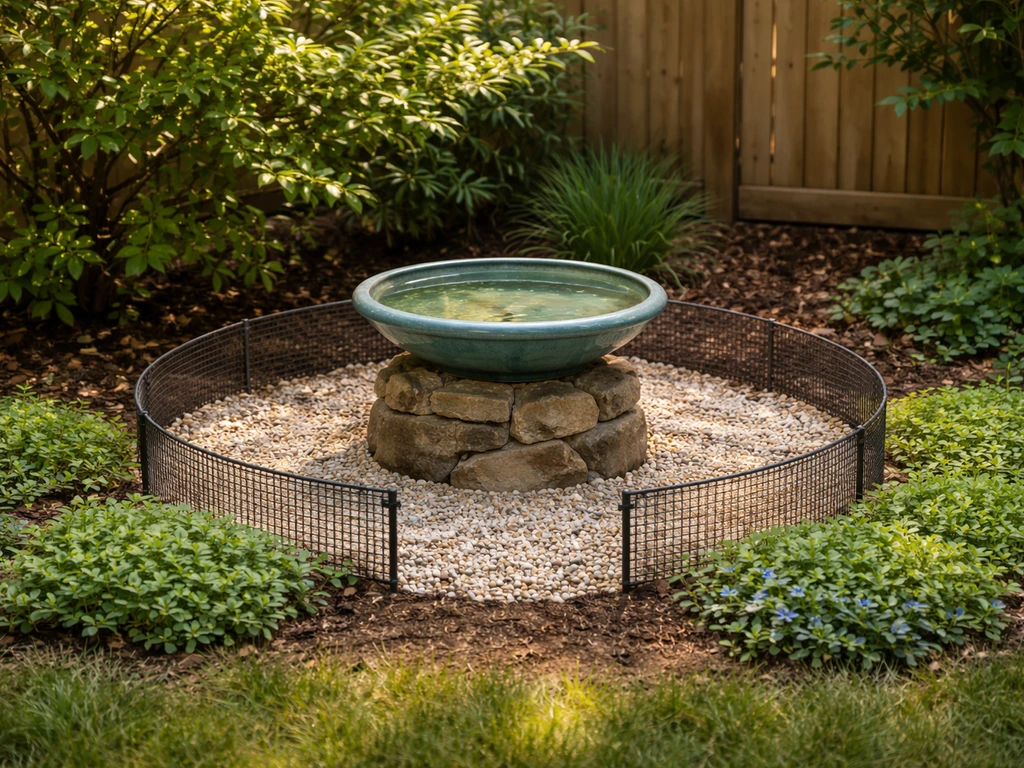
To secure a bird bath, your two main strategies are anchoring it into the ground or a slab, or adding enough weight and ballast that it resists tipping on its own. Which one you need depends on your bath's material, style, and where you're putting it. A heavy cast-stone pedestal on a compacted gravel pad is mostly stable by design; a lightweight plastic bowl on a hollow pedestal in a windy garden needs active anchoring. This guide walks through both approaches with step-by-step instructions, a full tools checklist, and the material and placement choices that make the whole setup easier to maintain long-term.
How to Secure a Bird Bath: Anchoring, Stabilizing & Winter Tips

Marcus Henley
12 Jul 2026
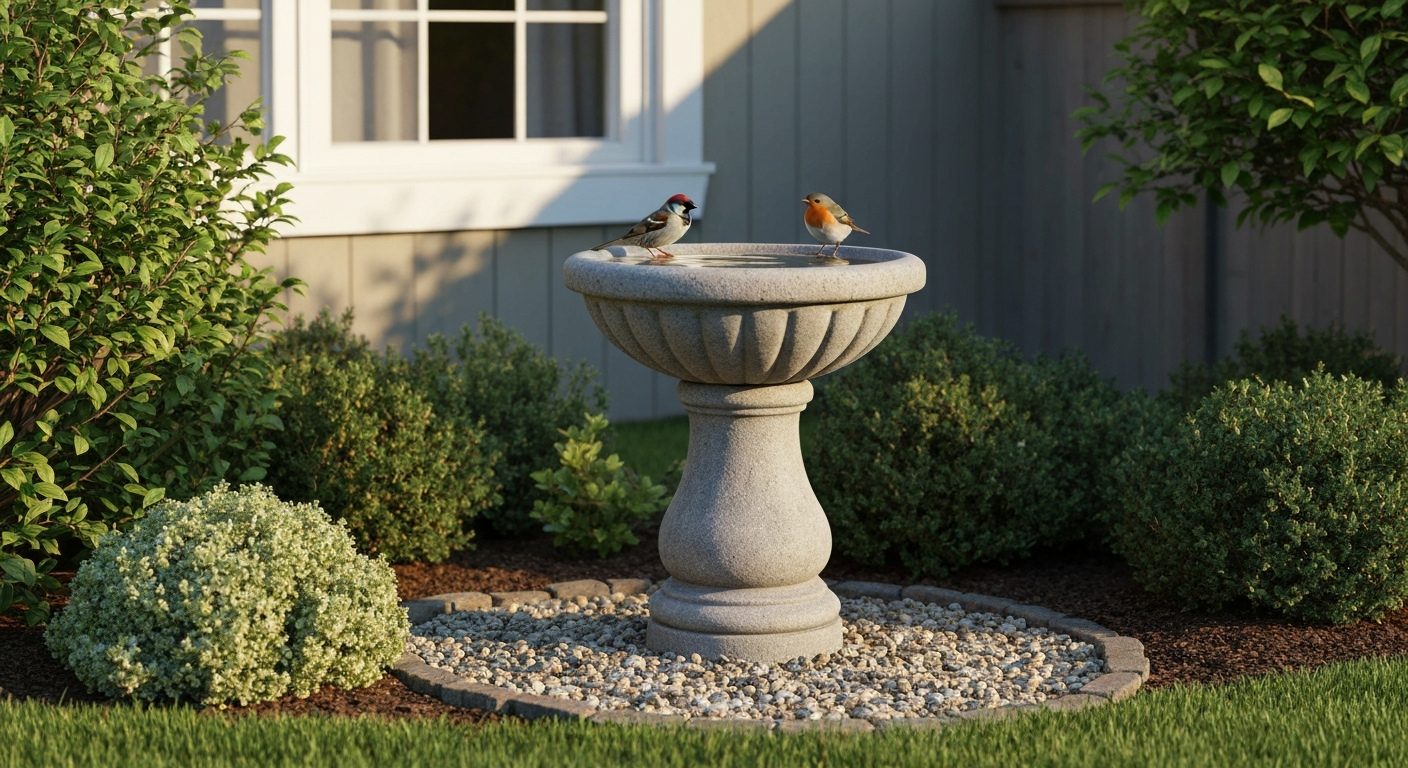
Real bird bath or the video game? A quick note
If you searched 'how to secure a bird bath' and you're actually thinking about the survival game Grounded, you're in the right neighborhood but the wrong house. In that game, the bird bath is a landmark and climbing challenge, not a backyard installation project. This article is entirely about securing a real, physical bird bath in your garden. If you're looking for how to get to the bird bath in Grounded, how to get on top of it, or how to reach it from specific spawn points, those are covered in separate game guides on this site. Everything below is for backyard birders.
Anchor or weigh down? How to decide quickly
Most stability problems come down to one of two scenarios: the bath is light enough that wind or a nudge from a pet tips it over, or it's heavy but sitting on uneven or unstable ground and wobbles. Before you grab a drill or a bag of concrete, figure out which category you're in.
| Your situation | Best approach | Why it works |
|---|---|---|
| Pedestal bath on soil or lawn, exposed to wind | Anchor with rebar pins or ground spikes through base | Locks the base physically to the ground; no amount of wind or bump shifts it |
| Pedestal bath on an existing concrete patio or flagstone | Epoxy or mechanical anchor (sleeve/concrete screw) | Bonds the base to hard surface; rated holding capacity of hundreds of pounds even with a 3/8" anchor |
| Hollow pedestal (plastic or thin concrete) | Fill the pedestal with sand or pea gravel for ballast | Lowers center of gravity and adds significant mass cheaply |
| Lightweight freestanding bowl or deck bath | Anti-tip bracket, bungee strap, or non-slip mat plus a weighted base | Low-profile fixes that don't require drilling |
| Heavy cast-stone or concrete bath (100+ lb) on compacted gravel pad | Compacted crushed-stone base plus a shallow burial of the base rim | Weight alone resists tipping; a good base prevents frost heave |
| Any bath in a yard with cats or dogs | Combination: anchor plus raised height or cage surround | Physical stability plus predator deterrence; links to cat-proofing details elsewhere on this site |
The short rule: if your bath weighs under about 30 lb empty, anchor it. If it's over 50 lb and sitting on a properly prepared base, ballast and a level pad are usually enough. The range in between usually benefits from both.
Choosing your bird bath: material and style matter for stability
The material you choose affects not just looks but how you secure it, how it survives winter, and how safe it is for birds. I've worked with most of these and each has real trade-offs.
Concrete and cast stone
These are my first recommendation for anyone who wants stability without fuss. A cast-stone pedestal bath can easily top 100 lb, which means it resists tipping on its own on a good base. The downside is freeze-thaw damage: unsealed concrete absorbs water, which expands when it freezes and eventually cracks the bowl or pedestal. Manufacturers like Campania seal their cast-stone pieces at production, but you should reseal annually with a masonry penetrating sealer and either drain the basin completely before hard freezes or bring it inside. If you're in a climate with regular freeze-thaw cycles, this maintenance step is non-negotiable.
Ceramic and glazed finishes
Glazed ceramic baths look beautiful, but thinner glazed or porcelain pieces are more vulnerable to freeze-thaw cracking than concrete, and glazed surfaces can be slippery for small birds trying to get footing. There's also a less-discussed safety issue: some ceramic glazes, especially low-temperature fired, imported, or unlabeled decorative pieces, can leach lead or other heavy metals into the water, particularly under acidic conditions. Institutional ceramics safety guidance (including resources from Princeton's environmental health program) recommends avoiding vessels labeled 'not for food use' or without documented safety testing for any wildlife water source. Stick to pieces from reputable manufacturers who confirm food-safe glazes, or use unglazed concrete instead.
Metal baths
Powder-coated steel and copper baths are durable and look sharp, but they heat up fast in direct sun, which can warm the water to uncomfortable temperatures for birds in summer. Site them in partial shade. Metal pedestals can rust at ground contact points, so check that junction annually. They're lighter than stone, so anchoring is more important.
Plastic and resin
Plastic baths are lightweight (great for portability, bad for stability), affordable, and freeze-resistant. They're my pick for a deck or balcony where you can't anchor into anything permanent, because you can weigh the base down with sand or pea gravel without worrying about cracking. UV degradation is the main issue over time.
Heated and solar baths
Heated baths keep water liquid through winter and are worth every penny if you live somewhere that freezes hard. The heating element is usually built into the bowl, so the main security consideration is managing the cord safely (bury or clip it away from foot traffic and chewing pets). Solar baths power a small fountain or dripper with a panel, which is brilliant for water movement (more on why that matters in the maintenance section) but requires sun exposure, which may conflict with shade placement for summer heat.
| Material | Weight / Stability | Freeze-thaw risk | Anchoring need | Bird safety notes |
|---|---|---|---|---|
| Concrete / cast stone | High (50–150+ lb) | Moderate (seal annually) | Low on good base | Rough texture gives birds grip |
| Glazed ceramic | Medium (20–60 lb) | High (cracks easily) | Moderate | Check glaze for lead safety; slippery surface |
| Metal (steel/copper) | Medium (15–50 lb) | Low | Moderate to high | Heats in sun; shade placement important |
| Plastic / resin | Low (5–20 lb) | Very low | High | Good for decks; UV degrades over years |
| Heated (electric) | Varies by base material | Very low (active heat) | Depends on base | Cord management critical for safety |
| Solar fountain style | Varies | Low to moderate | Depends on base | Moving water reduces algae and attracts more species |
Where to put it: placement gets half the job done
I've moved bird baths more times than I can count, and placement is genuinely the most underrated part of this project. A poorly placed bath that's perfectly anchored will still underperform.
- Visibility from inside the house: position it where you can actually see it from a window. You'll notice when it needs cleaning and you'll enjoy the birds.
- Partial shade in summer: full sun heats water quickly and grows algae faster. A spot with morning sun and afternoon shade is ideal in most climates.
- At least 10 feet from dense shrubs and brush piles: close cover is an ambush point for cats. Birds need a second or two to spot a threat and fly clear.
- Within about 10–15 feet of shrubs or trees: birds like to perch and survey before coming down, so some cover nearby (not immediately adjacent) is reassuring to them.
- 5–10 feet away from bird feeders: feeders attract squirrels and seed debris falls into the water, fouling it faster. Keep them close enough that birds move easily between both but separate enough to keep the bath cleaner.
- On firm, level ground: soft or sloped soil is the single biggest cause of instability and frost heave problems.
Water depth is worth mentioning here too: Audubon recommends a maximum depth of 1 to 2 inches (2.5 to 5 cm) at the deepest point, with a gradual slope so small birds can wade in from the shallow edge. If your basin is deeper, add a flat stone or two to create a shallower section. Birds will use the basin much more confidently.
Tools and materials checklist
What you need depends on your anchoring method, but here's a complete list covering both approaches. I've split it into three sections so you can pull just what applies to your situation.
General (everyone needs these)
- 4-foot or 2-foot spirit level
- Tape measure
- Rubber mallet
- Work gloves
- Safety glasses
- Compactable crushed stone or pea gravel (one to two bags for a typical base)
- Tamper or heavy flat board for compacting
- Garden trowel or small spade
- Masonry penetrating sealer (for concrete baths)
Anchor-specific (for soil, gravel, or concrete installations)
- Rebar pins (1/2" diameter, 12–18" long) for soil anchoring, or galvanized ground spikes
- Hammer drill with masonry bit (sized to your anchor diameter) for concrete/slab installations
- 3/8" sleeve anchors or concrete screws (wedge anchors) with appropriate embedment depth per manufacturer spec
- Two-part epoxy anchor adhesive (alternative to mechanical anchors on thin or cracked slabs)
- Wrench or socket set for tightening anchor hardware
- Vacuum or compressed air for clearing drill holes before anchoring
Weight and ballast method
- Play sand or pea gravel (for filling hollow pedestals)
- Funnel for pouring sand into narrow pedestal openings
- Non-slip rubber mat or grip liner (for bowl-to-pedestal contact)
- Exterior-grade construction adhesive or two-part stone epoxy (for bonding bowl to pedestal without permanent glue-out — use sparingly so parts can be separated for cleaning or replacement)
- Bungee cords or hook-and-loop outdoor straps (for lightweight freestanding bowls)
Preparing the site before you set anything down
Skipping site prep is why most bird baths end up wobbly or tilted within a season. Frost heave is the main enemy: water in the soil freezes, expands, and shoves your carefully leveled base sideways or upward. The fix is a well-draining base that doesn't hold water to freeze. For a quick walkthrough on leveling the base, see how to level a bird bath. HUD's Guide to Foundation and Support (freeze‑thaw / frost heave guidance), HUD recommends placing permanent footings below the local frost line or using a well‑draining compacted crushed‑stone/pea‑gravel base or frost‑protected shallow foundation techniques to reduce frost‑heave Guide to Foundation and Support (freeze‑thaw / frost heave guidance) — HUD.
- Mark your chosen spot and excavate 4 to 6 inches of topsoil in a circle slightly wider than your bath's base footprint.
- Fill the excavated area with 2 to 4 inches of compacted crushed stone (3/4" minus or similar). Pea gravel works too but doesn't compact as firmly. Tamp it down thoroughly.
- Check the surface with your spirit level in two directions. Adjust by adding or removing stone until it reads level.
- If you're installing on an existing concrete patio, skip excavation but check that the patio surface is level and not cracked at the installation point. Clean off any debris, moss, or oil.
- For permanent installations in cold climates: if you're pouring a small concrete pad, local building codes (referencing HUD and IRC guidance) generally require footings below the local frost line to avoid heave. For a bird bath this usually means 6 to 18 inches depending on your climate zone. A 12x12" or 16x16" concrete pad, 4" thick, on a well-draining gravel bed works for most residential bird bath installations in moderate climates.
- For a pavers-only base: set two or three interlocking concrete pavers on the compacted gravel, tap level with a rubber mallet, and check again. This is my preferred base for most setups because it drains well, looks tidy, and you can adjust it.
Anchoring a pedestal-style bird bath: step by step
Pedestal baths are the most common type and also the most likely to tip if the setup isn't right. For step-by-step anchoring tips and quick fixes, see our guide on how to keep a bird bath from falling over. The method below works for concrete, cast stone, and metal pedestals. Choose Option A for soil or gravel bases, Option B for concrete or flagstone patios. For detailed grounding and anchoring instructions, see our guide on how to get to bird bath grounded.
Option A: Anchoring into soil or a gravel base
- Prepare your compacted crushed-stone or paver base as described above.
- Set the pedestal base on the prepared surface and check level in two directions. Adjust the base if needed.
- If the pedestal base has drainage holes or open sections, insert two or three 1/2" rebar pins (12 to 18 inches long) through those openings and drive them into the ground below with a hammer. If the base is solid, drive the pins at an angle against the outer edge of the base on two or three sides.
- Alternatively, use purpose-made galvanized ground spikes: pound them in just outside the base perimeter and attach with wire or exterior zip ties if the design allows.
- For a hollow pedestal: fill the interior cavity with dry play sand or pea gravel through the top opening before placing the basin. This adds meaningful ballast and lowers the center of gravity significantly.
- Place the basin (bowl) on the pedestal. Most multi-piece cast-stone and concrete baths are gravity-held by design. Manufacturers generally advise against permanently cementing the assembly because you'll need to separate the pieces for deep cleaning and winter storage. A non-slip rubber grip mat between the pedestal top and the bowl adds friction without permanent adhesion.
- If you do want a light bond (for a windy exposed site), use a small amount of exterior-grade two-part stone epoxy at two or three points around the pedestal top rim, not a full bead. This allows disassembly with some effort if needed.
- Recheck level after the assembly is complete.
Option B: Anchoring into a concrete pad or patio slab
- Position the pedestal base on the slab where you want it. Mark the base footprint lightly with chalk.
- Mark two or four anchor points just inside the base perimeter on the slab (not under the base itself, so you can drill before placing the bath).
- With a hammer drill and a masonry bit sized to your anchor diameter (typically 3/8" for a standard sleeve anchor), drill holes to the embedment depth specified in your anchor manufacturer's load table. Clear each hole with compressed air or a vacuum.
- Insert sleeve anchors or concrete screws and tighten per manufacturer torque specs. A 3/8" sleeve anchor with proper embedment in solid concrete can provide several hundred pounds of working shear and tension capacity, which is more than enough for any bird bath.
- If the slab is thin or you prefer no drilling, two-part epoxy anchor adhesive bonded to a small steel plate or bracket on the slab surface is a clean alternative.
- Set the pedestal base over or against the anchor points. Attach with washer and nut if using threaded anchors, or use L-brackets bolted to both the anchor and the pedestal base if the pedestal has no pre-drilled holes.
- Fill hollow pedestals with sand as above, place the basin, check level.
Stabilizing freestanding bowls and shallow baths
Not every bird bath is a tall pedestal. Ground-level baths, deck-mount bowls, and low-profile freestanding basins have their own tipping and displacement problems, mostly from wind, curious pets, and wildlife. These fixes are simpler but just as effective.
Low-profile and ground-level baths
- Prepare a level base as described above, even for ground-level baths. An unlevel base is the top cause of water sloshing out and the bath eventually walking out of position.
- Set the bowl on the prepared base. If it's lightweight plastic or resin, place it on a non-slip rubber mat first to prevent sliding.
- Bury the outer rim edge of the bowl 1 to 2 inches into the gravel base by pressing it down and adjusting the gravel around it. This partial burial dramatically reduces wind displacement without any hardware.
- For extra security, place two or three flat rocks or bricks snugly against the outside base edge. They act as chocks and add mass without touching the basin interior.
- If the bowl has a drainage hole, you can run a galvanized stake through it into the ground below as a pin anchor.
Deck-mounted and railing baths
- Use a bath designed with a clamp-mount bracket sized to your railing width. Check that the bracket's hardware is stainless steel or galvanized; zinc-plated hardware rusts quickly outdoors.
- Tighten the bracket clamp firmly and check it monthly. Thermal expansion and contraction loosens hardware over a season.
- If the bowl sits in the bracket rather than being fixed to it, add a bead of non-slip shelf liner between the bowl base and the bracket cradle.
- In high-wind conditions, a loop of bungee cord or a hook-and-loop outdoor strap around the bowl and bracket adds a secondary retention point.
Anti-tip measures for pets and predators
If cats are your main problem, stability alone isn't the full answer. A cat-proof setup typically combines a raised bath height (pedestal at 24 to 36 inches is harder to use as a hunting platform) with clear sightlines around the bath so birds can see an approaching predator. There's a dedicated cat-proofing guide on this site that goes deeper into exclusion strategies. For dogs, the simplest solution is a heavier bath with a pinned or anchored base: a dog nosing a 100 lb cast-stone bath is not going to move it.
Winter, maintenance, and long-term troubleshooting
Preventing freeze damage
If you're in a climate that freezes, your choice is: remove and store the bath, or keep it active with a heater. For concrete and cast-stone baths, drain the basin completely before hard freezes and cover or store the bowl portion if possible. Leaving water in a concrete basin through a freeze-thaw cycle will eventually crack it. Sealed concrete fares much better, so if you haven't applied a masonry penetrating sealer recently, do it in fall before the first freeze. A floating de-icer (a disk-style electric heater rated for birdbaths) dropped into the basin is the simplest way to keep water liquid in winter without running a full heated bath system. Heated baths are worth it if you host year-round birds because liquid water in winter is genuinely scarce and birds will use a reliable source heavily.
Keeping water clean: algae and mosquitoes
In hot weather, change the water daily or every other day. That's the single most effective maintenance step. For more tips on how to keep water in bird baths longer, see how to keep water in bird bath. Audubon’s guide 'Why You Should Keep Your Birdbath Clean, Audubon' recommends changing water daily in hot weather and rinsing or scrubbing with a 9:1 water-to-vinegar mix for routine cleaning blank" rel="noopener noreferrer">Why You Should Keep Your Birdbath Clean — Audubon. Audubon recommends routine cleaning with a 9:1 water-to-vinegar scrub, which handles most algae and biofilm without harming birds. For persistent algae, Cornell Lab of Ornithology notes that moving water (a dripper, a solar fountain, or a small pump) dramatically reduces algae growth and attracts more species because birds can hear and see the movement. If mosquitoes are a concern, Bacillus thuringiensis israelensis (Bti, sold as mosquito dunks or bits) is EPA-registered for use in birdbaths and other residential water containers. It kills mosquito larvae without harming birds, pets, or other wildlife when used according to the product label. Drop a dunk into the basin or crumble a small piece of a bit into the water and replace as directed.
Troubleshooting wobble, cracks, and slow leaks
- Wobble after installation: recheck the base for level first. Often frost heave has shifted the gravel pad. Re-tamp and re-level the base before re-anchoring.
- Hairline cracks in concrete or cast stone: fill with hydraulic cement or a flexible masonry crack filler, let cure fully, then seal over the repair. Small cracks become big cracks through freeze-thaw if left untreated.
- Glazed ceramic cracking: if it's happening seasonally, the glaze is absorbing water and the piece needs to come inside for winter. There's no permanent outdoor fix for a freeze-susceptible ceramic.
- Slow seepage through the basin floor: drain the basin, dry it fully (at least 48 hours), and apply two coats of a non-toxic pond sealer or masonry waterproofing paint. Many are marketed specifically for birdbaths and water features.
- Bath gradually tilting over a season: this is almost always frost heave or soil settling. Lift the bath, re-excavate, add more crushed stone, tamp well, and reset. In persistently unstable soil, a concrete pad is the long-term fix.
FAQ
What is the safest water depth and bowl shape for birds?
Keep depths shallow: a gradual slope with no more than about 1–2 inches (2.5–5 cm) at the deepest point. Shallow rims and a gentle slope let small birds judge depth and bathe safely; avoid deep bowls or steep drop-offs.
When should I anchor a bird bath versus simply weighing it down?
Anchor permanent, heavy pedestal baths or baths in windy/exposed sites and public yards where tipping risk is high. Weigh down removable bowls, lightweight freestanding baths, or rental/temporary setups. Decision flow: if bath is heavy and intended permanent — anchor to a solid pad; if lightweight or likely moved — add ballast (sand/rocks) and anti‑tip devices. For moderate risk sites use both ballast and discrete anchoring for redundancy.
What tools and materials do I need for anchoring or stabilizing common bird‑bath types?
Basic tools: shovel, level, tape measure, cordless drill with masonry bits, socket set, silicone/epoxy caulk gun, rubber mallet, tamping tool. Materials: crushed stone/pea gravel, concrete or paver pad, landscape fabric, sand for filling hollow pedestals, gravel or concrete mix, galvanized rebar or ground spikes, concrete anchors or wedge/ sleeve anchors, stainless steel screws/bolts, adhesive epoxy for stone, exterior silicone sealant, anti‑skid pads, and weatherproof anchor straps.
How do I stabilize a heavy concrete or cast‑stone pedestal bath?
Best practice: set on a compacted crushed‑stone or concrete/paver pad. Level pad, set pedestal on pad, and fill hollow pedestal with sand or gravel for ballast if hollow. For extra security use mechanical anchors to the pad (concrete screws or wedge anchors) through discreet base holes or use stainless steel strap anchors bolted to the pad and looped around the pedestal. Avoid permanently gluing multi‑piece baths—use reversible anchors so parts can be serviced.
How do I secure a lightweight freestanding or bowl‑on‑stand bath?
Place on a compacted gravel base or a paver. Add anti‑skid pads between bowl and stand. Increase ballast by filling the bowl’s underside or pedestal with sand/pebbles if possible (not the water bowl). Use stainless steel hose clamps/straps or metal brackets to fasten the bowl to the stand. For lawn installs drive U‑shaped ground spikes or rebar through base holes or anchor straps into the ground around the stand legs.
How can I prevent tipping in windy spots without drilling into the bath?
Add weight and lower the center of gravity: fill hollow bases with sand/pebbles, set the bath on a larger paver or concrete slab for a wider footprint, surround the base with compacted gravel, and use heavy decorative rocks around the base (kept clear of drainage). Use removable strap anchors or ratchet straps anchored to buried ground anchors to hold the base in place without modifying the bath piece.
Next Article
How to Make a Cat Proof Bird Bath: Step by Step
Step by step plan to cat proof a bird bath with placement, landscaping, safe barriers, deterrents, and maintenance tips.