A trash can lid makes a surprisingly capable bird bath. The wide, shallow shape is actually ideal for birds, the price is right (often free if you have a spare lid), and with a little prep work you can have it ready to use today. The key steps are cleaning it thoroughly, smoothing any sharp edges, setting it at the right height with the right water depth, and keeping up a simple weekly maintenance routine. Do those things and birds will find it.
Trash Can Lid Bird Bath DIY Guide for Safe Setup

Marcus Henley
27 May 2026
Why a trash can lid actually works well as a bird bath
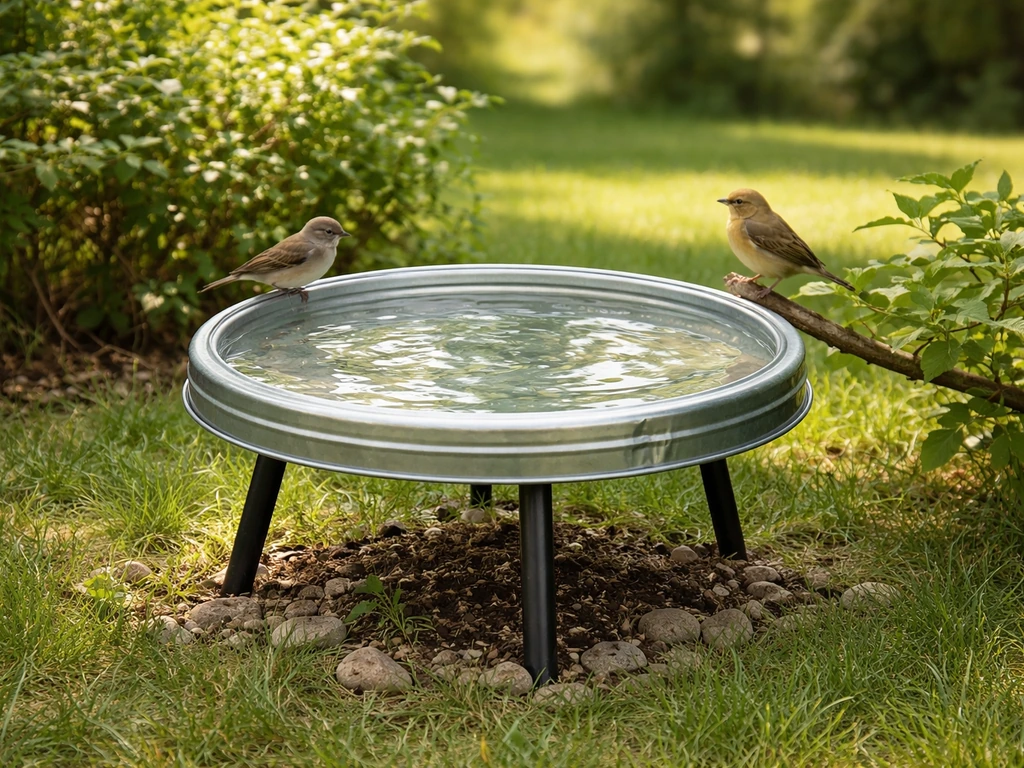
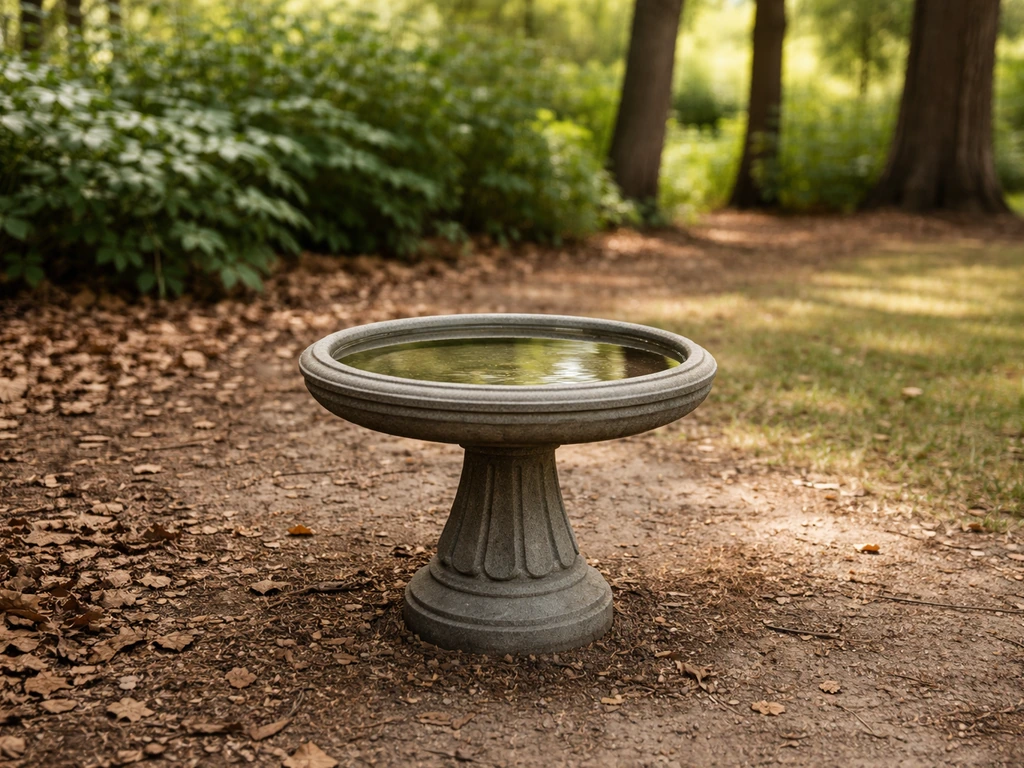
Most trash can lids have a broad, slightly concave shape that naturally pools water at a shallow depth, which is exactly what birds want. Ornithologists recommend water no deeper than about 1 inch at the edges sloping to a maximum of 2 inches in the center, and many standard garbage can lids land right in that range without any modification. The wide rim also gives birds a comfortable perching edge before they wade in, which they appreciate. Compare that to a typical decorative bird bath bowl, which can be steeply curved and unnecessarily deep. The lid has the geometry right from the start.
Metal lids (usually galvanized steel or aluminum) are the most popular choice for this project because they're durable, easy to clean, and hold up to weather. Plastic lids work too and weigh almost nothing, though they can warp in direct sun over a season or two. Either way, the core concept is the same: a wide, shallow dish that birds can safely wade and splash in. If you want a ready-to-buy option, look for a resin bird bath top designed to fit standard bases and provide the same shallow, wading-friendly water depth.
Safety prep and making the lid bird-friendly
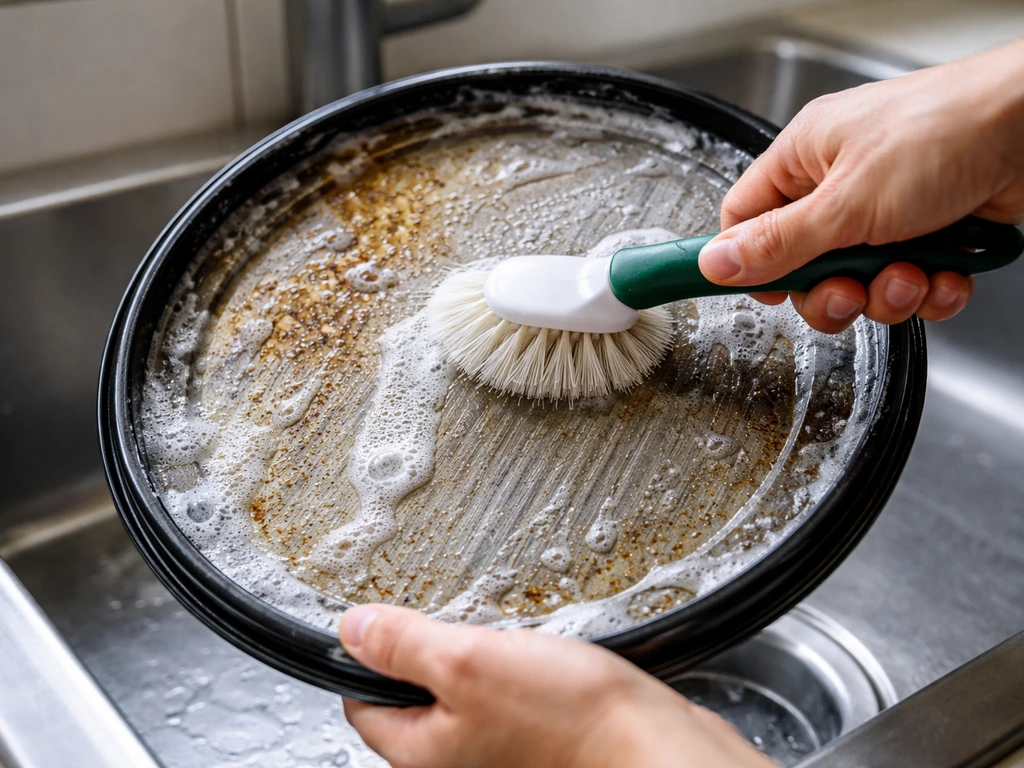
Before you put any water in it, the lid needs a proper cleaning. Trash can lids often carry grease, chemical residue from manufacturing, or contamination from actual trash contact. None of that belongs near birds. Here's how I prep one from scratch:
- Wash the inside surface with hot water and dish soap, scrubbing with a stiff brush to remove any film or residue.
- Rinse it extremely well, then do a second rinse. Soap residue is harmful to birds.
- For metal lids, wipe down with a diluted white vinegar solution (1 part vinegar to 9 parts water) to cut any remaining grease or oxidation. Rinse again after.
- Inspect the rim and any stamped edges for burrs, sharp ridges, or rough spots. Birds land on these edges and can cut their feet. Use a metal file or sandpaper to smooth anything that snags your finger.
- Check for any peeling paint or flaking coating on the inside surface. If the interior has a painted or powder-coated finish that's deteriorating, sand it off or line the basin (more on that below).
- Let the lid dry completely in the sun before adding water.
If the lid's interior surface is bare galvanized metal and you're concerned about zinc leaching over time, you have a couple of options. You can line it with a piece of flexible pond liner or rubber sheeting cut to fit, which creates a safe, inert surface for the water. Alternatively, a coat of bird-safe sealant (look for non-toxic, waterproof sealants marketed for ponds or aquatics) works well on metal. For plastic lids in good shape, no liner is usually needed since the plastic itself is fine once it's clean.
Mounting and placement: getting height, depth, and location right
Height options
Ground level works fine and is actually preferred by some species like robins and mourning doves. But it also exposes bathing birds to cats and other predators, so placement matters more at ground level. My preferred setup for most backyards is to elevate the lid 24 to 36 inches off the ground, which is the sweet spot that works for a wide variety of songbirds while keeping them safer from ground predators.
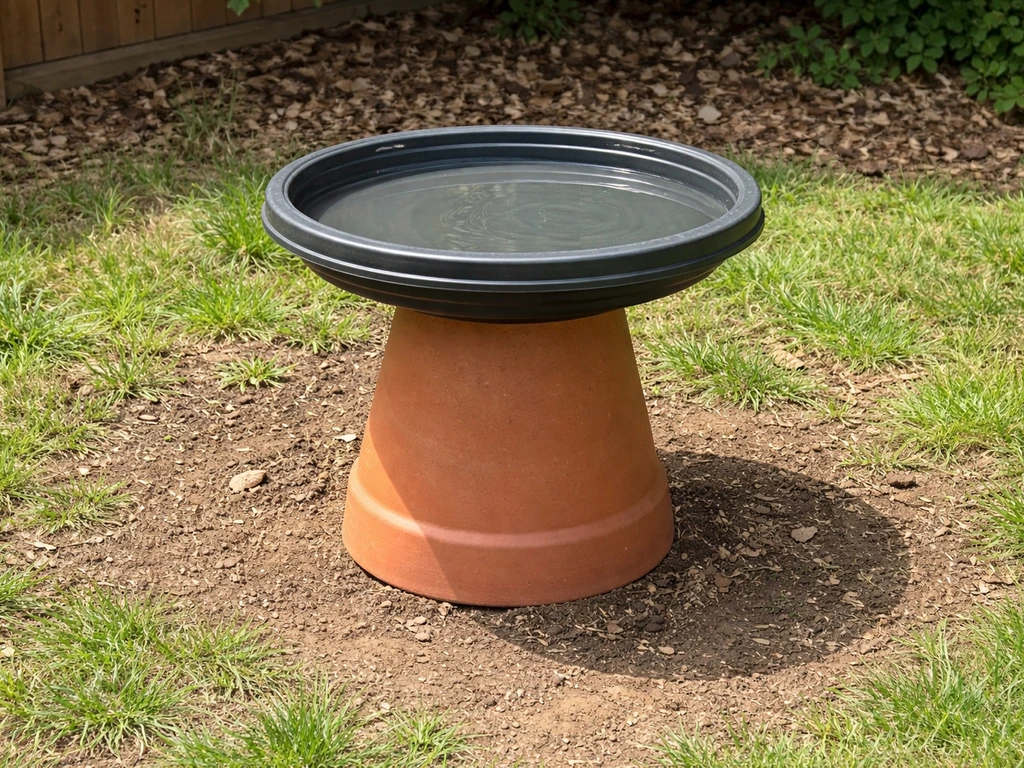
For the base, you have several easy options. A large terracotta pot flipped upside down is the classic DIY stand, and the lid often sits right on top with a stable fit. A section of thick fence post or a wooden stump works great. You can also wire the lid to a shepherd's hook stake, though you'll want to make sure it sits level so water doesn't pool to one side. Stability matters because a wobbling bath will scare birds off immediately.
Water depth
Keep water at about 1 inch deep at the edges and no more than 2 inches at the deepest point. If your lid is naturally deeper than that, add flat stones or gravel to the center to raise the floor. This lets smaller birds bathe comfortably in the shallows while giving larger birds enough water in the middle. Birds won't use a bath they can't safely wade in, and a steep or deep basin is one of the most common reasons a DIY bird bath gets ignored.
Location and sun exposure
Place the bath within 10 to 15 feet of shrubs or trees so birds have quick cover if they feel threatened. At the same time, don't tuck it directly under a dense canopy where debris constantly falls in and predators can hide nearby. Partial shade is ideal in warm climates because it slows evaporation and algae growth. In cooler climates, a bit more sun helps keep the water warmer and more appealing. Also think about your own sightlines: putting the bath where you can see it from a window makes maintenance reminders easier.
Filling and your daily and weekly maintenance routine
Fresh water is the single biggest factor in whether birds use a bird bath regularly. Change the water at least every three days, and in hot weather change it daily. That advice comes straight from ornithologists and wildlife agencies, and in practice I find that birds noticeably prefer a bath that got fresh water that morning over one that's been sitting for two days. The lid's wide open shape means it heats up fast in summer, which speeds up evaporation and algae growth alike, so daily top-offs are often needed just to keep the depth right.
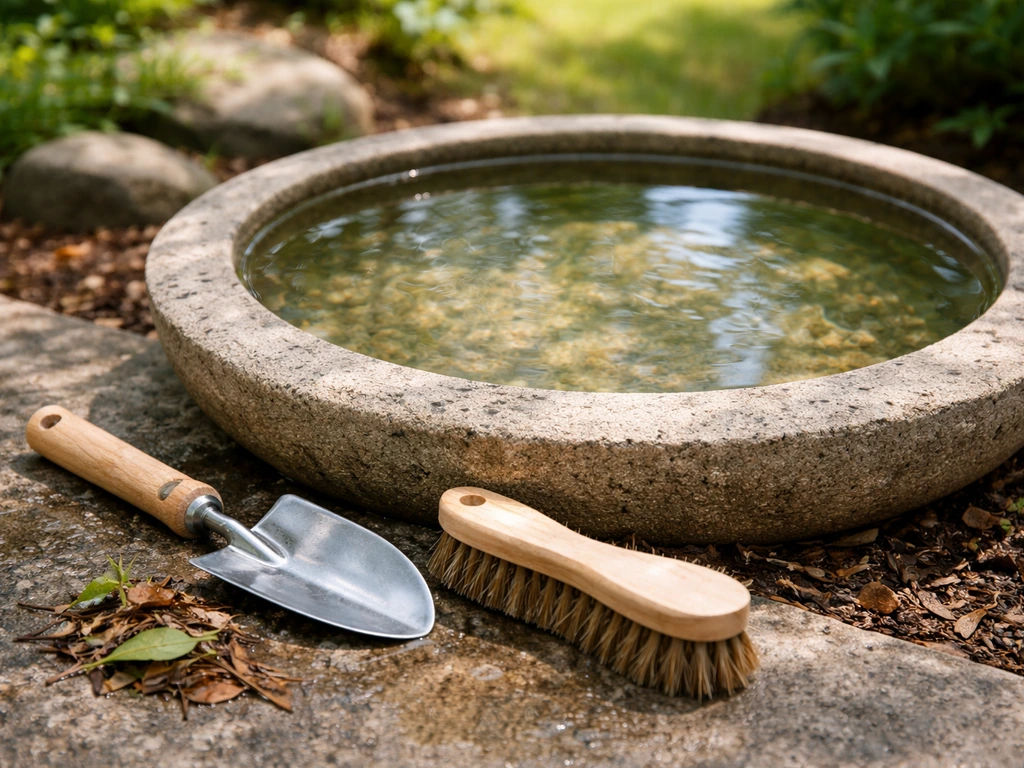
For cleaning, scrub the basin at least once a week with a stiff plastic brush (not metal, which can scratch and create rough spots). A diluted bleach solution of 1 part bleach to 9 parts water is effective for killing bacteria and algae; scrub, let it sit for a few minutes, then rinse extremely thoroughly before refilling. Some birders prefer a plain plastic scouring pad for daily light scrubbing and save the bleach solution for the weekly deep clean. Either way, consistency is what keeps the bath healthy.
Keeping algae, mosquitoes, and debris under control
Algae turns water green and slimy, and while it isn't immediately toxic to birds, it signals stagnant water and will drive them away. The best prevention is simply changing the water frequently. In warm weather, every two to three days is the minimum. Adding a small water wiggler or dripper to create surface movement helps a lot too, because algae needs still, warm water to take hold quickly. Mosquitoes need standing water for their aquatic life stages, and the CDC is clear that containers holding water, including bird baths, should be emptied and scrubbed at least once a week. A weekly water change combined with scrubbing is enough to break the mosquito breeding cycle.
Debris like leaves, seeds, and bird droppings accumulate fast in an open lid. A quick daily scoop with your hand or a small net takes ten seconds and keeps the water from turning foul between full changes. Placing the bath away from heavy tree drop zones helps, but some debris is unavoidable. Don't let it sit. Decomposing organic matter is what accelerates both algae growth and bacterial buildup.
If algae keeps coming back aggressively, try moving the bath to a shadier spot. Reducing direct sunlight dramatically slows algae growth and also keeps the water cooler, which birds prefer in summer. A small copper penny or two placed in the water is sometimes suggested as a natural algae inhibitor, but the evidence on effectiveness is mixed, and I wouldn't rely on it as a primary strategy.
Adapting for freezing winters and hot summers
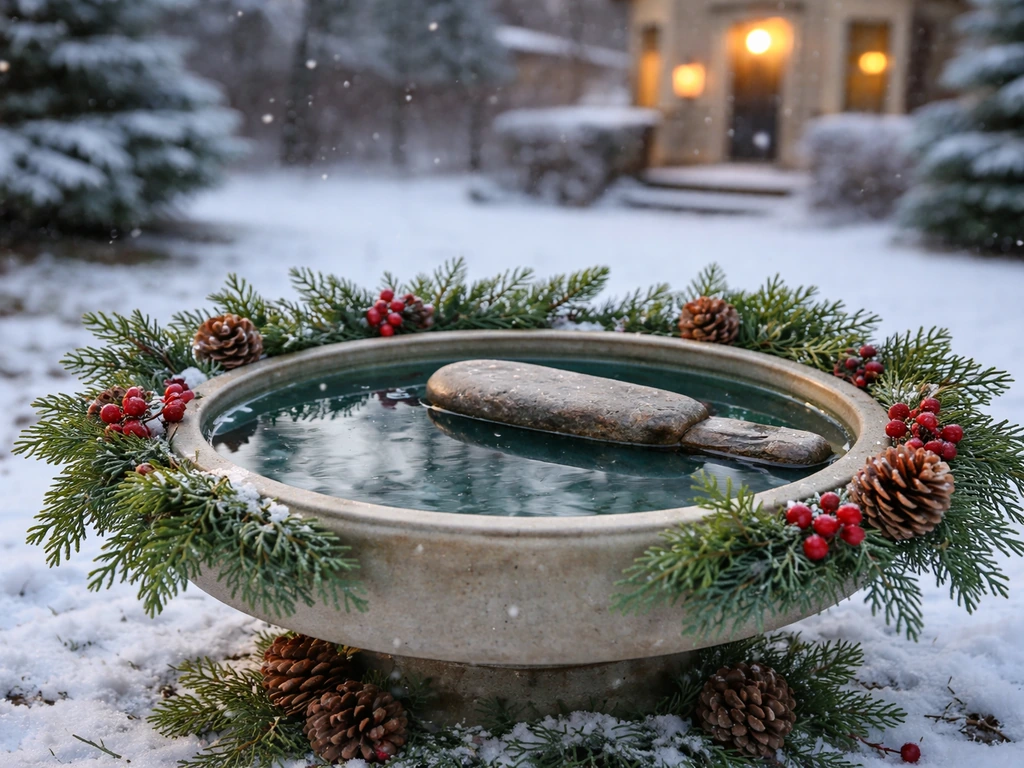
Keeping it usable in cold weather
Water is critical for birds year-round, including winter when natural sources freeze. A metal trash can lid will freeze solid quickly, which makes it useless without some intervention. The simplest low-tech approach: pour hot water over the ice in the morning to melt it and refill with fresh warm water. It works, but you have to do it every day in sustained freezes. A better solution is a submersible immersion water heater designed for bird baths, which costs around $20 to $40 and keeps water liquid even at well below freezing. These plug in and thermostatically cycle on only when needed.
Another cold-weather trick is lining the underside of the lid with black material or painting the lid bottom black so it absorbs solar heat and slows freezing on sunny days. This won't solve the problem during multi-day hard freezes, but it extends usability during the shoulder seasons. If you go with an electric heater, make sure your extension cord is rated for outdoor use and keep it away from puddles and standing water for safety.
Managing heat in summer
Metal lids get extremely hot in direct summer sun, to the point where the water temperature becomes uncomfortable or the metal surface itself can feel scalding. Move the bath to a spot with afternoon shade during peak summer heat. Check the water temperature by touching the metal rim before adding water; if it's too hot to hold comfortably, it's too hot for birds. Daily water changes matter even more in summer because evaporation, algae, and bacteria all accelerate in heat.
What to do if birds aren't visiting, plus easy upgrades
If birds aren't using the bath after a week or two, work through this checklist before giving up on the setup.
- Check the water depth. If it's over 2 inches in the center, add flat stones to raise the bottom.
- Check the surface. If the metal is very reflective or slippery, add a layer of small gravel or flat pebbles to the bottom to give birds better footing and reduce glare.
- Move it closer to cover. Birds need to feel safe. If the bath is in the middle of an open lawn with no shrubs nearby, they'll avoid it.
- Add movement. A $10 to $15 dripper or mister creates sound and ripple that attracts birds from a surprising distance. This is probably the single most effective upgrade you can make.
- Change the water. If it's been sitting more than two days, dump it and refill. Stale water is less appealing than you'd think.
- Give it more time. Newly placed baths can take two to four weeks for local birds to discover, especially if there's no existing bird activity in your yard.
If you want to upgrade beyond the basic lid setup, the natural next step is pairing it with a proper stand or base for a more stable and attractive look. You can also compare how this DIY metal setup stacks up against other bird bath top materials: plastic tops are lighter and cheaper but can crack in cold weather, resin tops offer more decorative options and weather resistance, and stone tops are the most durable but the heaviest to handle. If you decide to swap to a stone bird bath top later, the same cleaning, depth, and placement tips still apply stone tops. Each material has its trade-offs, and the trash can lid really holds its own for functionality even if it's not the prettiest option.
Your build checklist to get started today
Here's everything you need to pull this together right now. Most of it you probably already have.
- Find a clean or cleanable trash can lid (metal or plastic, at least 12 inches in diameter, wider is better).
- Wash it with hot soapy water, rinse thoroughly, wipe with diluted white vinegar, rinse again.
- File or sand any sharp edges on the rim.
- If the interior surface is bare galvanized metal or has peeling finish, add a pond liner or bird-safe sealant.
- Set up your base: overturned pot, stump, shepherd's hook, or any stable platform 24 to 36 inches high.
- Add flat stones or pebbles to the bottom to improve footing and control water depth (target: 1 inch at edges, 2 inches maximum at center).
- Fill with fresh water and place within 10 to 15 feet of shrubs or trees.
- Set a reminder to change the water every 1 to 3 days and scrub weekly.
- Optional but recommended: add a dripper or water wiggler to attract birds faster and discourage mosquitoes.
That's genuinely all it takes. The lid itself is the right shape for the job, the prep work takes under an hour, and the maintenance routine is easy once it's habit. Birds care a lot more about clean, fresh, shallow water in a safe location than they do about what the basin is made of. WDFW also recommends birdbaths have shallow water, typically about 1, 3 inches at the deepest point, with gradually sloping edges for comfortable wading clean, fresh, shallow water in a safe location. A resin bird bath uses a mold-made composite that can be lightweight and weather-resistant, but it still needs the same fresh-water and cleaning habits as any bath what is a resin bird bath.
FAQ
Can I use a trash can lid that’s been exposed to food waste or harsh chemicals?
You can, but only after a very thorough decontamination. Scrub off all visible residue first, then do a weekly deep clean with a bleach solution (1 part bleach to 9 parts water), rinsing extremely well so there’s no lingering smell. If you’re unsure what chemicals touched the lid, use a pond liner or a bird-safe sealant over the surface instead of relying on cleaning alone.
What water depth should I aim for if my lid is deeper than 2 inches in the center?
Keep the edges to about 1 inch and bring the deepest area down to roughly 2 inches. Flat stones or gravel placed in the center work well, but choose smooth, non-slick pieces and ensure the water level still lets small birds wade without stepping into a deep pocket.
Is it safe to use gravel or stones as a liner in the trash can lid bird bath?
Yes, if the stones are stable and easy to clean. Avoid sharp rock edges and porous, crumbly materials that trap grime. Once a week, stir the gravel and scrub underneath so decaying debris doesn’t build up, which can fuel algae and bacteria.
Do I need to add a pond liner or sealant for metal lids every time?
Not always. If your galvanized or aluminum lid is in good condition, a full liner is optional after cleaning. But if you want extra confidence against any long-term surface leaching or you can’t fully remove residue, a flexible pond liner or a bird-safe sealant layer is a better long-term choice.
How do I prevent birds from slipping if the water turns slick?
Use surface movement and clean more often. Algae film on metal can become very slick, and that’s when birds stop using baths. Add a simple dripper or water wiggler for gentle circulation, scoop debris daily, and do the weekly scrub so the surface stays textured and clean.
Why do birds ignore the bath even though the water depth is correct?
Check location and visibility. Many birds want nearby cover (shrubs or trees within about 10 to 15 feet), and they avoid baths tucked into dense canopy where predators can hide. Also consider that new baths may need a few days, so keep water fresh daily at least for the first week and maintain consistent depth.
Should I place the bath on the ground or elevate it?
Elevation is usually safer. Ground placement can work for birds like robins and doves, but cats and other predators make ground-level risky, especially in neighborhoods with roaming pets. Elevating about 24 to 36 inches off the ground reduces that risk while still being accessible to most songbirds.
What’s the fastest way to deal with mosquitoes in a trash can lid bird bath?
Don’t let water sit. Empty and scrub at least weekly, and change the water more frequently in warm weather. Surface movement also helps, and daily top-offs reduce the stagnant, warm conditions mosquitoes prefer.
How should I handle winter freezing if I don’t want to use an electric heater?
You can manage without electricity by melting ice with hot water in the morning and refilling with fresh warm water, then repeating daily during sustained freezes. If you’re dealing with hard freezes for many days, an immersion water heater is more practical because it keeps the water liquid with thermostatic cycling.
Can I use the trash can lid bird bath year-round, or should I stop in winter/summer?
You can use it year-round, but adjust for temperature extremes. In summer, move to afternoon shade and check the rim temperature so metal doesn’t overheat the water. In winter, plan for freezing with either daily hot-water intervention or an immersion heater, and keep cords and connections protected from puddles.
How often should I clean beyond just changing the water?
Change water at least every three days, daily in heat, and scrub the basin weekly. For daily quick maintenance, scoop leaves and droppings so the weekly deep clean doesn’t have to undo heavy organic buildup.