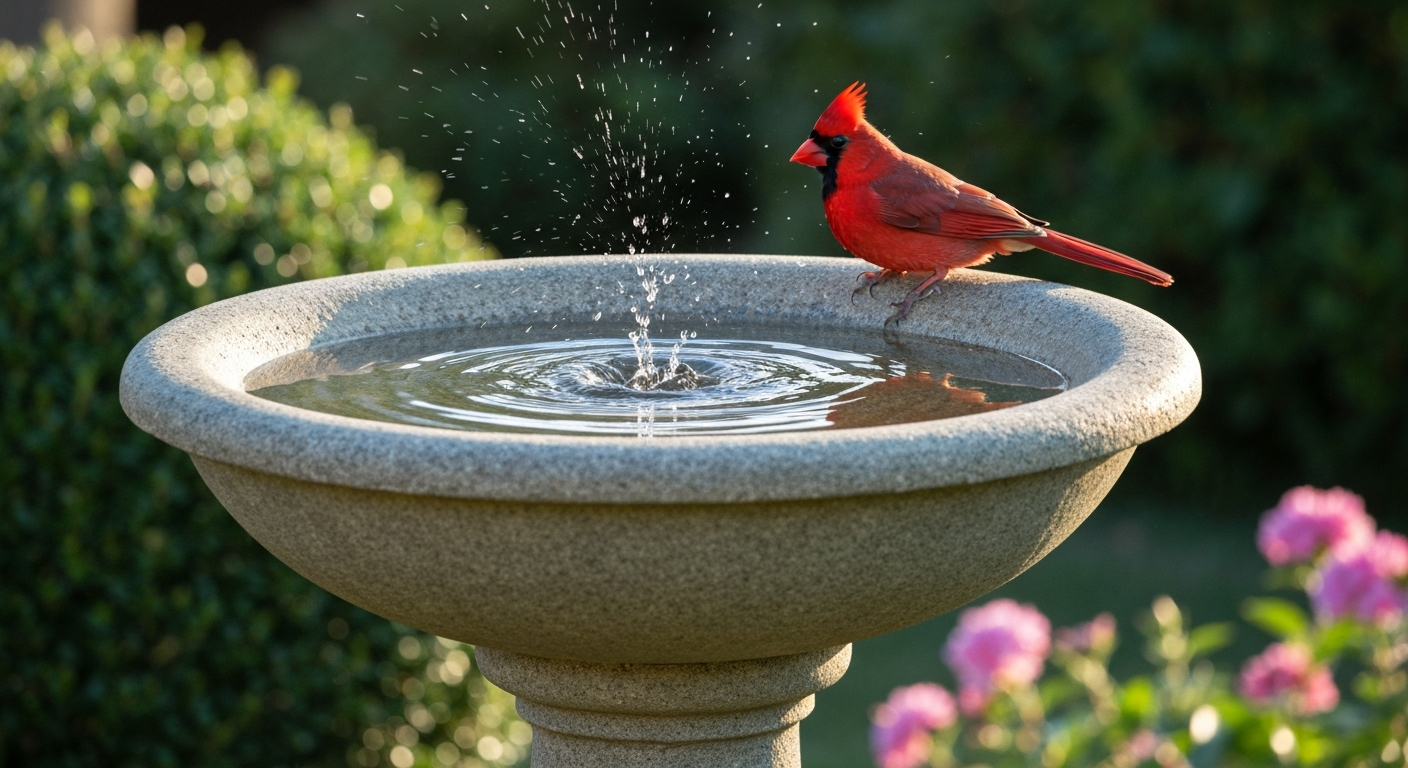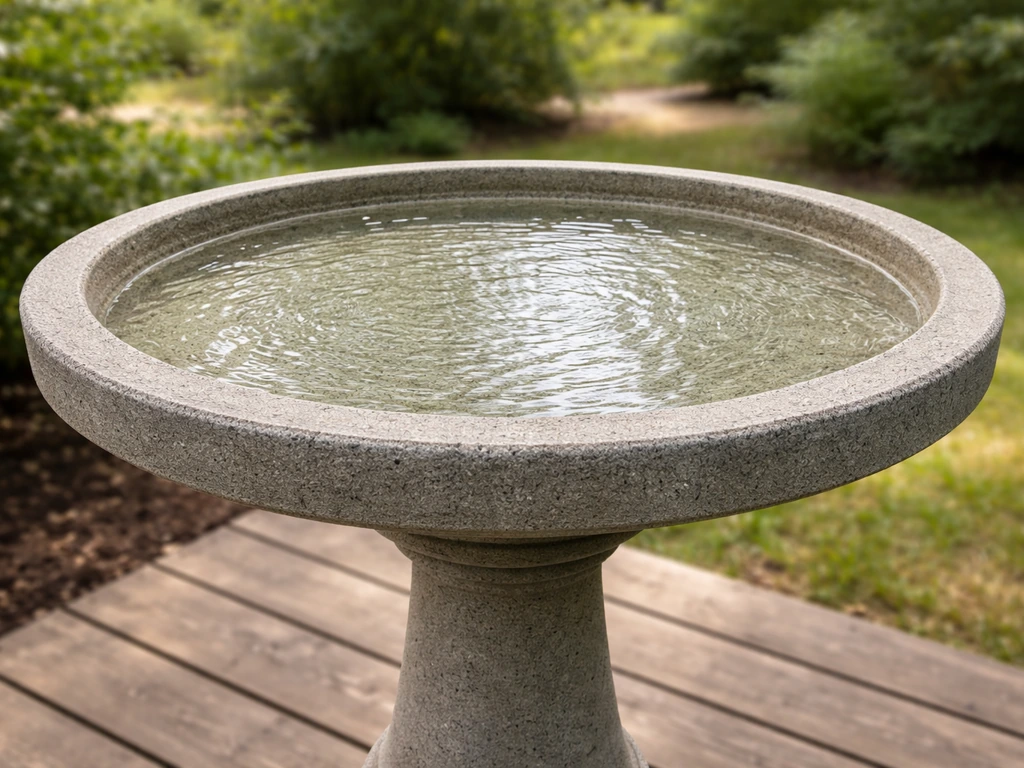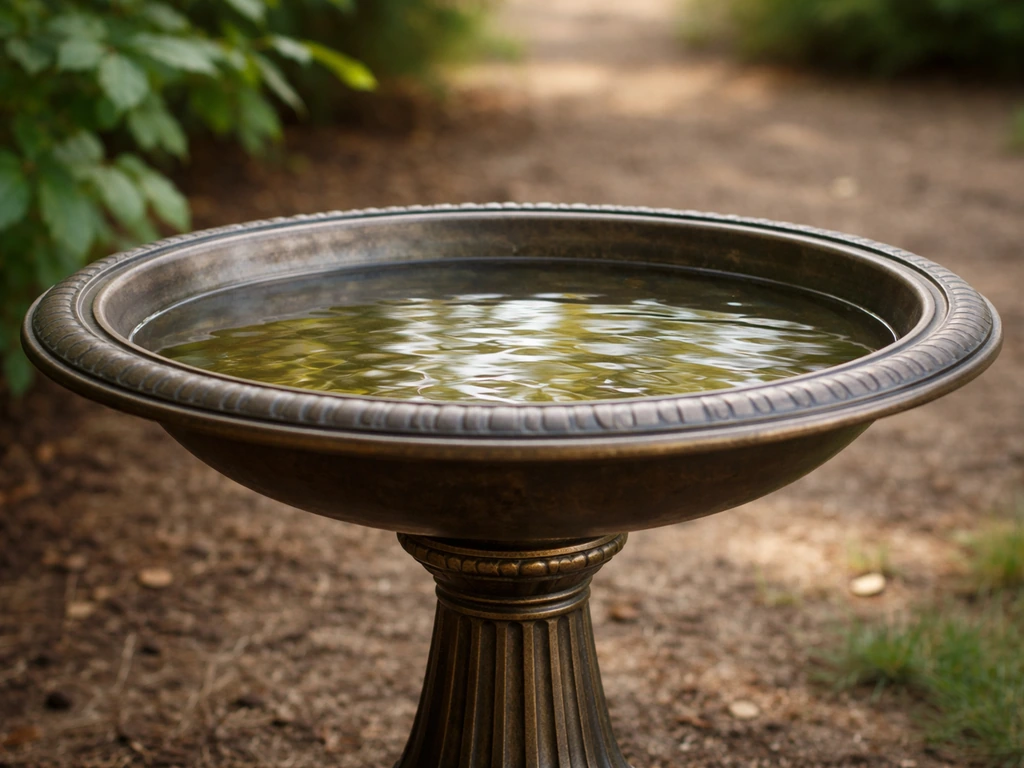
When your bird bath bowl cracks, chips, or just gets so stained that no amount of scrubbing fixes it, you don't need to replace the whole setup. A replacement bird bath bowl top drops right onto your existing pedestal, pole, or hanger, saves you money, and can actually be an upgrade if you choose a better material than what you started with. The tricky part is making sure it fits, picking the right material for your climate and the birds you want to attract, and knowing whether a direct brand swap is possible or whether a universal aftermarket bowl is your better bet.
Replacement Bird Bath Bowl Top: Measure, Choose & Install

Marcus Henley
30 Jul 2026
Replace it or repair it? Making the call
Not every damaged bowl needs replacing. A hairline crack that isn't spreading, minor surface staining, or a small chip on the rim edge are usually repairable. I've patched concrete and cast-stone bowls with hydraulic cement or a pond-safe epoxy putty and gotten several more years out of them. For concrete specifically, a coat of DRYLOK or a penetrating silane/siloxane sealer can stop further freeze-thaw spalling and buy you another season or two.
Replace the bowl when you're dealing with a crack that goes all the way through the basin floor (it won't hold water reliably), a glaze that has crazing so deep bacteria colonize it even after bleach scrubs, freeze damage that has shattered a terracotta or thin ceramic bowl, or a pedestal that has outlasted a badly stained plastic top you never liked anyway. If the repair cost or effort approaches what a replacement bowl costs, replacement wins every time.
- Repair: surface cracks, minor chips, light efflorescence on concrete, algae staining, small pinholes in glaze
- Replace: through-cracks in the basin floor, shattered freeze damage, crazing so severe it can't be sanitized, severe spalling across more than a third of the bowl surface
- Upgrade (replace by choice): switching from porous terracotta to frost-resistant ceramic, adding a heated or solar-compatible top, or switching to a deeper/shallower profile to attract different species
Know what you have before you buy anything
The single biggest mistake people make is ordering a replacement bowl based on a rough diameter measurement and nothing else. Bird bath tops attach to bases in four main ways, and a bowl that doesn't match your mounting type is useless regardless of how close the diameter is.
Common mounting types
- Twist-to-lock (keyed): the pedestal top has a raised locking tab or key; the bowl underside has a matching slot. You drop the bowl on and twist it to lock. Common on Sunnydaze and several import lines.
- Bolt-through flange: a center hole or bolt pattern in the basin floor aligns with a threaded stud or bolt holes in the pedestal. A nut or bolt set holds it down. Very secure; Heritage cast-stone models often use this.
- Flat-rest with set screws: the bowl just rests on a flat pedestal top, and small set screws on the pedestal collar prevent sliding. Simple and easy to swap.
- Pole-mount cradle: used on deck-post and shepherd's-hook styles; the bowl has a recessed flat bottom that sits inside a circular cradle ring on the pole top.
- Hanging bowl: a rim groove or three molded notches accept chains or wires. Diameter and groove depth determine chain compatibility.
- Heritage-specific: Heritage bird baths use a heavy cast-stone pedestal with a centered threaded insert or bolt-through design; the brand sells OEM replacement tops in matching finishes.
Cardinal and Heritage are the two brand names you'll see most often when people are hunting for an exact OEM swap. Each has its own pedestal dimensions, finish colors, and attachment geometry. If you have one of these, check the brand-specific section below before you start measuring for a universal replacement.
Measurement and compatibility checklist
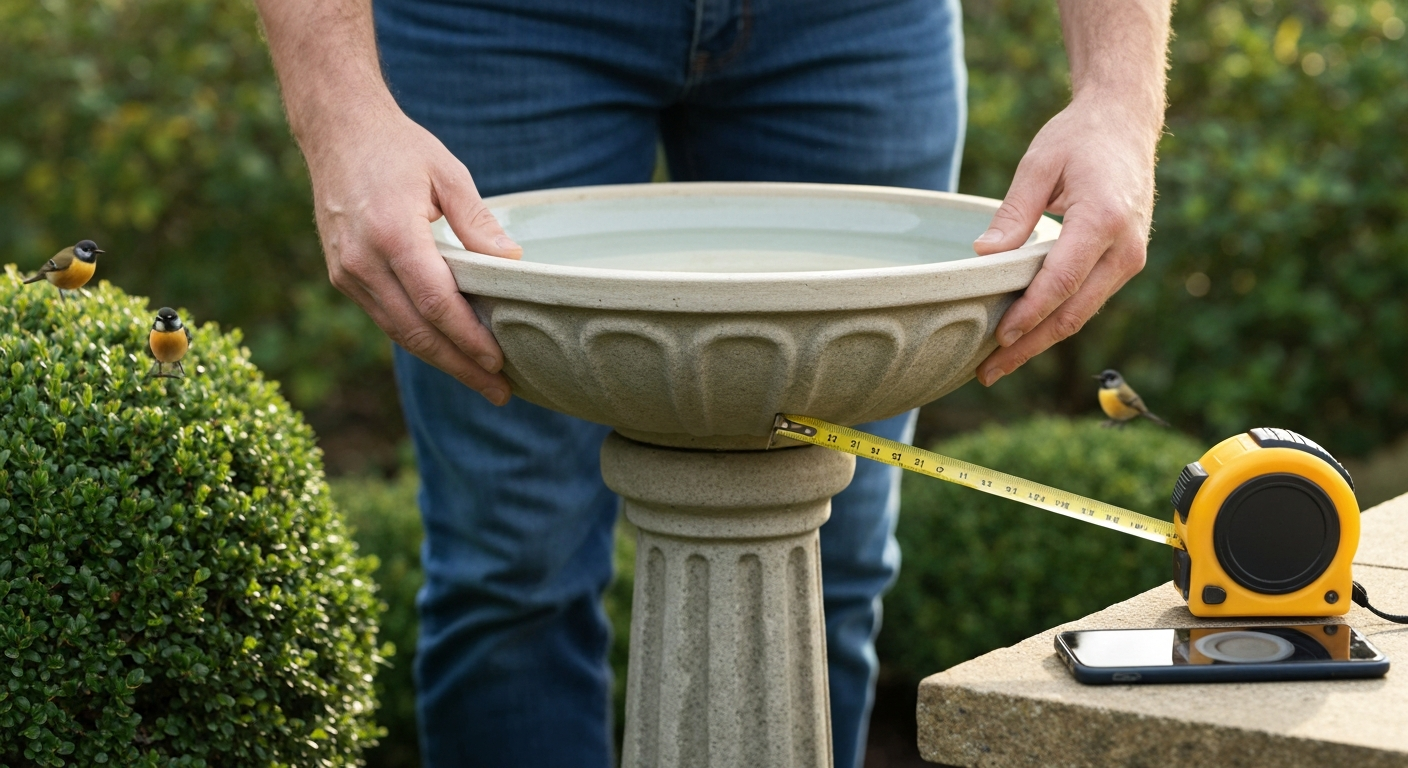
Take all of these measurements with a tape measure and record them before you do anything else. Photograph the underside of the old bowl and the top surface of the pedestal while you're at it. Those photos will save you a lot of back-and-forth with a seller.
- Outer diameter: measure rim edge to rim edge at the widest point. Most replacement bowls are sold by this number.
- Inner usable diameter: measure the flat or usable floor of the basin, not the sloped sides.
- Rim/lip width: how wide is the flat lip around the edge? Some birds prefer a wider perching ledge.
- Rim/lip thickness and profile: flat, rolled, or beveled edges affect whether the bowl will sit flush on the pedestal collar.
- Maximum interior depth: measure from the top of the rim down to the deepest point of the basin floor. Best practice is 0.5–1 in at the edges sloping to no more than 2 in at center.
- Basin floor diameter: the flat bottom circle, if the bowl has one.
- Drain hole: diameter, exact position (center or offset), and whether a plug or bung is included.
- Bolt/flange pattern: if your pedestal uses bolts, measure the bolt circle diameter and bolt spacing.
- Pedestal top outer diameter: the collar or rim your bowl will rest on.
- Clearance for locking features: if twist-to-lock, measure the height and width of any key tabs.
- Weight: note the old bowl weight if you can. Lightweight pedestals have a listed weight capacity; exceeding it tips the bath over in wind.
The practical sweet spot for diameter is 18–24 in (45–60 cm). That range fits multiple birds at once and works with most standard pedestal collar sizes. Anything under 12 in limits you to very small species and one bird at a time.
Brand-specific swaps: Heritage and Cardinal
Heritage bird bath replacement tops
Heritage is one of the most-searched brands for replacement tops because their pedestals are heavy, attractive cast stone and people rightly don't want to throw them away just because the bowl cracked. Heritage sells OEM replacement bowls through their direct website and through authorized dealers; look for the specific finish code (charcoal, sandstone, white, etc.) stamped or stickered on the underside of your old bowl. The finish code matters because Heritage basins are cast and tumbled to match the pedestal patina. A bowl in the wrong finish code will look noticeably mismatched. Specialized parts retailers like BirdHousesAndBaths.com stock Heritage replacement pieces as well, and they can cross-reference your measurements to the correct SKU. If the OEM bowl is discontinued, a cast-stone or resin bowl in the right diameter and with a bolt-through center hole can be adapted with a threaded insert kit.
Cardinal bird bath replacement tops
Cardinal bird baths are sold widely through garden centers and big-box stores, and their pedestal collar dimensions are fairly consistent across product lines, which makes finding a compatible aftermarket bowl a bit easier than with Heritage. Cardinal's OEM replacement bowls are occasionally available through the original retailer where you purchased the bath; take the original receipt or the model number off the pedestal base (usually molded into the underside) and contact Cardinal's customer service directly. For model-specific options and sizing details, see Cardinal bird bath top. Aftermarket concrete or resin bowls in the 18–20 in diameter range often drop right onto Cardinal pedestals with a flat-rest or set-screw mount. When in doubt, a rubber non-slip mat cut to fit the pedestal top acts as a shim and prevents the bowl from rocking.
Material comparison: which bowl top is right for you
The material your replacement bowl is made from affects weight, freeze resistance, bird safety, how often you'll clean it, and how long it will last. Here's a straight comparison across the materials you'll actually encounter. If you prefer durable, low-maintenance options, consider a metal bird bath top for strength, easy cleaning, and a sleek look.
| Material | Freeze resistance | Bird safety | Weight | Durability | Typical finish | Notes |
|---|---|---|---|---|---|---|
| Clay / terracotta | Poor (5–8% water absorption; cracks in hard freezes) | Safe when unsealed; avoid lead glazes | Medium | 2–5 years in cold climates | Natural earth tones | Seal with pond-safe impregnator; still risky below 20°F |
| Dense ceramic / porcelain | Good (<0.5% absorption; passes ISO frost tests) | Safe if food-safe glaze used | Medium-heavy | 10+ years if unbroken | Smooth, glossy or matte glazed | Best cold-climate ceramic option; heavier than resin |
| Concrete / cast stone | Fair (porous; seal required) | Safe once leached and cured | Heavy (15–40+ lbs) | 10–20+ years sealed | Textured, natural gray or colored | Must leach new concrete before bird use; seal annually |
| Metal (cast iron, copper, steel) | Good (no water absorption) | Safe; avoid galvanized zinc if possible | Heavy to very heavy | 15–30 years with maintenance | Hammered, patinated, or painted | Can get hot in direct sun; copper develops safe patina |
| Resin / plastic | Excellent (no absorption, flexible) | Generally safe; check BPA-free labeling | Light (3–8 lbs) | 5–10 years UV-rated | Molded, can mimic stone or ceramic | Lightweight is a tip-over risk; anchor the pedestal |
| Heated bowl (electric) | Excellent (purpose-built for winter) | Safe with UL/MET-listed units and GFCI outlet | Medium (heater adds cord/weight) | Depends on base material; heater element lasts 5–10 years | Varies; usually dark-toned | 60–150 W thermostatically controlled; activates near 40–46°F |
| Solar-integrated top | Fair (no heater; just circulator or dripper) | Safe | Light-medium | Solar panels degrade over 5–8 years | Varies | Circulating water reduces mosquito breeding; not for freeze prevention |
My recommendation for most backyards: dense ceramic or a sealed concrete bowl offers the best combination of durability and bird appeal. Manufacturer data for the 6mm Thin Porcelain Slab, Wharton Ceramics (water absorption <0.1% and ISO frost resistance) confirms dense porcelain's very low water absorption and ISO-rated frost resistance, supporting its suitability for outdoor bowls blank" rel="noopener noreferrer">6mm Thin Porcelain Slab — Wharton Ceramics (water absorption <0.1% and ISO frost resistance). If you're in a climate that regularly drops below 20°F, either go with resin (and weight the pedestal base) or invest in a purpose-built heated bowl. Terracotta and clay tops are beautiful but they need to come inside over winter, or you will be buying another replacement bowl the following spring. Authentic terracotta typically absorbs about 5–8% water by EN/ISO testing, so it must be sealed or brought indoors to prevent frost damage, see Authentic terracotta tiles: selection guide, Tilesamples (water absorption & frost considerations) Authentic terracotta tiles: selection guide — Tilesamples (water absorption & frost considerations).
What it costs and where to buy
Replacement bowl prices vary widely by material and whether you're buying OEM or aftermarket. Here's a realistic price bracket based on current retail.
| Bowl type | Typical price range | Where to look |
|---|---|---|
| Resin/plastic replacement | $15–$45 | Amazon, Walmart, Target, garden centers |
| Ceramic/glazed pottery | $30–$80 | Garden centers, pottery shops, Etsy, Amazon |
| Concrete/cast stone | $40–$120 | Home Depot, Lowe's, Wild Birds Unlimited, specialty garden retailers |
| OEM Heritage replacement top | $50–$130 | Heritage website, BirdHousesAndBaths.com, authorized dealers |
| OEM Cardinal replacement top | $25–$70 | Original retailer, Cardinal customer service, garden centers |
| Metal (cast iron, copper) | $60–$200+ | Specialty garden stores, online retailers, antique markets |
| Heated bowl (complete) | $40–$100 | Wild Birds Unlimited, Amazon, Chewy, hardware stores |
| DIY concrete (materials only) | $10–$25 | Hardware store (Portland cement, sand, release agent) |
Beyond standard retailers, check Facebook Marketplace and Craigslist for used concrete or cast-stone bowls from people who moved or upgraded. You can often get a heavy cast-stone bowl for $10–$20 that just needs a scrub and a seal coat. Estate sales and garden center clearance sections are another reliable source, especially at the end of the summer season in July and August.
Practical model lookup and buying checklist
Before you add anything to a cart, work through this checklist. I've learned (the hard way, more than once) that skipping even one step leads to a return trip.
- Photograph the top surface of your old bowl, the underside showing the mounting features, and the top of your pedestal or pole.
- Record all measurements from the compatibility checklist above: outer diameter, inner diameter, depth, rim profile, drain hole, bolt pattern, pedestal collar diameter.
- Look for a model number or part number molded into the underside of the old bowl or stamped on a label. Use that number to search the brand's website or call their parts line directly.
- If buying a universal or aftermarket bowl, confirm the seller lists exact outer diameter and mounting hole dimensions, not just 'fits most pedestals.'
- Check the return policy before buying: bowl tops are heavy and return shipping often costs more than the bowl itself. Buy from sellers with free or prepaid return labels.
- For Heritage or Cardinal specific purchases, ask the seller to confirm the finish code or color matches your pedestal before shipping.
- If using a universal adapter ring or soft-mount bracket, confirm its load rating is greater than your chosen bowl's weight.
- Ask whether the bowl ships with mounting hardware (bolts, plugs, non-slip pads). Many do not, and replacing them separately adds $5–$15.
DIY replacement bowl plans
Building your own replacement top is more achievable than most people think, and it lets you dial in the exact diameter, depth, and drain position your pedestal needs. For step-by-step instructions and downloadable templates, see the DIY bird bath top guide. Here are four approaches, from easiest to most involved.
Option 1: Cast concrete bowl
This is the most durable DIY option and produces a bowl that will outlast almost anything you can buy at retail.
- Materials: Portland cement (Type I/II), coarse sand, water, polypropylene fiber additive (reduces cracking), vegetable oil or commercial mold release, two mixing buckets, a trowel
- Mold setup: use two round plastic bowls (or foam half-spheres) where one is 4–6 in larger in diameter than the other. The gap between them creates your wall. Oil both surfaces well.
- Mix ratio: 2 parts sand to 1 part Portland cement by volume; add just enough water for a stiff, peanut-butter consistency. Add a small handful of polypropylene fibers per batch.
- Pour and pack: pour the mix into the outer mold first, then press the inner mold down, centering it. Tap the outer mold repeatedly to remove air pockets. Target wall thickness of 1.5–2 in.
- Drain hole: press a greased 0.5 in wooden dowel through the basin floor before the cement sets if you want a drain. Remove after 24 hours.
- Curing: leave in the mold for at least 7 days in a shaded, slightly damp location. Cover with plastic sheeting to slow drying. Don't rush this step.
- Leaching: fill the finished bowl with water and let it soak for 2–3 days, then drain. Repeat at least three times before letting birds use it. New concrete is highly alkaline and needs this step.
- Sealing: after leaching, apply a pond-safe penetrating silane/siloxane sealer or a water-based sealer rated for water contact. Wait the full cure window on the label (often 48–72 hours) before filling.
Option 2: Hand-built clay or ceramic bowl
If you have access to a community pottery studio or own a kiln, a hand-built stoneware bowl fired to cone 6 or higher will have very low water absorption and excellent freeze resistance. Coil-build or slab-build the bowl over a plaster hump mold to get consistent depth and diameter. Target a minimum wall thickness of 3/8 in after firing. Glaze only with food-safe, lead-free glazes. Terracotta air-dry clay is a much faster alternative but won't survive winter outdoors; treat it as a warm-season bowl and bring it in before first frost.
Option 3: Resin cast top
Two-part polyurethane or polyester resin can be cast into any shape using a foam or silicone mold. This is lighter than concrete and can mimic stone textures beautifully. Mix resin per manufacturer instructions, pour into an oiled mold, and cure at room temperature for 24–48 hours. Once cured, polyurethane resin is inert and bird-safe. Pigment can be added to the mix. A resin bowl in a 20 in diameter comes in around 4–6 lbs, making it practical for pole and hanging mounts. One caution: uncured resin fumes are irritating; work outdoors and wear a respirator during mixing and pouring.
Option 4: Wooden faux-top with liner
A circular wooden frame holding a fitted pond liner or food-grade rubber basin makes a surprisingly attractive and functional bird bath top. Cut a ring from 3/4 in exterior-grade plywood, sand the edges smooth, apply exterior paint or spar varnish, and then drop in a pre-formed rubber or HDPE pond basin of the right diameter. The liner is the water-contact surface, so wood quality matters less than fit and seal. This approach is particularly good for very large diameters (24 in and above) where a concrete bowl would be impractically heavy. The wooden frame rests on the pedestal collar; use stainless steel screws to attach a simple bracket on the underside if needed.
Installation: attaching the new bowl safely
Before you set the new bowl, clean the pedestal top surface and inspect it for cracks or wobble. A pedestal that rocks needs to be shimmed with weather-resistant rubber pads before you place a heavy bowl on it.
- Bolt-through mount: thread the bolt or stud through the basin drain or center hole, apply a stainless steel washer and nut to the underside, and hand-tighten, then snug with a wrench. Don't overtighten on ceramic or concrete; you'll crack it.
- Twist-to-lock: align the bowl key slot over the pedestal tab, lower the bowl flat, then rotate about 1/4 turn until the tab seats. Give it a gentle tug upward to confirm it's locked.
- Flat-rest with set screws: lower the bowl onto the pedestal collar, center it, and tighten the set screws finger-tight plus a quarter turn. Check level with a small bubble level.
- Pole cradle: lower the bowl into the cradle ring. If there's significant rocking, add a thin rubber gasket cut from a non-slip shelf liner around the inside of the cradle ring.
- Hanging: thread chains or wires through the rim notches or hang clips, make sure all three (or four) attachment points are at equal length so the bowl hangs level, and check the hook load rating against your bowl weight before hanging.
Tools you'll need: tape measure, bubble level, adjustable wrench or socket set (for bolt mounts), rubber mallet (for tap-fitting), wire cutters (for hanging adjustments), and a tube of clear silicone sealant rated for outdoor use if you want to create a weatherproof joint between bowl and pedestal.
Keeping it clean: maintenance and winterizing
The replacement bowl is only as good as the maintenance routine behind it. The water in a bird bath can become a health hazard for birds within 2–3 days in warm weather. My own schedule: top off or fully change the water every 1–2 days in summer, scrub the basin with a stiff-bristle brush weekly, and do a proper disinfection monthly using a dilute bleach solution (1 part bleach to 9 parts water), letting it sit for 10 minutes before rinsing thoroughly until no bleach smell remains. A dilute white vinegar solution (1:1 with water) is a milder alternative for routine cleaning and is less hard on sealers.
Troubleshooting algae, mosquitoes, and freezing
- Algae: move the bath to a shadier spot (algae loves direct afternoon sun), change water every 1–2 days, and add a Barley straw extract tablet or a small solar-powered circulator to keep water moving. Avoid copper sulfate algaecides; they're toxic to birds.
- Mosquitoes: mosquitoes need 7–10 days of still water to complete their larval cycle. Changing water every 2–3 days or adding a dripper/solar fountain breaks the cycle completely. A Bacillus thuringiensis israelensis (Bti) dunk is also bird-safe and kills mosquito larvae.
- Freezing (non-heated bowl): bring terracotta and thin ceramic bowls inside before the first hard freeze. Drain concrete and cast-stone bowls; don't leave them filled and frozen. For resin bowls, emptying is sufficient.
- Freezing (heated bowl): use a thermostatically controlled submersible heater (60–150 W); common models activate around 40–46°F and cycle off when not needed. Always plug into a GFCI-protected outdoor outlet and use only outdoor-rated extension cords. Look for UL or MET safety listing on any unit you buy.
Sealing and annual maintenance for concrete bowls
Concrete and cast-stone bowls benefit from a fresh coat of penetrating sealer once a year, ideally in early spring before the heavy bird season. Let the bowl dry completely, clean off any algae or mineral deposits, apply the sealer with a brush or roller, and wait the full cure time on the label (at minimum 48–72 hours) before filling. Don't shortcut this; freshly applied sealer releases VOCs that aren't safe for birds to drink. A properly sealed concrete bowl loses far less water to absorption and resists freeze-thaw spalling much better than an unsealed one.
FAQ
How do I decide whether to replace the bird bath bowl top or repair the one I have?
Quick decision guide: repair when damage is limited (hairline cracks, glaze chips, small leak) and the bowl is structurally sound; replace when cracks are through‑thickness and leaking, freeze‑thaw spalling is widespread, mounting features are damaged or you want a different material/feature (heated, heavier/frost‑resistant). Consider cost: inexpensive or hard‑to‑match bowls are often cheaper to replace; premium branded bowls (Heritage/Cardinal) may be worth repairing if parts are available. Also factor safety: if algae, contamination or deep porosity can’t be reliably remediated, replace.
What measurements and photos should I record before buying or making a replacement bowl top?
Measurement & compatibility checklist: outer overall diameter, inner usable diameter (water surface), rim/lip width, rim/lip thickness/profile, maximum interior depth and slope (rim to center), basin floor diameter, drain or mounting‑hole diameter and position, bolt pattern or flange diameters and center‑to‑center spacing, vertical clearance or recess depth for keyed or seated mounts, weight of the original bowl (estimate), and clear photos of the top, underside, and how it attaches to the pedestal or stand. Record materials and any stamped part/model numbers; these are essential for brand‑specific swaps (Heritage/Cardinal).
Which bowl materials are best and what are the pros/cons (bird‑safety, weight, finish, durability)?
Material comparison (summary): - Glazed ceramic/porcelain: bird‑safe when fully vitrified, low water absorption, attractive finishes, moderate weight, excellent freeze resistance if vitrified porcelain; fragile to impact. - Terracotta/clay: natural look, lightweight, breathable; porous (absorption ~5–8%), prone to freeze damage unless sealed, needs impregnation for outdoor winter use. - Concrete / cast stone: heavy and stable, inexpensive; porous and vulnerable to freeze–thaw unless air‑entrained and sealed, may leach alkalinity when new (leach before use). - Metal (stainless steel, copper, aluminum): very durable, thin walls reduce freezing risk, can be loud/slick for birds; untreated metals may heat in sun or corrode; copper will patina (harmless). - Resin/fiberglass/composite: lightweight, impact resistant, can mimic stone/ceramic, generally frost‑resistant but check UV stability and filler quality. - Heated/solar integrated tops: allow winter use; require electrical safety listings, correct wattage and GFCI protection. Bird safety notes: avoid toxic paints/finishes and sealers not rated for potable/pond contact; allow sealers to fully cure before use.
How do Heritage and Cardinal brand bowls differ when looking for replacement tops?
Brand swap notes: many Heritage and Cardinal models use specific diameter and mounting patterns (twist‑lock keys, bolt patterns or threaded inserts). Start by photographing the underside, noting any stamped model numbers and measuring bolt patterns and recess depths. Heritage parts are often sold as replacement bowls or retrofit adapters by specialty retailers; Cardinal similarly offers direct spares or compatible aftermarket tops. If an exact brand match is unavailable, find a replacement with matching diameter and the same attachment type (twist key, bolt pattern or pedestal recess) or plan to use an adapter bracket.
Where can I find replacement parts or model lookups and what should I do before buying?
Buying guidance: search the brand’s official replacement parts first, then specialty retailers that stock Heritage/Cardinal spares. Use the photos and measurements checklist to compare listings. If buying generic replacements, match inner usable diameter, rim profile and mounting method. For heavy/expensive bowls, confirm return policies and measure again. Consider aftermarket adapters or universal mounting brackets if the bolt pattern differs. Keep receipts and part numbers for warranty or return.
Step‑by‑step DIY plan for making a concrete replacement bowl top.
DIY concrete bowl (overview): 1) Design: pick inner diameter and depth (follow bird‑bath depth guidance: rim shallow ½–1 in, center no more than ~2 in for general use). 2) Build a two‑part mold (melamine, HDPE or foam) with smooth interior; apply release agent. 3) Mix concrete with air‑entrainment and polypropylene fiber; aim for 1.5–2 in wall thickness and include mesh/rebar for reinforcement if large. 4) Cast: pour, tap to remove air, embed any mounting hardware or bronze inserts. 5) Cure at least 7 days in mold, longer recommended; keep moist. 6) Demold, finish edges (wet sanding). 7) Leach new concrete (repeated fills/drains or vinegar soaks) and allow full cure. 8) Seal with a pond/potable‑safe penetrating sealer and let cure per product instructions (48–72 hrs). Safety: use PPE, mix outdoors or in ventilated area, don’t let birds access until sealer cures.