There is no pre-built bird bath block in Minecraft, so what you're really doing is building a decorative structure that looks like one. That actually gives you a lot of freedom. You can go simple and survival-friendly in about two minutes, or spend more time on a detailed garden centerpiece that fits any biome. Either way, the core challenge is the same: get the water to sit still, stay contained, and actually read as a shallow bath rather than a random puddle.
How to Make a Bird Bath in Minecraft Step-by-Step

Marcus Henley
22 Mar 2026
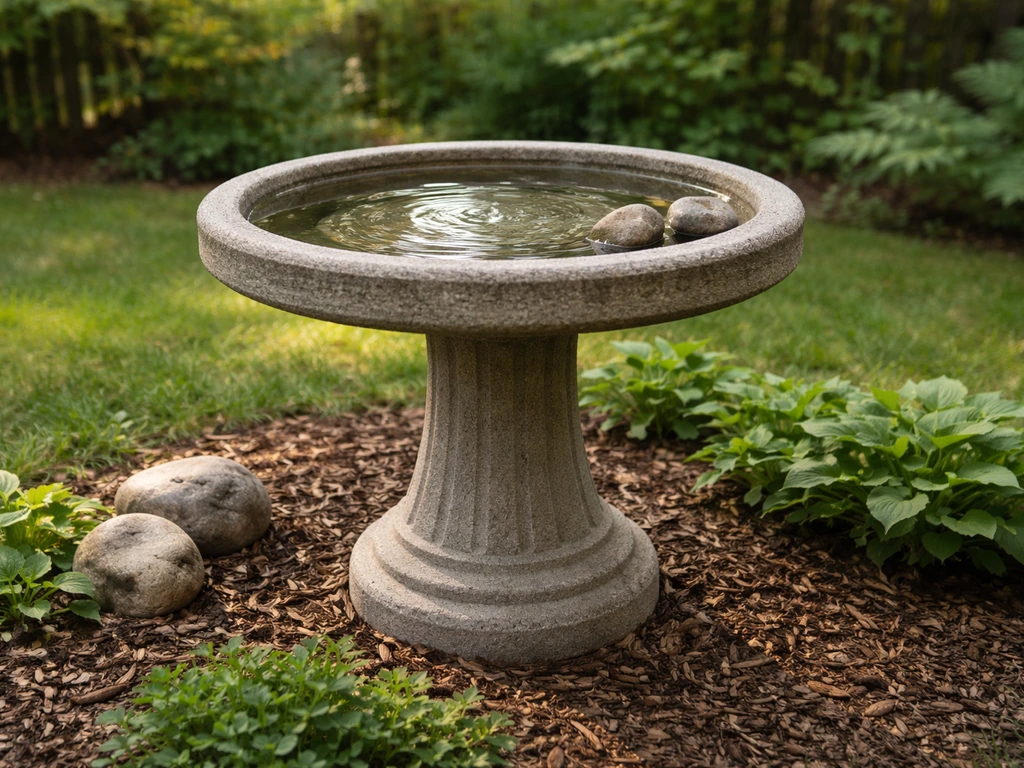
What a Minecraft bird bath can look like
Because there's no dedicated bird bath block, the look comes entirely from how you combine existing blocks. The classic silhouette is a pedestal topped with a shallow basin, so you're mimicking that shape with what's available. Here are the most common visual approaches players use: If you want a quick real-world style walkthrough in addition to the Minecraft options here, check out youtube how to make a bird bath.
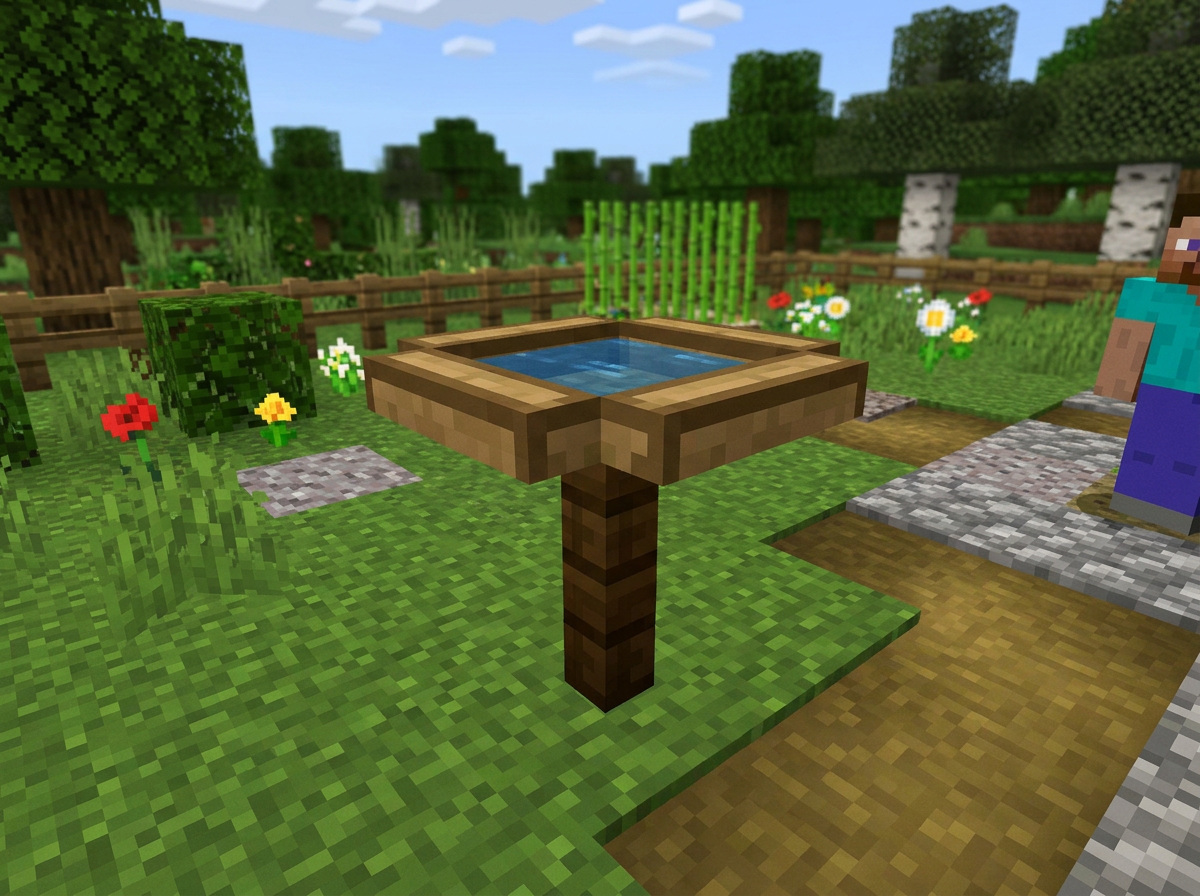
- Fence post pedestal topped with a slab or trapdoor platform, with a single water source block on top (the most beginner-friendly read)
- Cauldron filled with water sitting on a stone block or fence pedestal (gives a clean, contained look with zero water spread risk)
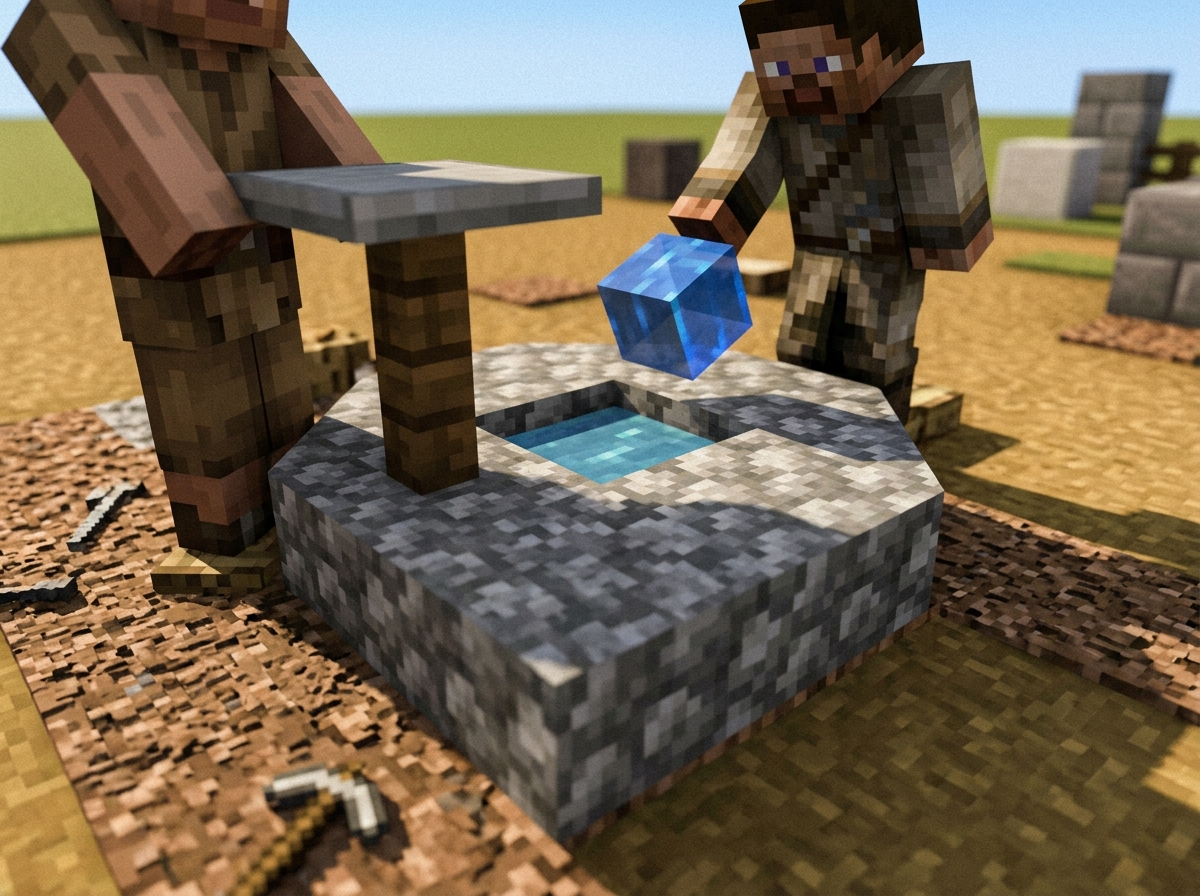
- A shallow 1x1 or 2x2 depression dug into the ground and filled with source blocks (ground-level or pond-style bath)
- A raised platform made of stone slabs or stairs arranged in a shallow bowl shape, with water source blocks filling the center
- A flower pot or composter used as a quirky pedestal for a cauldron on top
The most readable bird bath shape from a distance is the pedestal-plus-basin silhouette. If you just place water on the ground, it looks like a puddle. Raising it on even a single block makes an immediate visual difference. Keep that in mind as you pick your style.
Materials checklist and easy substitutions
Below are the materials for both build methods covered in this guide. Everything here is available in survival mode without requiring rare drops or late-game crafting.
| Material | Used for | Easy substitution |
|---|---|---|
| Fence (any wood or stone brick) | Pedestal post | Wall block, cobblestone wall, or any pillar-shaped block |
| Slab (stone, cobblestone, wood, or quartz) | Basin platform or basin edge | Trapdoor placed flat, stairs arranged as a bowl |
| Water bucket (at least 1) | Filling the basin | No substitution — you need a bucket from a water source |
| Cauldron (1 iron ingot x7) | Contained water basin (method 2) | Not substitutable for the contained-water effect |
| Stone or cobblestone blocks (2–4) | Pedestal base or surrounding border | Any solid block: bricks, andesite, diorite, granite |
| Trapdoors (optional, 2–4) | Hiding water edges or acting as a lip around the basin | Slabs placed around the edge |
| Lantern or sea lantern (optional) | Lighting around or under the bath | Torch, glowstone, candle |
| Flowers or grass (optional) | Surrounding landscaping | Any plant: ferns, azalea, potted plants |
The only item you absolutely cannot skip is the water bucket. Water can only be picked up from a source block using an empty bucket, so find a nearby lake, river, or ocean and fill up before you start building. One bucket is enough for a 1x1 basin. For a 2x2 basin, you'll want at least two buckets or a quick infinite water source nearby (more on that below).
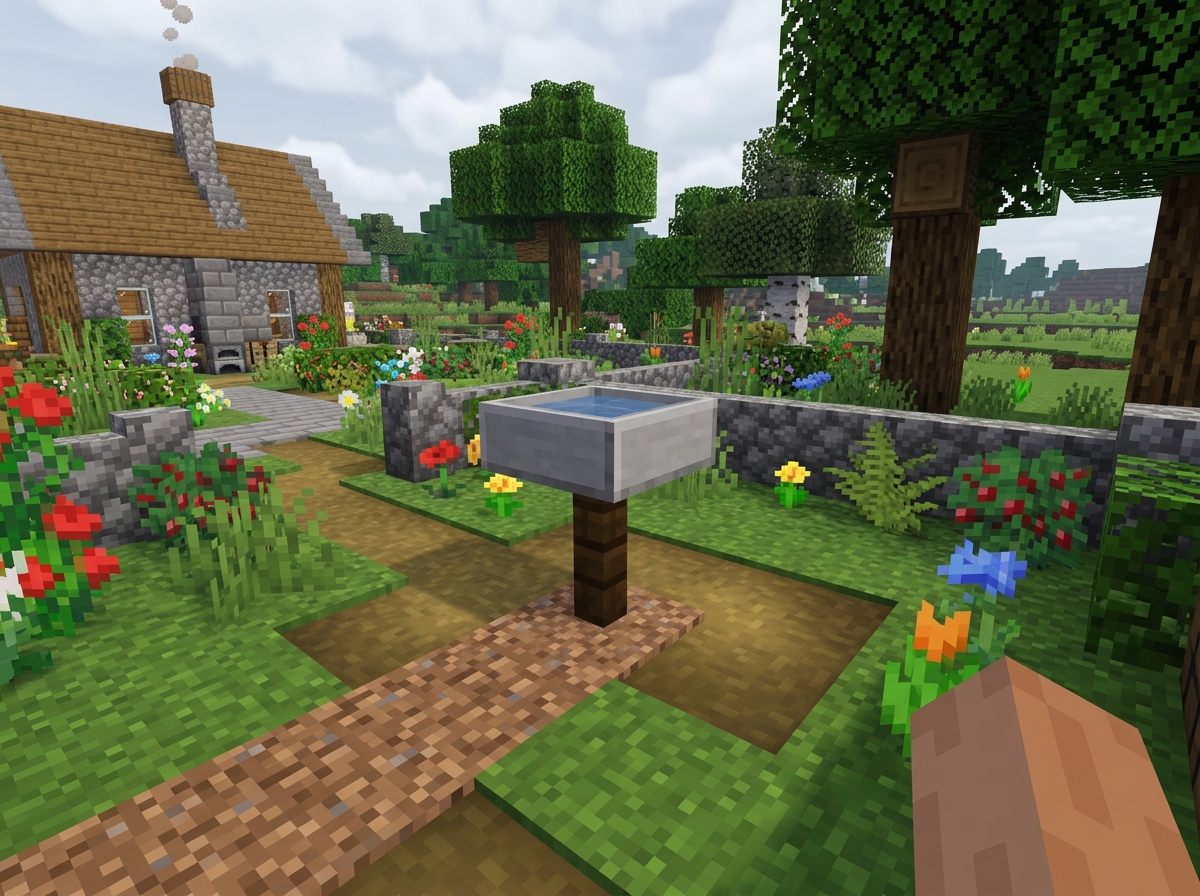
Build method 1: simple survival-friendly bird bath
This is the version I'd recommend for anyone playing survival who wants something quick, clean, and easy to replicate anywhere. It uses a fence post pedestal and a slab platform with a single water source block on top. The whole thing is four blocks tall at most and reads clearly as a bird bath from ground level.
- Pick your spot: find a flat area in your garden, yard build, or near a path. The bath looks best with at least 1–2 blocks of open space around it.
- Place your base block: put down one stone, cobblestone, or brick block on the ground. This is the foot of the pedestal.
- Add the fence post: place a fence block directly on top of the base block. Any fence works — oak, spruce, stone brick fence — just pick one that matches your build's style.
- Build the basin platform: place a slab on top of the fence post. You want the slab to sit on the upper half of that block space (a top slab), not the lower half, so it looks like a wide, flat dish. In most versions, placing a slab by clicking the top face of the fence will default to this.
- Optionally widen the basin: place additional slabs or trapdoors on the sides of the central slab block, flat and open, to create a wider bowl shape. This step is optional but makes it look more like a real basin.
- Fill with water: stand next to the slab platform, equip your water bucket, and right-click the top of the slab. The water source block will appear on top of the slab. If you have a wider platform, fill each open slab top individually with a source block.
- Check for spreading: if the water starts running off the edge, it means there's an open path for flowing water to escape. Place slabs or trapdoors around the edge of the basin to act as a lip and stop the flow. Flowing water (animated, rushing) is the problem — source blocks (still, flat water surface) are what you want.
One thing that trips people up: water placed on top of a slab will sit as a source block if the slab has solid block neighbors on all sides, or if it's just a 1x1 surface with nowhere to flow. If it starts spreading, just add a one-block lip around the edge using trapdoors held open flat, or use additional slabs on the surrounding spaces at the same height. That containment is the whole trick.
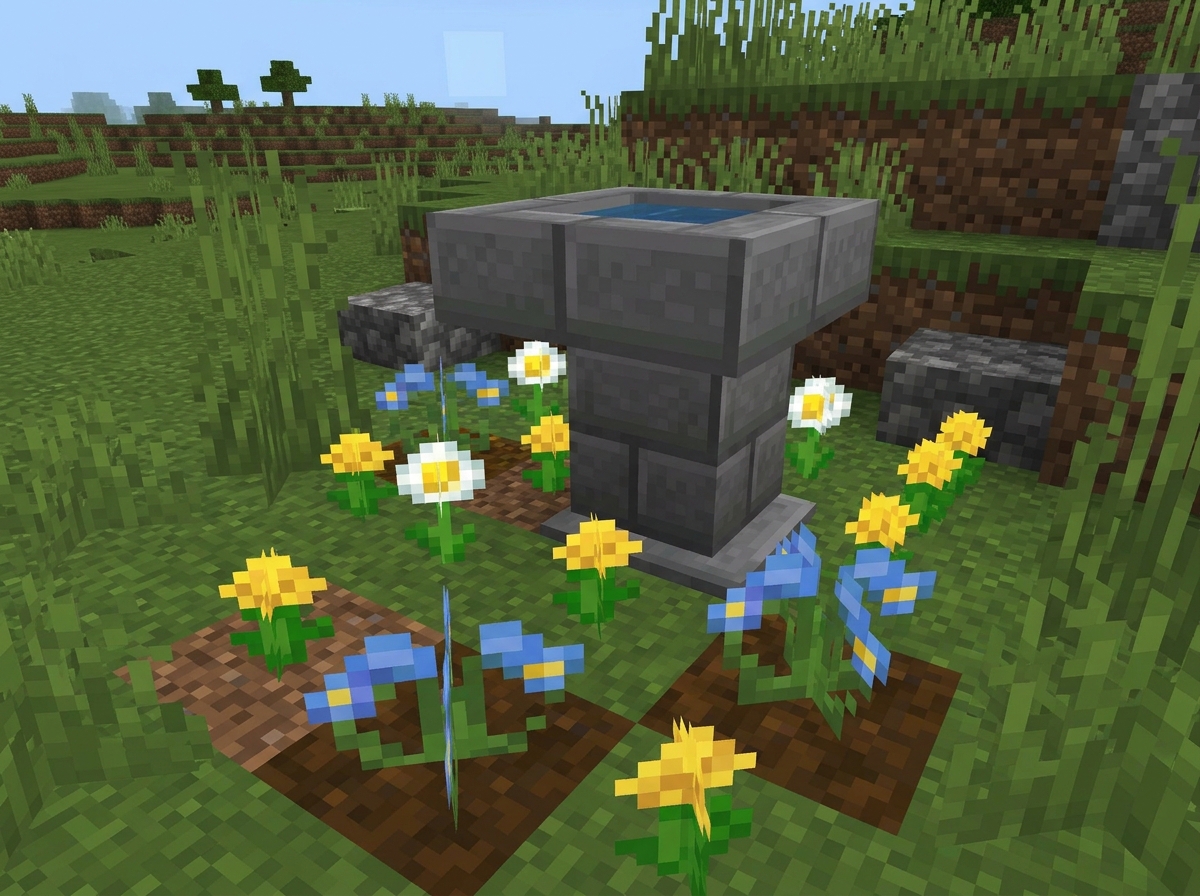
Build method 2: cleaner look with a cauldron
If you want a bird bath that never leaks, never spreads, and looks tidy with zero risk of flooding your garden, use a cauldron. Cauldrons hold water as an internal state, the water sits inside the cauldron block itself rather than existing as a separate fluid block that can spread. This makes them perfect for decorative builds.
- Craft a cauldron: you need 7 iron ingots arranged in a U-shape on the crafting table (leave the top row center and the middle row center empty).
- Build your pedestal: place one or two stone/cobblestone blocks as a base, then a fence post on top, just like method 1.
- Place the cauldron: set the cauldron directly on top of the fence post (or on a single block pedestal if you want a lower profile). The cauldron sits as a solid decorative block right away.
- Fill the cauldron with water: in survival, the easiest way is to use a full water bucket directly on the cauldron. This fills the cauldron completely in one click. Alternatively, you can use three water bottles (from a glass bottle filled at a water source) to fill it level by level — each bottle adds one of three levels.
- Check the result: the cauldron should now show water inside with a visible water surface. It will not spread, flow, or leak under any circumstances.
- Style the pedestal: add slabs, stairs, or decorative blocks around the base of the pedestal to give it more visual weight. A single fence post can look a little spindly, so wrapping the base in stone brick slabs or placing a small stone platform underneath helps.
The cauldron method is also the better choice if you're building in an area with uneven terrain, or if you want to place the bath on a wooden deck or platform where a leaking water source block would drip down and look messy. The only downside is that cauldrons do interact with a few game mechanics, burning entities that step into a filled cauldron lose their fire status and also drain one water level from the cauldron. That's rarely a problem in a decorative garden context, but it's worth knowing.
Placement, shaping, and stopping water from spreading

Placement matters more than most people expect. A bird bath dropped in the middle of a flat dirt square looks like an afterthought. The same build placed at the intersection of two garden paths, or tucked into a corner with flowers around it, looks intentional and finished. Before you commit, stand back and look at the silhouette. You want to see: elevated base, narrow post, wider flat top, water surface.
Controlling water spread is the most common source of frustration. Here's the key distinction: source blocks are still water (flat surface, no animation), and flowing water is the animated version that moves and spreads. These containment ideas are also the core of how to make a bird bath that looks right and doesn’t turn into a puddle. You only want source blocks in your basin. When you place a water bucket, it places one source block. If that source block has a path to flow downward or outward, it will generate flowing water that keeps spreading. The fix is always the same: close off the escape routes.
- Use trapdoors around the edge of the basin, placed flat (open position) to act as an invisible lip — the water can't flow over a solid trapdoor surface
- Use slabs on surrounding block spaces at the same height as your basin floor to prevent the source block from finding an open edge
- If you want a 2x2 basin, place all four source blocks before water has a chance to flow — fill quickly or use creative mode for placement first, then switch back
- For a guaranteed still surface in a 2x2 area, use the infinite water source trick: place two source blocks diagonally across from each other in a 2x2 hole and the other two spaces will also become source blocks naturally
Edition differences matter here. In Java Edition, you have slightly more control over waterlogged blocks and how trapdoors interact with fluid. In Bedrock Edition, waterlogged trapdoors behave a bit differently, and water spread from corners can sometimes be unpredictable. If you're on Bedrock and the water isn't behaving as expected, the reliable fix is to fill the problem area with a solid block, then re-place the water from scratch. That resets the fluid state and usually clears up any odd flow behavior.
Finishing touches: decor, lighting, scaling, and landscaping
A plain stone fence-and-slab bath is functional, but a few extra details make the whole garden area feel alive. Think of the bird bath as the centerpiece and everything else as framing it.
Lighting
Place a lantern hanging beneath the basin slab (attach it to the underside of the slab block), or surround the base with candles or torches on the ground. A sea lantern placed as the base block glows subtly through the pedestal. Lighting also prevents mob spawns near the bath, which is a practical bonus in survival.
Surrounding plants
Flowers placed in the two or three block spaces immediately around the pedestal base do the most work visually. Oxeye daisies, dandelions, or azure bluets all work for a naturalistic look. Potted plants on nearby blocks give a more curated garden feel. If you're in a jungle or forest biome, ferns and azalea bushes read well. In a desert or mesa build, dead bushes or potted cacti give the bath a different character entirely.
Scaling the bath up or down
For a larger feature, expand the basin to a 2x2 or even 3x3 surface on a wider stone platform pedestal, replacing the single fence post with a 2x2 stone brick column. For something tiny and charming, like a miniature in a hobbit-hole garden, a single fence post with one slab and one water source block is already at near-minimum scale. You don't need to go big to make it look good.
Paths and context
If the bath sits in the middle of nothing, it reads as random. Run a gravel or dirt path toward it, or place it at the center of a small 5x5 stone brick or cobblestone patio. Adding a bench (two fence posts with a pressure plate on top) nearby makes the whole area feel like a deliberate garden space rather than just a scattered set of blocks.
Troubleshooting common issues and quick fixes
Most problems with Minecraft bird baths come down to one of four issues. Here's how to spot and fix each one.
| Problem | Why it happens | Quick fix |
|---|---|---|
| Water keeps flowing off the edge | The source block found an open path and is generating flowing water | Place trapdoors or slabs around the basin edge to seal all escape routes, then re-place the water bucket |
| The build doesn't read as a bird bath from a distance | No clear pedestal shape — water looks like a puddle on the ground | Add at least one fence post or narrow block beneath the basin to create the stem silhouette |
| The basin looks too wide and flat | Slab platform has no depth or visual contrast | Add a one-block border of a darker material (like dark oak trapdoors) around the edge of the lighter slab |
| Water is dripping through the floor below | A water source is sitting on a block that has gaps underneath (like a slab in lower position) | Replace the base block with a full solid block, or switch to the cauldron method to eliminate all drip risk |
| In Bedrock, water spread behaves strangely from corners | Bedrock Edition has different waterlogging rules for some blocks | Fill the affected area with a solid block to clear the fluid state, then re-place source blocks from the center outward |
| Cauldron lost a water level | A burning mob or entity walked into the cauldron | Just refill with another water bucket or water bottle — this is a known cauldron mechanic, not a bug |
| Trapdoors won't waterlog properly | Edition mismatch: Java and Bedrock handle waterlogged trapdoors differently | On Java, place the trapdoor then flood the space; on Bedrock, try using fence gates instead of trapdoors for edge concealment |
If you're ever completely stuck on the water behavior, the water bucket cauldron method from build method 2 sidesteps all of these problems entirely. It's the most foolproof option regardless of edition. Once you're more comfortable with water source block behavior, you can always rebuild using a slab basin for a more open water-surface look.
From here, it's worth experimenting with the surrounding area. A bird bath works well as the anchor of a larger garden build, and once you have the water containment figured out, adding paths, benches, lighting, and plant beds around it comes naturally. The same containment logic you learn here applies to ponds, fountains, and other water features too, so this is a good foundational skill to have locked in.
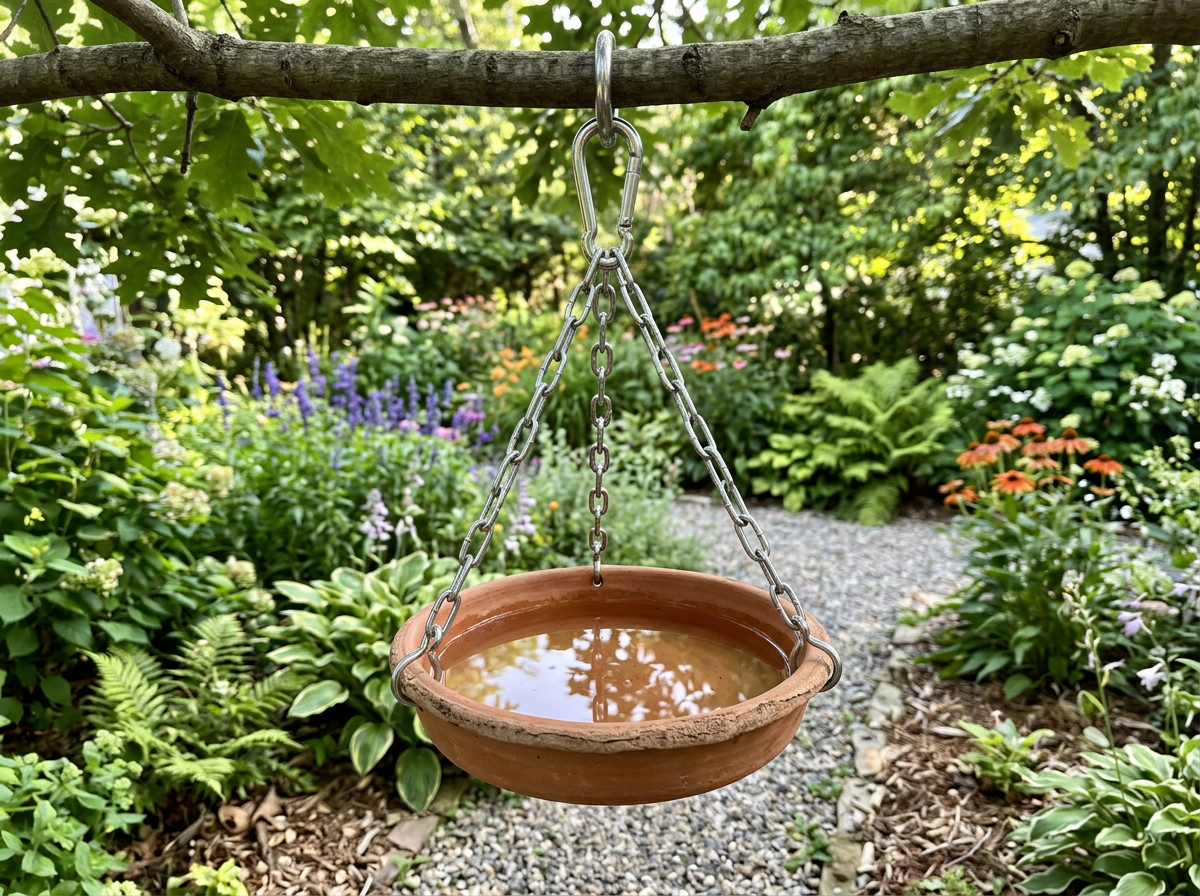
A hanging bird bath can be built with the same water containment ideas, just suspended from a frame so it looks like it’s floating above the ground. If you want to make an elephant ear bird bath in Minecraft, build a shallow basin that holds a single water source and use the same containment logic to prevent spreading water containment ideas.
If you want help choosing a style and building one step by step, use this guide on how to make a bird baths in Minecraft. If you want even more specific steps, follow the guide on how to fix the bird bath in Virtual Families.
FAQ
How do I make a bird bath with a basin bigger than 2x2 without it spilling everywhere?
Use a containment strategy, not just bigger water placement. Build a solid stone platform, leave only the basin area exposed at the final height, and then fill the basin from the bucket so every water source has no downward or outward escape route. If you notice any edge turning into flowing water, close that side with a one-block lip (trapdoors held open flat or an extra slab) before adding more water.
When I place water on a slab, why is it still spreading even though the basin looks enclosed?
Check for an unblocked neighbor in the direction water can flow. Even if the basin looks surrounded, a single side with no solid boundary at that same height can create an escape route, turning the source into flowing water. Add a continuous one-block rim around the exact exposed water area (not just around the outer platform), or place extra slabs on the adjacent exposed spaces at the same level to remove flow paths.
Can I place a bird bath on grass, dirt, or sand instead of stone?
Yes, but visually and practically you usually want a flat, solid base at the pedestal level. Water source blocks on uneven or partial blocks can create unexpected flow, and drifting grass or sand under the pedestal can make the shape look irregular from a distance. A simple fix is to clear a 1x1 or 2x2 pad of stone, then build the pedestal and basin on top so the water only ever interacts with the intended surface.
How do I prevent mobs from spawning right next to the bird bath in survival?
Lighting is the most reliable way. Place light under the basin slab (lantern attached to the underside) or place torches/candles around the base. This not only makes the bath look intentional at night, it also reduces the chance of nearby hostile spawns compared to leaving the area unlit.
If I use a cauldron bird bath, can it be safely used as part of a garden without causing fire problems?
Be cautious if you expect frequent burning interactions nearby. Filled cauldrons can affect entities by extinguishing fire status and reducing water levels when entities step into them. In a typical decorative garden that mostly contains plants and ambient lighting, it is usually fine, but avoid placing the cauldron where you regularly throw or farm fire-based mobs.
Is there a practical difference between Java and Bedrock for water behavior in these builds?
Yes. Java generally lets you reason about waterlogged and trapdoor-fluid behavior more predictably, while Bedrock can produce more inconsistent flow patterns, especially from corners. If the water acts strangely in Bedrock, the most reliable reset is to fill the problematic area with a solid block, then place the water again so the fluid state starts fresh.
What is the easiest way to troubleshoot water that turns into a random puddle?
First, confirm the bird bath is elevated at least one block, because ground-level water almost always reads as a puddle. Then, verify you only intended to place source water inside the basin, not on open ground or in a spot where there is a downward path. If the water is already misbehaving, rebuild the basin containment boundaries (the one-block lip or surrounding slabs) before placing the water again.
How do I refill or replace the water in a bird bath after building it?
For slab-basin builds, you typically need to use an empty bucket to pick up and re-place water sources, so keep an alternate water bucket ready and re-check that the containment boundaries are still intact. For cauldron builds, you can refill by using a water bucket on the cauldron. In both cases, if the water has started spreading, fix the containment first or refill after resetting the fluid state with a solid-block patch.
What are good placement spots that make the bird bath look like part of a designed area?
Avoid placing it in the middle of a blank flat patch. Instead, put it at a path intersection, near the end of a short garden run, or centered on a small 5x5 patio. A nearby bench area (two fence posts with a pressure plate top) also makes the layout feel deliberate rather than decorative-by-accident.