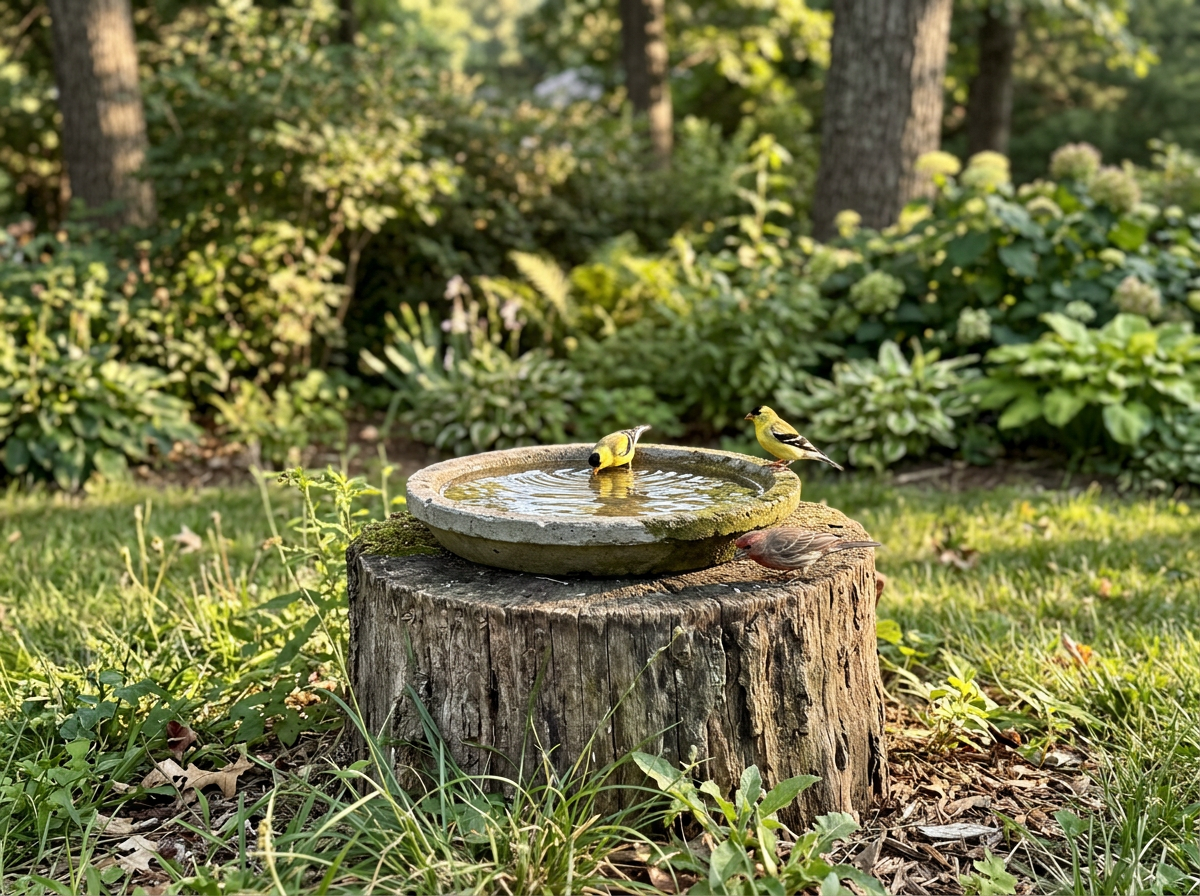
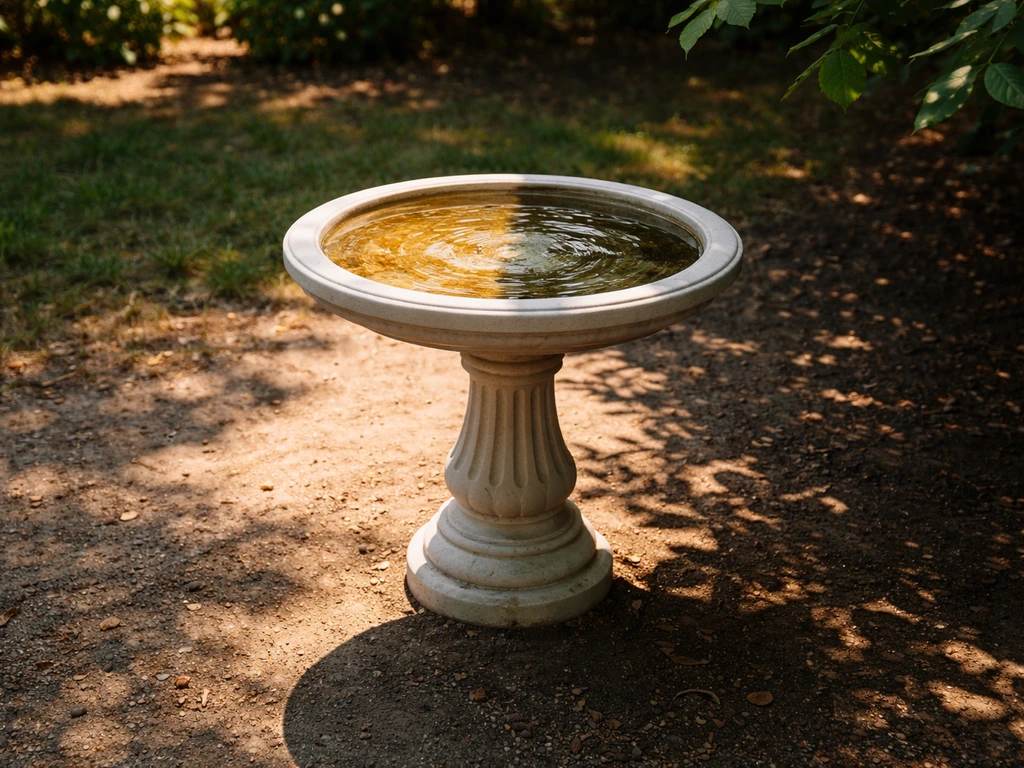
Yes, you can absolutely set up a bird bath on top of a tree stump, and when it's done right it looks great, stays stable, and gets plenty of bird traffic. The stump acts as a natural pedestal, but it comes with real challenges: uneven surfaces, rot, wobble, and water that sits and breeds mosquitoes if you're not careful. This guide walks you through every part of the setup, from picking the right stump and bowl to keeping it clean and safe through winter.
Bird Bath on Top of Tree Stump: Setup and Leveling Guide

Marcus Henley
22 Mar 2026
Picking the right stump and bird bath style
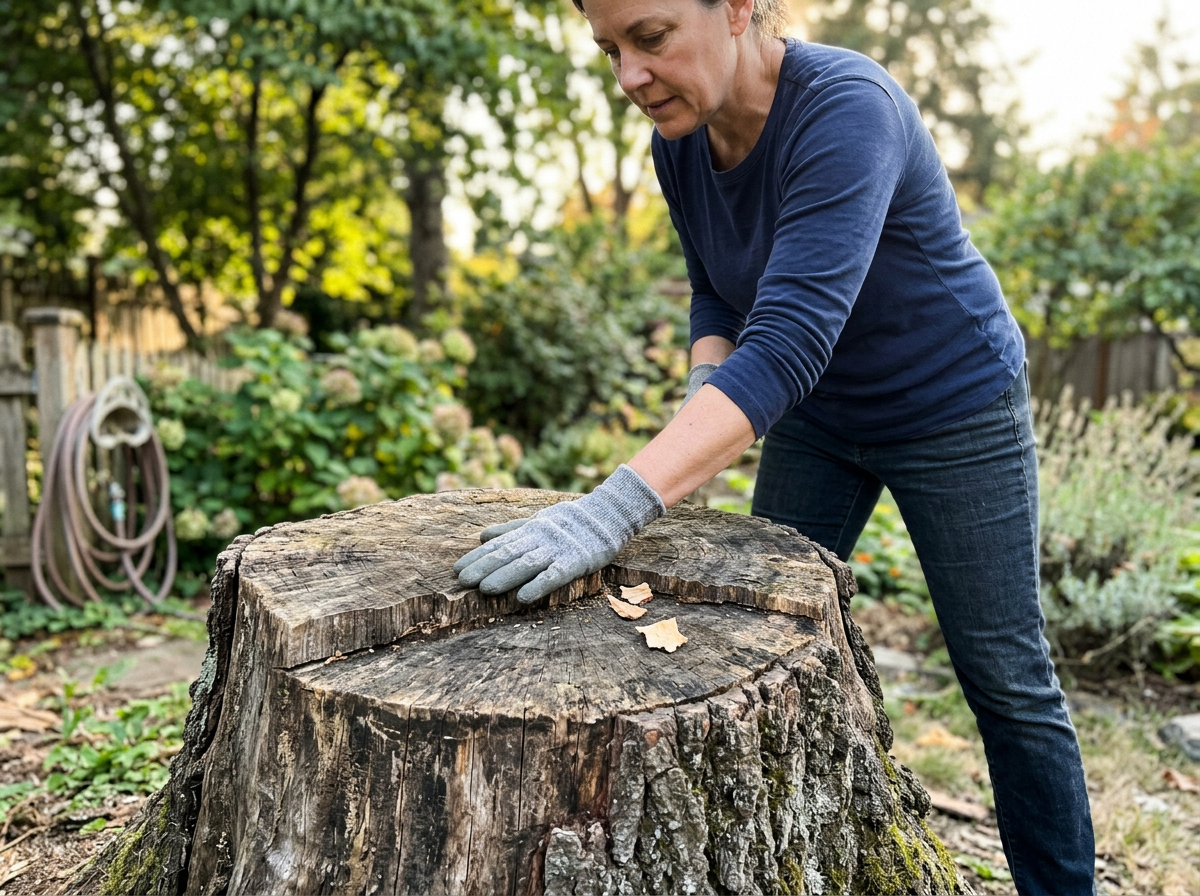
Not every stump is a good candidate. Before you do anything else, press on the top surface and the sides with your hand. If it feels spongy, crumbles, or has obvious rot spreading inward, it's going to keep deteriorating under the weight and moisture of a bird bath. A stump that's been sitting for three or more years without treatment is often already too far gone. What you want is a stump that's firm, with a flat or nearly flat top at least 10 to 12 inches across so the bowl has something real to rest on.
Hardwood stumps (oak, maple, walnut, locust) last significantly longer than softwood stumps (pine, cedar, poplar). If your stump is softwood, expect to replace or reinforce the setup sooner. You can extend the life of any stump by sealing the top with an exterior wood sealant or even a coat of exterior polyurethane. This does two things: slows the rot, and gives you a slightly smoother surface for the bird bath to sit on.
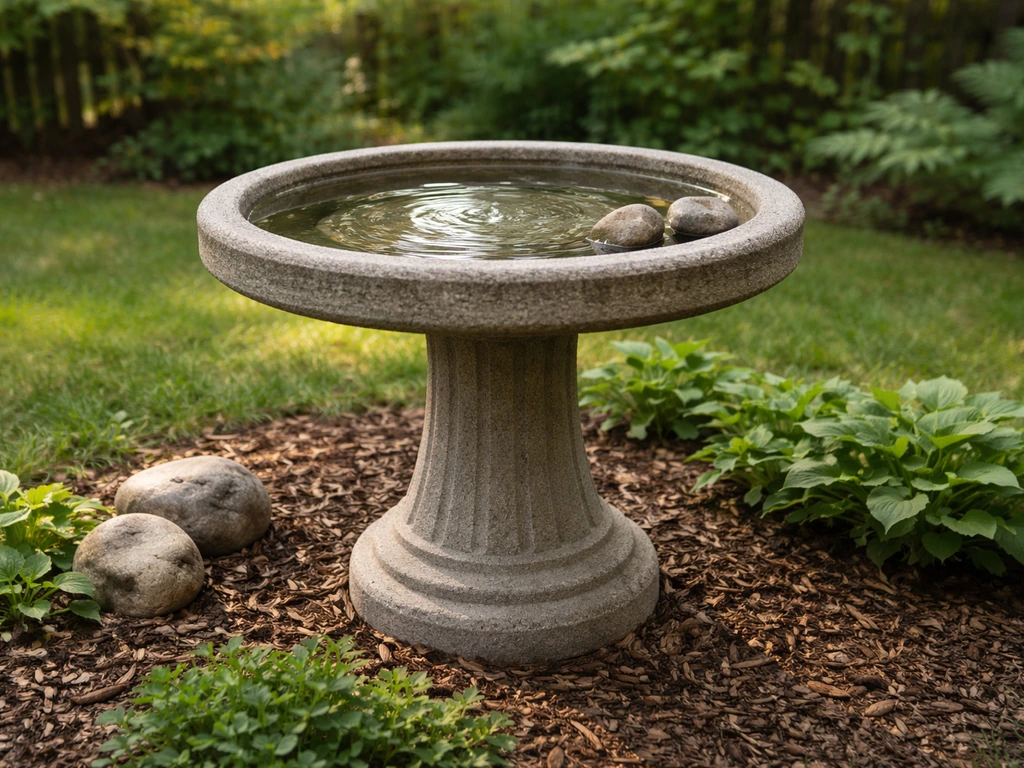
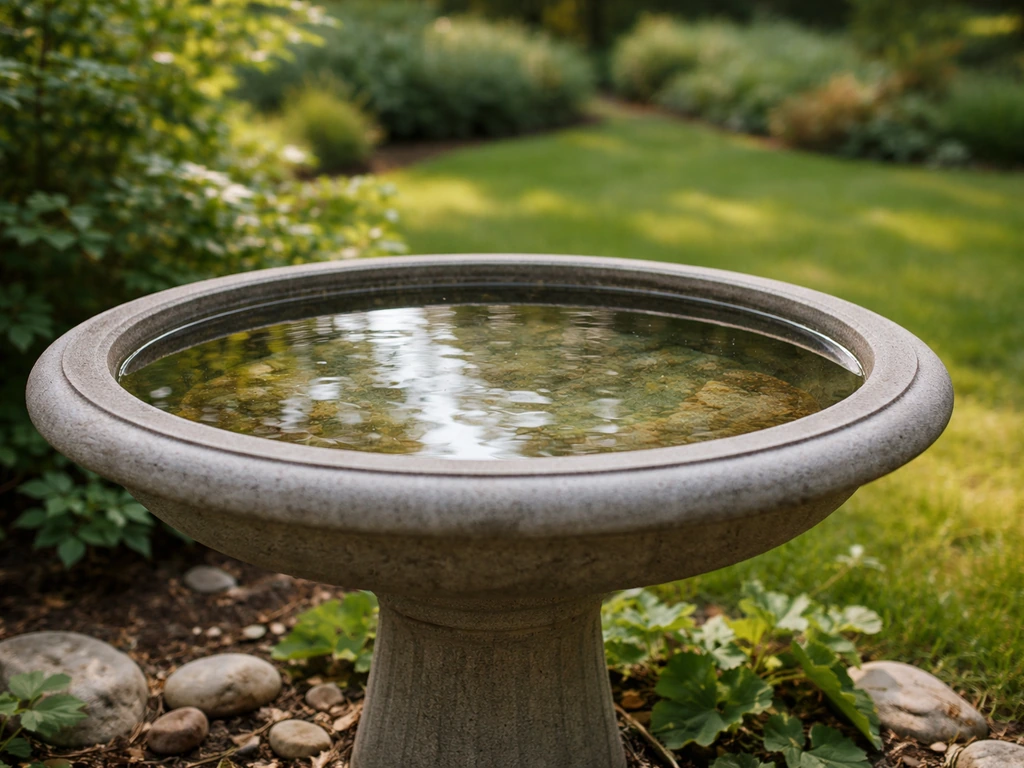
For the bird bath itself, a wide, shallow bowl on a flat base is the best match for a stump top. If you are shopping for a simple basin upgrade, a bird bath top lowes option can also help you choose the right replacement bowl for a stump setup. Bird bath best is usually a wide, shallow bowl on a flat base, so it stays stable on a stump top rather than rocking or overhanging. Skip tall pedestal-style baths entirely since those are designed to be self-supporting. What you want is just the basin, what's sometimes called a <a data-article-id="2BA0A95A-4745-4AB2-818E-333D77F572B8"><a data-article-id="93546DAB-4935-44F9-8A21-F8B33504CD2F"><a data-article-id="41353A7D-4B01-4CB0-AA78-72CA81E871DB"><a data-article-id="549ECFD0-F3CA-4F1E-B001-760AD30C441E">bird bath top</a></a></a></a> or replacement bowl. If you want a similar look with less hassle than a basic bowl, a bird bath fountain top can also be a great option on a stump setup. You can also check how a bird bath bowl top compares to a bird bath fountain top if you want a similar look with different water movement. Concrete and resin bowls both work well. Concrete is heavy enough to resist wind and bird activity, which is actually an advantage here. Resin is lighter and easier to move, but you'll need to secure it more carefully. Avoid glass or ceramic for stump setups because they crack easily on uneven surfaces and are harder to re-level.
Diameter matters too. A bowl in the 15- to 20-inch range is a good fit for most stumps. Go too small and it tips easily; go too large and it overhangs the stump edges and becomes unstable. Depth should stay between 1 and 2 inches of water, which is the safe range for backyard birds. Deeper than 2 inches risks drowning smaller birds, and shallower than an inch tends to evaporate too fast and doesn't give birds enough to splash in.
Getting it stable: leveling and anti-tip methods
This is where most people run into trouble. Stumps are almost never perfectly flat, and even a small tilt means water pools to one side, the bowl rocks, and birds spook when the whole thing shifts. Take the time to do this right before you add any water.
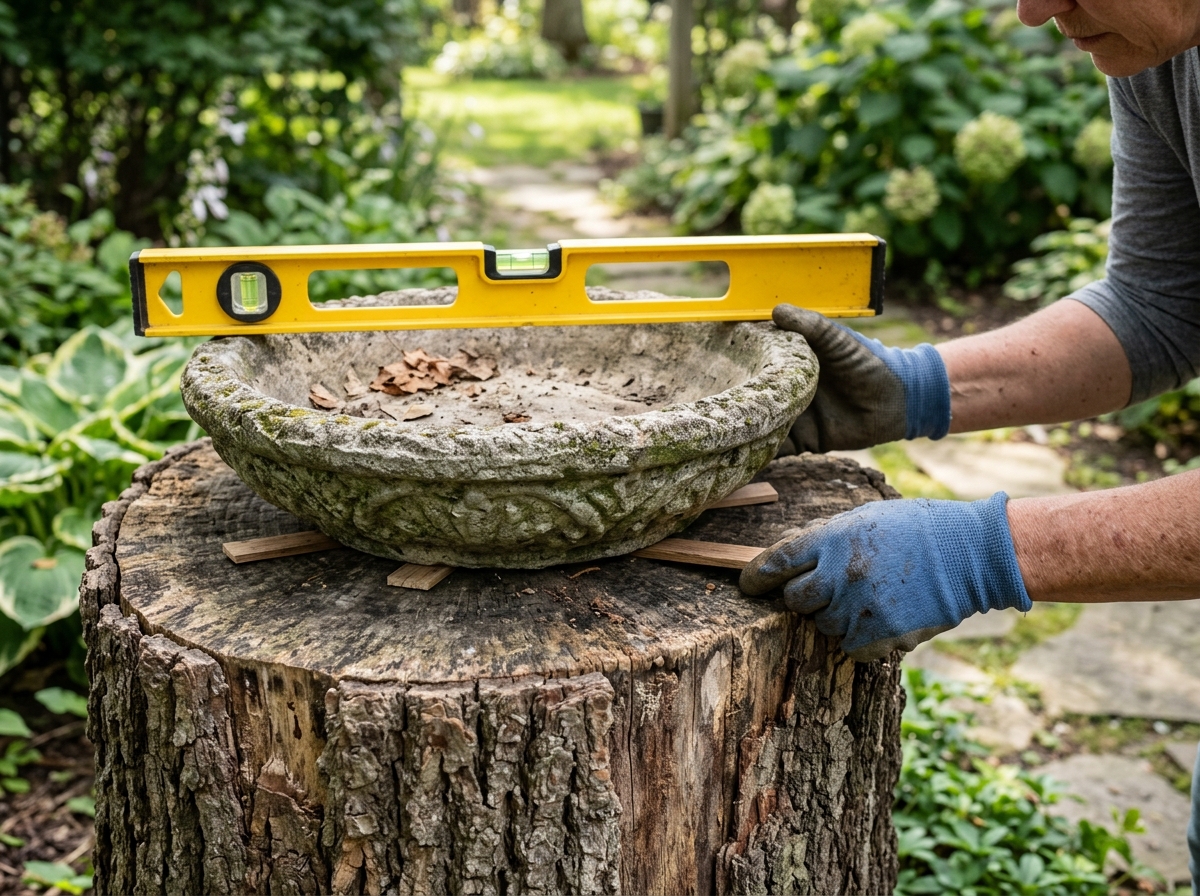
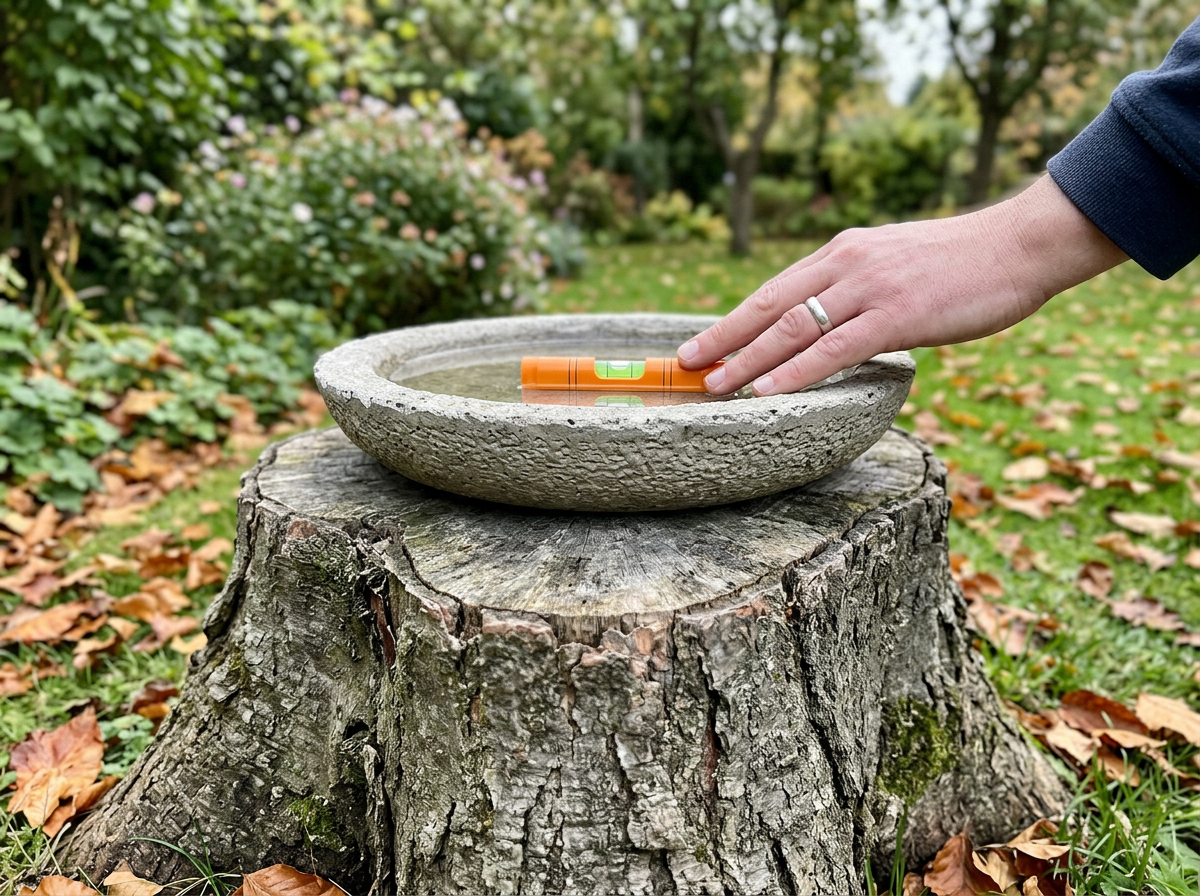
Leveling the surface
Start with a simple bubble level placed directly on the stump top. If it's off by more than a degree or two, you need to address that before setting the bowl down. For minor unevenness, you can use a flexible rubber mat or anti-slip outdoor furniture pad cut to fit the stump top. This fills small gaps and gives the bowl a grippy surface to rest on. For more significant tilts (the kind where you can see the angle by eye), use roofing shims or treated cedar shims wedged under the mat to bring the surface level. Check again with the bubble level after each adjustment.
If the stump top is rough and irregular, another option is to pour a thin layer of quick-setting concrete or hydraulic cement on top, smooth it flat, and let it cure for 48 hours before placing the bowl. This creates a permanent flat platform and also slows moisture penetration into the stump. It's a 20-minute job that pays off for years.
Securing the bowl so it won't tip or shift
Once the surface is level, secure the bowl itself. For a concrete bowl, the weight usually does enough of the work, but I still recommend running a bead of exterior silicone caulk around the base contact points before setting it down. This holds it in place without permanently bonding it (you can break the seal for cleaning). For resin or lightweight bowls, use outdoor-rated hook-and-loop fastener strips (the kind rated for outdoor and wet use), or drill two or three small stainless steel eye bolts into the stump edge and run thin stainless wire or a bungee cord loosely over the rim notches of the bowl. Neither method is meant to clamp it down hard, just to prevent lateral sliding.
If you're in a wind-prone area, seriously consider adding a concrete bowl instead of resin. A bowl that weighs 15 to 25 pounds is going to stay put through most storms without any extra hardware. You can also set a few smooth stones or pebbles inside the bowl near the center. They serve double duty: they add weight and give smaller birds a perch to stand on while drinking.
Water management: drainage, algae, and mosquito prevention
Standing water is the enemy. It breeds mosquitoes, grows algae, and makes birds sick if it sits too long. But with a stump setup, you have a natural advantage: you can tilt or drain the bowl easily compared to a fixed pedestal. But with a bird bath top, you can tilt or drain more easily to avoid the same standing-water problems that happen on fixed bases. Here's how to manage it well.
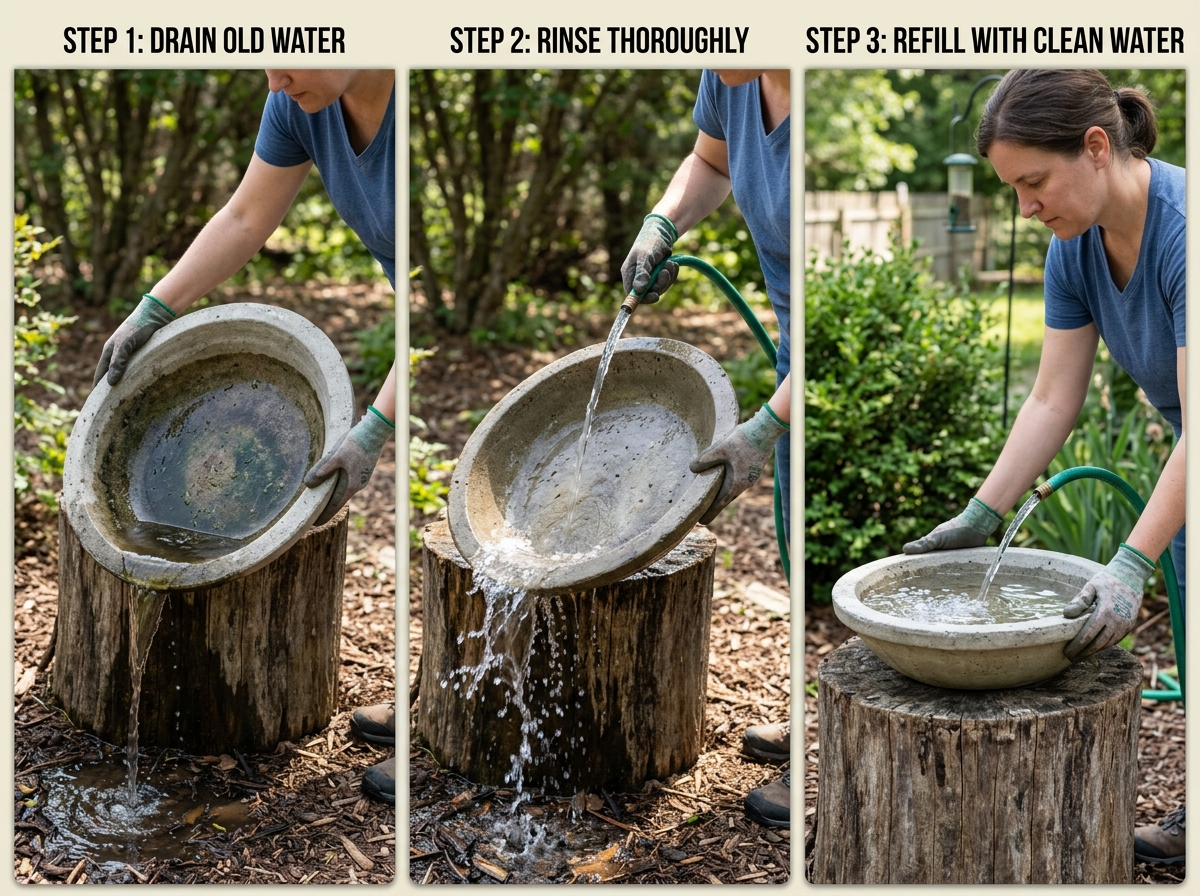
Keeping mosquitoes out
Mosquitoes need standing water to breed, and their larvae can develop in as little as a week. The simplest fix is also the most effective: change the water every two to three days. Some sources say once a week is enough, but twice a week is safer, especially in warm months when mosquito populations are high. Dump the old water completely, give the bowl a quick rinse, and refill. This alone breaks the mosquito life cycle before larvae can mature.
For extra insurance, add a solar-powered water wiggler or small fountain bubbler. Moving water makes it nearly impossible for mosquito larvae to surface and breathe, so they can't develop. These devices run on a small solar panel, cost around $20 to $40, and require no wiring. Birds are also more attracted to moving water because they can hear it, so it's a win on both fronts. If you want a more permanent solution, Bti (Bacillus thuringiensis israelensis) mosquito dunks are safe for birds and effective in water features where you can't change the water as frequently.
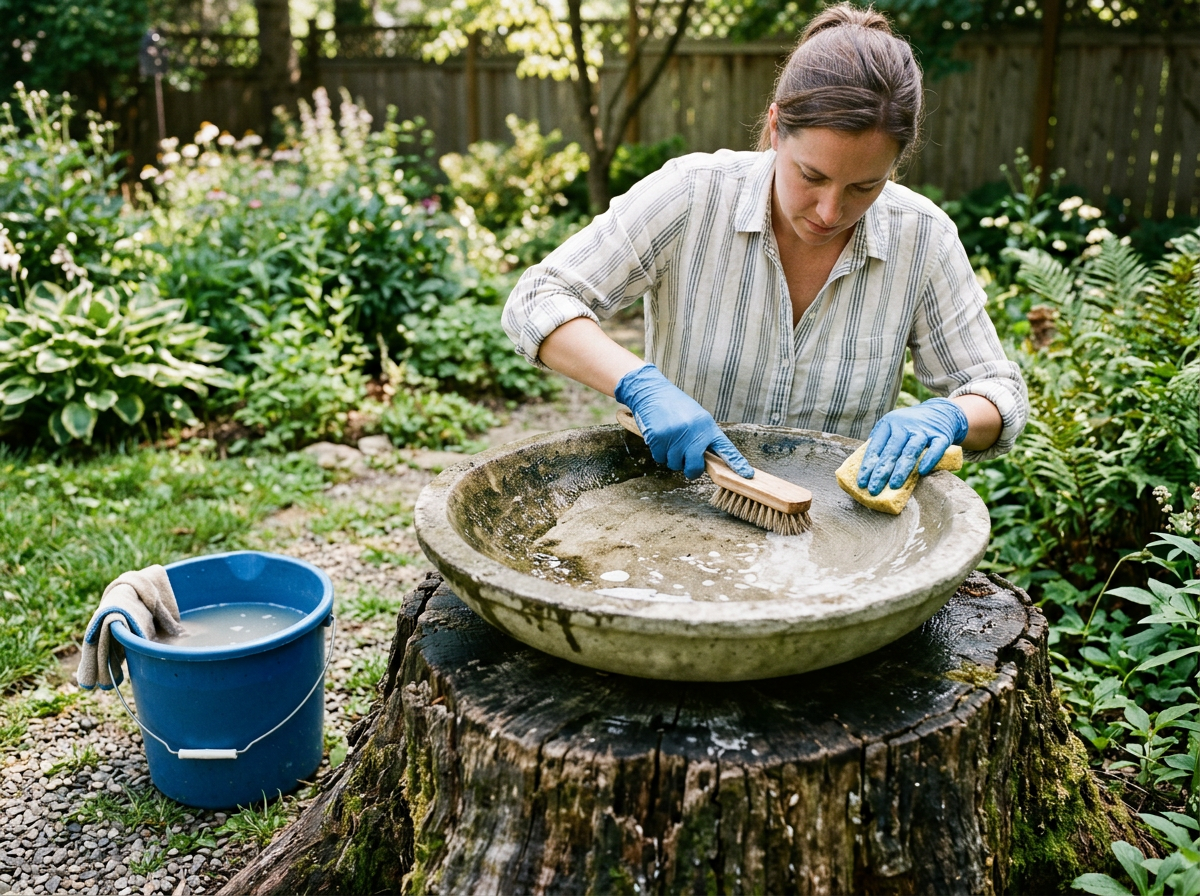
Preventing algae buildup
Algae grows fastest in warm, sunny water that isn't disturbed. Keeping the bowl in partial shade (more on placement below), changing water frequently, and scrubbing the bowl regularly are your main controls. Don't use bleach to clean a bird bath. A solution of nine parts water to one part white vinegar is what I use, and it's the approach recommended by Audubon-affiliated sources. It breaks down algae and biofilm without leaving chemical residue that harms birds. Rinse thoroughly after every cleaning, which means at least two or three full rinses until you can't smell the vinegar.
Where to put it: height, sun, shade, and predator safety
Placement is one of the most overlooked parts of a bird bath setup, and it makes a huge difference in how much bird activity you actually get. Get this wrong and birds will avoid the bath entirely, no matter how clean it is.
Height and visibility
Most tree stumps put a bird bath between 18 and 36 inches off the ground, which is a comfortable height for birds. Ground-level baths work too, but elevated baths give birds more visibility to spot approaching predators, which they prefer. If your stump is very short (under 12 inches), it functions closer to a ground-level bath, which isn't a dealbreaker but means you should pay extra attention to the open-clearance recommendations below.
Sun and shade balance
Full sun all day accelerates algae growth and evaporation, and the water can get uncomfortably warm in summer. Full shade keeps the water cooler but birds feel exposed and hesitant in low-light spots. The sweet spot is morning sun with afternoon shade, or dappled light throughout the day. This slows algae, keeps water at a comfortable temperature, and keeps birds relaxed at the bath.
Distance from cover and predator zones
The standard guidance is to keep the bird bath about 10 feet from dense shrubs, low hedging, or groundcover where cats or other predators could hide for an ambush. At the same time, birds want perches within reach so they can stage before and after bathing. That 10-foot distance to shrubs or trees hits the sweet spot: close enough for escape cover, far enough that nothing can creep up undetected. Keep the area immediately around the stump (within 6 feet) clear and open so birds have good sightlines in all directions.
Keeping it clean: your maintenance routine
Consistency is everything here. A bird bath that gets cleaned once a month is basically a mosquito nursery and algae pond most of the time. Here's a simple schedule that actually works:
- Every 2 to 3 days: Dump the old water, rinse the bowl, and refill with fresh water. In summer, lean toward every 2 days.
- Once a week (or every 2 to 3 days for high-traffic baths): Scrub the bowl with a stiff brush and a 9:1 water-to-vinegar solution. Rinse until no vinegar scent remains, then refill.
- Monthly: Inspect the stump surface, the bowl's seating position, and any securing hardware. Re-level if needed and check for new rot or cracks in the bowl.
- Seasonally: See the section below for summer and winter-specific tasks.
Don't let the water level drop so low that the bottom dries out and cracks in heat, but also don't overfill. Keep the water between 1 and 1.5 inches deep. If rain or your hose tends to overfill the bowl, mark a line on the inside with a non-toxic paint pen so you always know when you've hit the right level.
Seasonal care: summer algae and winter freeze protection
Summer
Heat speeds up everything: evaporation, algae growth, and mosquito breeding. In summer, bump your water changes to every 2 days minimum. If you have a solar wiggler or bubbler, make sure it's running consistently. You can also place a large flat rock or a few smooth stones in the bowl to reduce the volume of standing water while giving birds something to stand on. Check that the bowl isn't getting so hot in direct afternoon sun that birds are avoiding it. If the water feels warm to the touch mid-afternoon, shift the setup slightly into more shade or add a partial shade cover like a beach umbrella a few feet away.
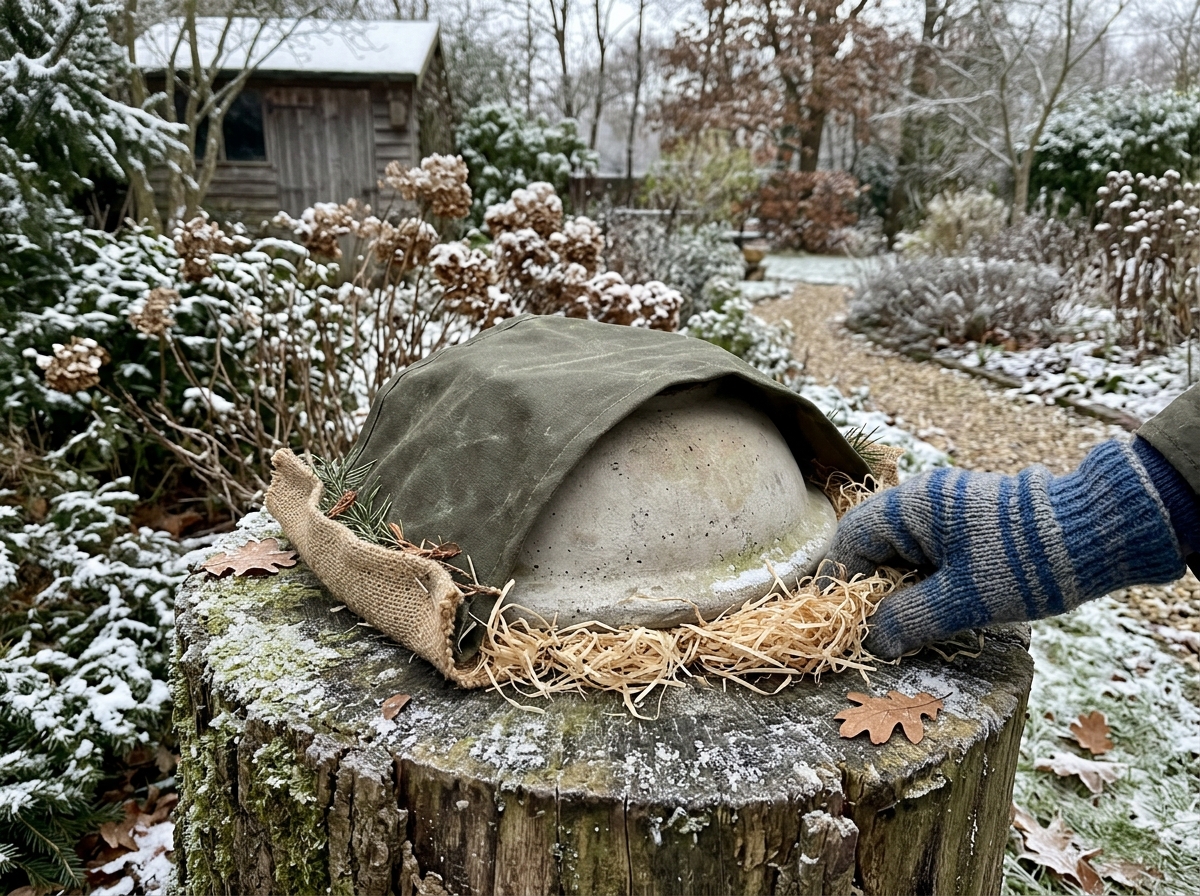
Winter
Freezing is the main danger in winter, and it's a problem for both the birds and the bowl. Water expands when it freezes, which can crack a concrete or ceramic bowl from the inside. If you live where temperatures regularly drop below freezing, you have a few options. The easiest is a bird bath de-icer or immersion heater designed specifically for this use. They're thermostatically controlled, typically draw 50 to 150 watts, and keep the water just above freezing without heating it to an uncomfortable temperature. Birds actually benefit greatly from open liquid water in winter when natural sources are frozen.
If you'd rather not run electricity to the stump, a solar aerator or solar-powered fountain can help delay freezing by keeping water moving, though it won't hold up in very hard freezes. For extended cold snaps below about 20°F (-6°C), the honest answer is to empty the bowl, bring it inside, and let the stump go dormant for the season. Never leave a ceramic or thin concrete bowl full of water outdoors through hard freeze cycles without a heater. Cracking is almost guaranteed.
When things go wrong: troubleshooting and a quick-start checklist
Common problems and fixes
| Problem | Likely Cause | Fix |
|---|---|---|
| Bowl rocks or tips | Uneven stump surface, no securing method | Add rubber mat and shims; use silicone caulk or wire securing |
| Water spills to one side | Stump surface not level | Re-level with bubble level and shims; re-check after rain |
| Green algae buildup within days | Too much sun, water not changed often enough | Move to partial shade; clean with vinegar solution 2-3x per week |
| Mosquito larvae visible | Water sitting more than 3-4 days | Change water every 2 days; add solar bubbler or water wiggler |
| No birds visiting | Bath too close to cover, wrong height, or no nearby perches | Move bath to 10 feet from dense shrubs; add nearby branch or perch stake |
| Bowl cracked | Freeze damage from water left in bowl | Empty bowl before hard freeze; use a de-icer or store bowl indoors |
| Stump top rotting under bowl | Moisture trapped under bowl | Seal stump with exterior sealant; use a rubber mat with drainage gaps |
Quick-start checklist for today
- Check your stump: press firmly on the surface. If it's spongy or crumbling, reinforce it or choose a different stump.
- Level the surface: place a bubble level on the stump top and use rubber matting, shims, or a thin concrete pour to bring it flat.
- Choose the right bowl: pick a concrete or resin basin 15 to 20 inches wide and no deeper than 2 inches of water capacity. Avoid glass and ceramic.
- Secure the bowl: use exterior silicone caulk under the base, or a rubber mat plus stainless wire or bungee for lightweight bowls.
- Set your placement: find a spot with morning sun and afternoon shade, at least 10 feet from dense shrubs, with open sightlines around the stump.
- Fill to 1 to 1.5 inches deep and add a solar water wiggler or bubbler if you have one.
- Set a reminder to change the water every 2 to 3 days and scrub with vinegar solution once a week.
- Before your first hard freeze: empty the bowl or install a bird bath de-icer.
If you're still shopping for the bowl itself, take a look at resources on bird bath vs fountain tops and replacement bowls to find the right fit for your stump size and budget. If you're still shopping, these bird bath top ideas can give you adjacent options to compare alongside your stump size and budget.
FAQ
How can I tell if my bird bath water depth is safe if the bowl rocks a little even after leveling?
Use your level line inside the bowl as the baseline, then verify depth at the deepest point after birds visit, not just right after filling. If the surface tension and slight tilt cause one side to exceed about 2 inches during use, increase the shimming under the mat or add a non-rocking platform layer so the waterline stays consistent.
Do I need to stain or seal the whole stump, or is sealing just the top enough?
Sealing the top is usually the priority because that is where the bowl’s constant moisture contacts the wood. If you seal the sides too, some stump types can trap moisture inside and speed internal rot, so stick to top-side sealing and keep any sealant only to exterior wood products meant for wet exposure.
What’s the best way to keep a concrete bowl from slipping on a slightly textured stump top?
Even if the weight helps, friction can still be inconsistent on rough bark remnants. Clean the stump top of loose debris, add a thin anti-slip pad or a very small mortar bedding ring, then apply exterior silicone at the contact points as a removable anchor for future cleaning.
Will mosquito dunks or Bti affect birds or water used by bathing birds?
Bti in dunk form is designed for mosquito larvae control and is generally considered safe for bird bath use, but follow the label dosing based on your bowl’s water volume. If birds are actively splashing heavily, the treatment can disperse faster, so re-check and top up as directed rather than overdosing.
How do I clean the bowl if algae keeps coming back even when I change the water often?
Algae rebound usually means biofilm is staying on surfaces. After draining, scrub with a dedicated non-metal brush, then do your vinegar-water clean and rinse thoroughly (multiple rinses) until the odor is gone. Also reassess placement, morning sun plus afternoon shade, and partial shade, because persistent full-sun exposure often overwhelms cleaning schedules.
Can I use a mat under the bowl, and what material should I avoid?
Yes, a cut-to-fit anti-slip outdoor furniture pad can smooth tiny gaps, but avoid indoor foam pads, carpet remnants, and any material that degrades in UV or holds water. Choose outdoor-rated rubber or similar non-porous grip pads so it does not turn into a messy biofilm reservoir.
How far should the stump be from shrubs if the birds in my area prefer closer cover?
The commonly recommended spacing is about 10 feet from dense hiding spots so cats cannot creep in unseen. If local birds are reluctant, you can keep the 10-foot rule for heavy cover, but create safe open sightlines within 6 feet of the stump by trimming back nearby low growth rather than moving the entire bath closer to dense shrubs.
What should I do if my stump top is too small or too narrow for a 15 to 20 inch bowl?
If the bowl overhang is unavoidable, stability drops sharply. Either switch to a smaller basin matched to your stump top width, or use a leveling platform approach like the thin concrete layer to create a wider, flat landing. Avoid relying on shims alone to compensate for an undersized contact area.
Is it okay to leave the bird bath empty during winter, even if birds still use it?
Yes, but only if you provide another water source when possible, because some birds will seek liquid water during freezes. A better approach is using a thermostatically controlled heater or de-icer to keep the water just above freezing, while still preventing bowl cracking and unsafe overheating.
How do I prevent the stump from becoming an attractant for ants or insects under the bowl?
Reduce hiding space by keeping debris and leaf litter off the stump top and around the base area within about 6 feet. Make sure water and cleaning runoff do not pool against the stump, wipe excess around the contact ring, and re-check after heavy rains so wet organic buildup does not develop underneath.
Next Articles
How to Decorate a Bird Bath: Step-by-Step Ideas
Step-by-step tips to decorate a bird bath safely, including concrete fixes, bird-friendly landscaping, and easy upkeep i
Should a Bird Bath Be in the Sun or Shade? Placement Guide
Sun or shade placement for a bird bath: temperature, algae, freezing risks, and simple rules for cleaner, safer water.
How to Keep Mosquitoes Out of a Bird Bath
Step-by-step tips to stop mosquito larvae in bird baths, using safe treatments, cleaning, and placement to prevent bites