To make a bird dust bath, dig or carve out a shallow depression roughly 12 to 18 inches wide and 3 to 4 inches deep, fill it with fine dry soil, sand, or a mix of both, and place it in a sunny, open spot where ground-feeding birds feel safe. If you also want a water option, follow a bird shower guide to keep it clean and inviting for different species. That is genuinely all it takes to get started. The rest is about choosing the right substrate, picking a smart location, and keeping things dry so birds actually come back.
How to Make a Bird Dust Bath: Step-by-Step DIY Guide

Marcus Henley
2 Jun 2026
What a bird dust bath is (and why it is not the same as a water bath)
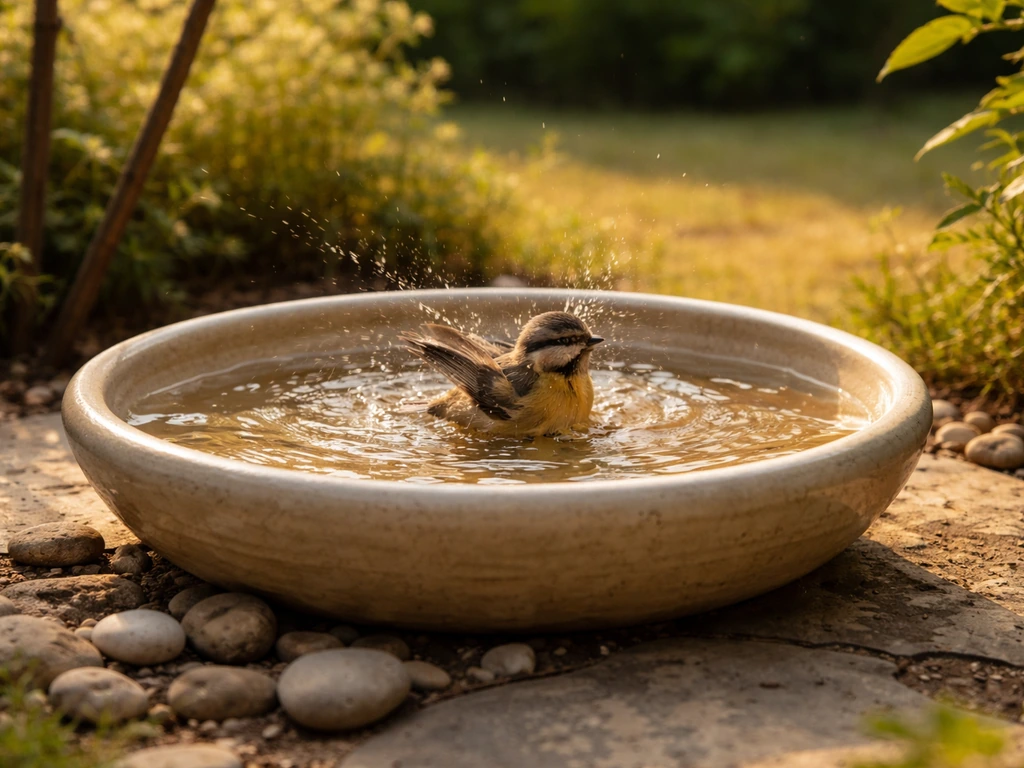
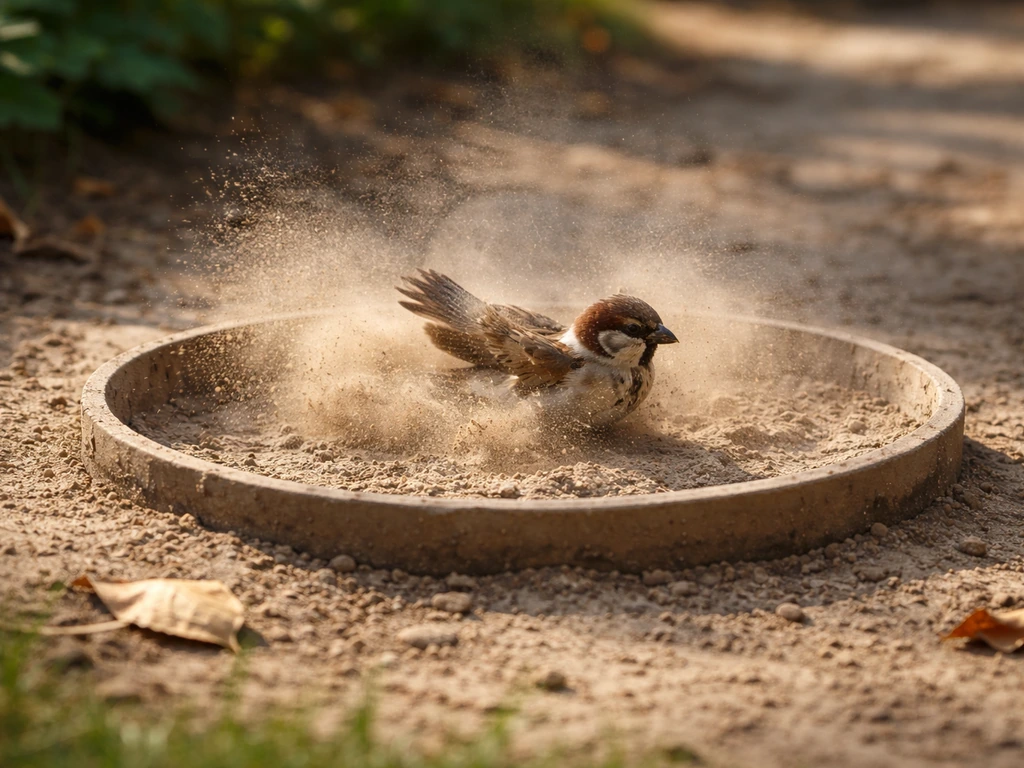
A dust bath is exactly what it sounds like: birds wallow in fine, dry soil or sand, flapping their wings and working the dust through their feathers. The movements look almost identical to a water bath, but the purpose is slightly different. Dust helps smother and dislodge external parasites like mites and lice, absorbs excess oils, and clears out feather debris. It is a core part of how many birds keep their plumage in good shape, especially species like house sparrows, doves, quail, and many other ground-feeding birds.
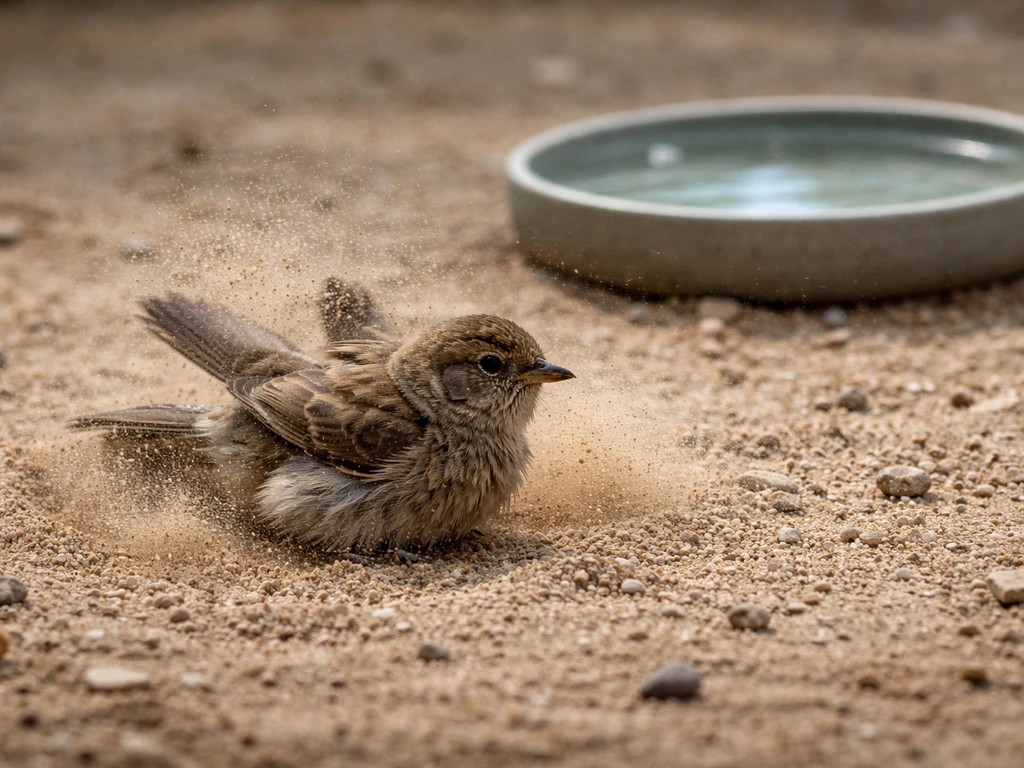
The key difference from a water bath is the medium, not the behavior. If you are trying to choose between a bird bath and a ground dust bath, the hoe bath vs bird bath difference comes down to what birds are actually trying to clean and how the medium works. Birds will often use both: a sparrow might splash in a water bath and then immediately move to a dust patch to finish the job.
Dust bathing is especially common in dry conditions and is the primary cleaning method for desert-dwelling species that may rarely encounter standing water. BirdFact also contrasts water-dipping or diving with dust-bathing, noting that dust baths can be used when water is lacking, such as for desert-dwelling birds Dust bathing is especially common in dry conditions.
So if you already have a water bath in your yard, adding a dust bath does not replace it. They complement each other and will attract some different species.
Pick the right spot and the right substrate
Location matters more than most people expect. Birds are cautious when bathing because they are momentarily vulnerable, so they want a clear sightline to detect approaching cats or hawks. Place the dust bath in a relatively open area, at least 6 to 10 feet from dense shrubs or cover where a predator could hide. A few feet of open ground around the bath gives birds time to react and escape if needed.
Sun exposure is critical. The dust needs to stay dry to work, and full sun is your best tool for that. A south or west-facing spot that gets direct sun for most of the day will dry out moisture after rain far faster than a shaded area. If you live somewhere with heavy rainfall or high humidity, sun exposure is even more important.
For the substrate itself, fine texture is everything. Coarse gravel or chunky mulch will not work. You want something birds can easily work through their feathers. Here are the best options, roughly in order of effectiveness:
- Fine dry soil: the most natural option and what birds seek out instinctively. Sandy loam works great.
- Play sand or builder's sand: fine, widely available, and stays loose when dry. Avoid coarse or salty sand.
- Wood ash: a traditional addition that birds seem to love, possibly because it helps with parasites. Mix it in at about 10 to 20 percent of the total volume.
- Diatomaceous earth (food grade): an optional additive that can help control mites. Use sparingly and only the food-grade version.
- A mix: many experienced birders use a 50/50 blend of fine soil and play sand, which drains reasonably well and stays loose.
Avoid anything that has been treated with pesticides, fertilizers, or herbicides. Never use cat litter (even the clay-based kind), gravel, or any substrate with added chemicals. The birds are going to work this material through their skin and feathers, so what you put in matters for their health.
Ground pit vs container: which setup should you build?
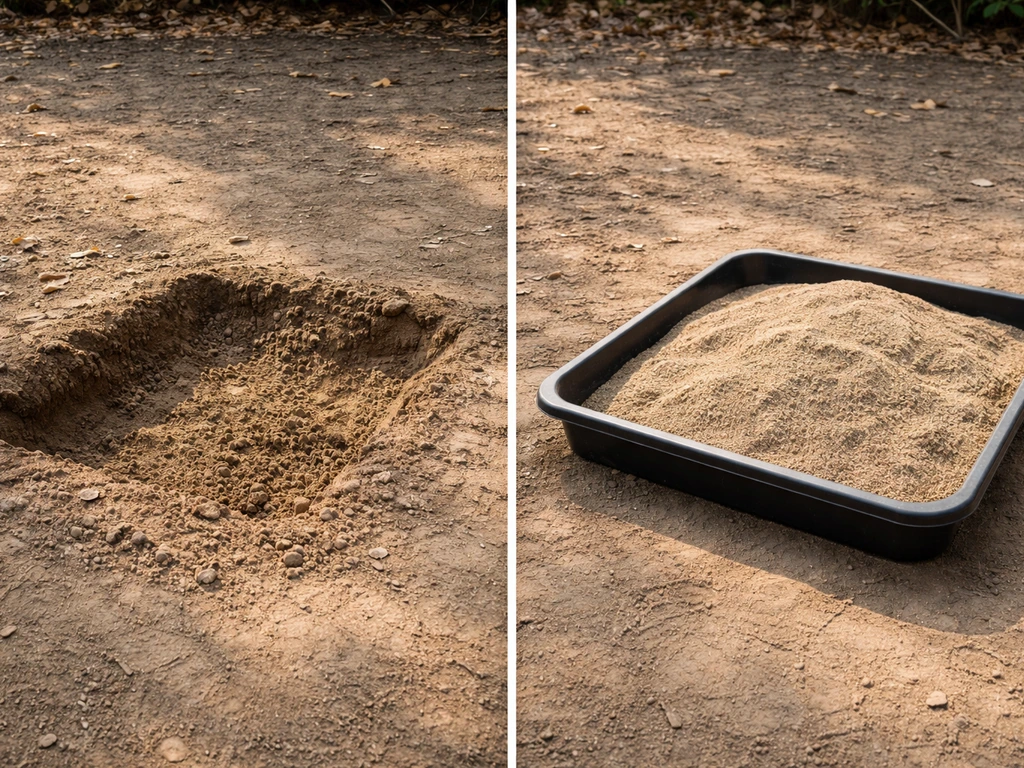
You have two main approaches. Virginia DWR describes a bobwhite dusting bowl as being scraped or cleared of vegetation and filled with finely ground material about three to four inches deep finely ground three to four inches deep. Each has real trade-offs, and which one works better depends on your yard, your soil, and how much time you want to spend maintaining it.
| Feature | Ground Pit | Container Bath |
|---|---|---|
| Setup effort | Low: dig and fill | Low to medium: find container, fill, and place |
| Cost | Near zero if soil is available | Low: $0 to $30 depending on container |
| Drainage | Excellent if soil drains well | Poor unless you add drainage holes |
| Stays dry after rain | Variable, depends on soil type | Easier to cover or move indoors |
| Bird acceptance | Very natural, highly accepted | Good once birds find it |
| Portability | None: it is in the ground | High: easy to reposition |
| Pest/weed control | Harder: weeds can invade | Easier: contained area |
My recommendation: if you have a sunny patch of yard and your soil drains well, go with a simple ground pit. It is the most natural option and birds will recognize it quickly. If your yard has clay-heavy soil that stays muddy, or you want more control over placement and dryness, a container setup is the smarter choice.
How to build and set up your dust bath, step by step
Option 1: Ground pit

- Choose your sunny, open location and mark out a circle or oval roughly 12 to 18 inches across. Bigger is better if you have space: a 2-foot-wide pit can accommodate more than one bird at a time.
- Remove any grass, weeds, or plant debris from the area completely. Pull roots out rather than just cutting them back, since regrowth will turn your loose dust into clumpy soil fast.
- Dig down 3 to 4 inches. This depth is enough for birds to really work the dust through their feathers without hitting compacted earth immediately below.
- If your native soil is good, loose, and fine-textured, you can leave it as-is after breaking it up thoroughly with a hand fork or garden claw. If it is clay or compacted, remove it and replace with your substrate mix.
- Add your substrate: fill the pit with fine soil, sand, or a mix, to about 1 inch from the top. Break up any clumps by hand.
- Optionally, add a light dusting of wood ash mixed through the top inch.
- Let it sit and dry out in the sun for a day or two before expecting birds to visit.
Option 2: Container bath
- Choose a wide, shallow container. Good options include a terracotta plant saucer (12 to 18 inches wide), a shallow wooden crate or raised planter box, a galvanized metal tray, or even a wide ceramic pot base. Avoid anything less than 10 inches wide: birds need room to spread their wings.
- Drill or punch drainage holes in the bottom if the container does not already have them. At least three to four 1/4-inch holes will help prevent the substrate from becoming waterlogged after rain.
- Place the container directly on the ground (not on a pedestal) in your chosen sunny spot. Ground-level placement is more natural for dust-bathing species and makes it easier for birds to approach safely.
- Fill with substrate to about 3 inches deep, leaving a small rim at the top to contain the dust when birds flap around.
- Mix in a small amount of wood ash if available.
- Check that the container sits level and stable and will not tip or slide when a bird lands on the edge.
Keeping your dust bath clean and usable
Maintenance for a dust bath is simpler than for a water bath, but it is not zero. The main tasks are keeping the substrate dry, removing debris, and refreshing the fill periodically.
- After heavy rain: rake or stir the substrate with a hand fork to break up any crusting on the surface. If it is deeply saturated, scoop out the wet top layer and let it dry in the sun separately, or replace it with fresh dry material.
- Weekly: rake out any feathers, droppings, leaves, or other debris. Bird droppings can build up and should not be allowed to accumulate, both for hygiene and because they can make the substrate clump.
- Monthly: do a partial or full substrate refresh. Scoop out the old material, let the container or pit dry out, and refill with fresh substrate. You do not always need to replace everything, but rotating in clean material every few weeks keeps the bath healthy.
- Seasonally: before a long wet season, consider covering the bath with a simple waterproof cover (a piece of plywood propped on an angle works fine) to keep the substrate dry during extended rain. In very dry summers, you may need to add fresh substrate more often as birds and wind displace the dust.
- Never use soap, bleach, or any cleaning products on the substrate or the pit itself. If you need to sanitize a container bath, rinse it with plain water and let it dry completely in the sun before refilling.
Troubleshooting: mess, mud, mold, pests, and freezing
The bath keeps turning to mud
This is the most common problem and almost always a drainage or location issue. If your ground pit is in a low spot that collects runoff, relocate it to slightly higher ground. For container setups, add more drainage holes. In both cases, switching to a coarser sand blend (rather than pure fine soil) will improve drainage and help the substrate dry out faster between rain events. A simple lean-to cover made from a piece of corrugated roofing or plywood propped at an angle behind the bath can deflect a surprising amount of rain.
Mold or algae appearing
Mold in a dust bath is less common than in a water bath, but it can happen in humid climates when the substrate stays damp for extended periods. If you see mold or any dark organic growth, scoop out the affected material and dispose of it away from the bird area. Dry the container or pit thoroughly in direct sun before refilling. Switching to a substrate with a higher sand ratio will help, since sand is less hospitable to mold than organic soil. This is one of the few areas where your experience with water bath algae issues translates directly: moisture management solves both problems.
Pests and unwanted visitors
Cats are the biggest concern, not just as predators but because they may try to use a ground-level dust bath as a litter box. If you see signs of cat use (clumped material, digging that looks different from bird activity), replace the substrate and add a few short bamboo stakes or rocks around the perimeter. Cats prefer open, unobstructed spaces to dig, and even a few obstacles can deter them without bothering the birds. Ants can colonize dry soil too: check underneath the bath periodically and relocate if you find a colony establishing itself.
Freezing temperatures
Unlike a water bath, a dust bath does not freeze solid and become non-functional in the same way. However, when the substrate is damp and temperatures drop below freezing, you can end up with a rock-hard, unusable block of frozen dirt. The fix is the same as the mud problem: keep moisture out before a cold snap by covering the bath or bringing a container bath under cover or into a garage temporarily. In regions with genuinely cold winters, many birders simply store the container bath indoors and set it back out in early spring when the ground thaws.
Scattered substrate making a mess
Birds are enthusiastic and will fling dust around. If this is a problem near a patio or walkway, move the bath a few feet further into a lawn or garden bed where loose soil is not a nuisance. A container with a slightly raised lip (2 inches or more around the edge) will also contain more of the flung material than a perfectly flat-sided tray.
Getting birds to actually use it
Sometimes you build it and birds show up within a day or two. Other times it sits untouched for weeks. Here is what to try if birds are ignoring your new dust bath. If you are wondering what it means to take a bird bath, it usually refers to these dust-bathing sessions, where birds roll in dry soil or sand to keep their feathers clean and parasite-free dust bath.
- Move it closer to where birds already hang out. If you have a feeder nearby, birds that visit the feeder regularly are the most likely first users. A dust bath placed 10 to 15 feet from an active feeder gets noticed faster.
- Check the surroundings. If the bath is too close to a fence, dense shrubs, or anything that could hide a predator, birds will not use it no matter how perfect the substrate is. Open sightlines in all directions are non-negotiable.
- Add a visual cue. Scattering a small handful of white sand or wood ash on top of the substrate makes it more visible and signals 'this is dry and loose' to passing birds. Some birders also lightly rake the surface into a shallow bowl shape to mimic the natural depression birds create themselves.
- Be patient with the timeline. House sparrows, doves, and quail are usually the first adopters. If you have these species in your area, they will often find a new dust bath within one to two weeks. Less common visitors may take a month or more.
- Do not disturb the area too often at first. Once you have set it up, let it sit undisturbed for several days. Frequent human activity near the bath will delay bird acceptance.
- Try adding a thin layer of wood ash. Many birders report this is like a magnet for sparrows and wrens. A light dusting mixed into the top inch of substrate often speeds up first visits noticeably.
Species like house sparrows and doves are the most reliable dust bathers and are usually the ones that will establish the habit and attract others. Once a few birds start using the bath regularly, you will often see more species follow their lead. Quail and towhees are also enthusiastic dust bathers if you have them in your area. Ground-feeding birds in general are the target audience here, which is a different group from the ones most drawn to elevated water baths or features like a bird shower setup.
A few safety reminders before you finish
Keep the substrate free of anything treated: no soil from areas where you have used weed killer or fertilizer, no sand from a beach near a salt marsh, and no ash from fires that burned treated or painted wood. Only use food-grade diatomaceous earth if you choose to include it. Dispose of old substrate responsibly rather than leaving it to build up indefinitely.
And if you notice sick birds using the bath, do a full substrate replacement immediately and do not reuse any of the old material. Dust baths are low-maintenance by nature, but a little attention to what goes in and how often you refresh it keeps things safe for every bird that visits.
If you are wondering what a bird bath in prison means, it generally refers to an improvised container or controlled access that allows incarcerated birds to bathe safely.
FAQ
Can I make a dust bath in a container instead of digging a pit?
Yes, as long as it stays truly dry between visits. If you use a container, put it in full sun and keep the mix light and sandy, and avoid turning it into a permanent “wet spot” after rain by refreshing it a day or two after storms.
What is the best time of year to set up a bird dust bath?
Spring and early fall are usually the easiest windows, since birds are active and you can keep the substrate dry. In very hot regions, try placing it in direct sun only part of the day (morning sun plus afternoon shade) so the surface does not become too hot to use.
What materials should never be used in a bird dust bath?
Use fine, dry material that birds can crumble through their feathers, and keep it chemical-free. Avoid ash, fire-pit residue, and any soil you do not trust, including soil near treated wood or areas that received herbicides or fertilizers.
My dust bath is new, but birds ignore it. What should I troubleshoot first?
If the bath looks clean but no birds show up, check three things first: sightlines (it should be in open ground), dryness (no damp crust), and texture (too-coarse material discourages digging). Also consider adding a second small bath nearby so birds can choose different spots.
How often should I replace or refresh the dust bath substrate?
Refresh based on conditions, not a calendar. In dry weather, you may only need to remove debris and top up occasionally, but after heavy rain or long periods of humidity, replace the top few inches or all the fill so it stays workable and parasite-unfriendly.
How do I reduce the mess if dust bath debris ends up on my patio?
A shallow “fence” of a few inches around the perimeter can help contain flung dust, but do not block the entry area. Better options are a slightly raised lip on containers, placing it on soil rather than hardscape, or relocating it a few feet farther from patios and walkways.
Can I use cat litter as the medium for a dust bath?
No, and it can be harmful. Cat litter often contains clay additives or fragrances and is not designed for birds to contact through feathers and skin. Use plain fine sand or fine, dry soil instead.
Should I cover the dust bath during rainy weather?
Covering helps only if it prevents moisture from entering while still allowing birds access when the cover is off. In wet seasons, use a simple angled cover behind or over part of the bath, and remove it during dry periods so the substrate can fully dry.
Is diatomaceous earth safe to use in a dust bath?
Yes, but use caution. If you choose diatomaceous earth, use food-grade only and keep it limited to the dry dust-bathing layer, since the wrong type or overuse can irritate. If birds show signs of coughing or obvious irritation, remove it and switch back to plain sand or soil.
What should I do if I see mold or dark spots in the dust bath?
Mold usually means the substrate stayed damp too long. Scoop out the affected section immediately, then dry the remaining fill in direct sun. If dark growth returns quickly, replace the material and increase the sand ratio so the bath drains and dries faster.
Should I combine a bird shower or water bath with a dust bath in the same location?
For most birds, you do not need water at the same exact spot. Many birds use water for general bathing and then finish with dust, but combining them can create damp conditions that reduce dust-bath effectiveness. If you want both, place them close but not in direct contact, and prioritize keeping the dust bath dry.
How can I protect the dust bath from cats without scaring birds away?
Yes, but don’t make it too close to cover. Place it at least several feet away from dense shrubs, and if cats are an issue, replace substrate that shows cat activity and add small, visible deterrents like rocks or short stakes at the perimeter so cats cannot dig freely.
Next Article
What Does It Mean to Take a Bird Bath? Meaning & Tips
Learn what bird baths mean and how to set one up, maintain it, and troubleshoot algae, mosquitoes, and freezing.