Introduction: what a DIY bird bath should do
If you’re going to create your own do it yourself bird bath, then you might as well consider what a bird needs. It needs shallow water for drinking and bathing, something easy to clean, and a place it can see above water so it can spot danger , with some sticks or other things nearby to perch on. Moving water tends to attract more birds, so a little pump or dripper helps. And depth is important: most small birds prefer one to two inches of water or less, and the maximum depth should be around two to three inches.
You’ll choose between a longer lasting installation and one that is renter friendly / temporary. Look at simple bowls and tables styles, or more permanent common concrete pedestal builds. Check your area’s water-use regulations, and reduce puddles to control mosquitoes.
keep the water shallow and add sloping sides or stones so that areas of different depth are available put the bath out in the open, ideally with some shrubs or perches nearby to allow swift escape if necessary make it easy to clean and drain to prevent mosquitoes from breeding
I’m Claire, a backyard birder and weekend DIYer, and the rest of this post breaks down these choices into easy projects and tests that you can do on a Saturday.
Materials, finishes, and safety for bird-friendly baths
Concrete, ceramic, and recycled dishes all work well for backyard bird baths, but they vary widely in cost, durability, and even safety. Concrete is very durable and relatively inexpensive for large basins. Make the shape of the basin slightly sloped so that water collects shallowly along the rim. Reinforce the concrete with wire or mesh and anchor the bowl in place with some simple hardware. Allow the concrete to cure completely before filling with water so the structure hardens and any treatment becomes inert.
Glazed ceramics may be attractive but they can be dangerous if the glaze contains heavy metals. Only use commercially labeled lead-free glazes or food grade ceramics. Do not use any vintage or imported glazed products with unknown composition as they may leach their contaminates. If you have a concrete basin, use a food safe, water based concrete sealer or a pond-safe finish such as tung oil, following the manufacturer cure time. Do not re-fill your product until the item is fully cured and no longer reactive.
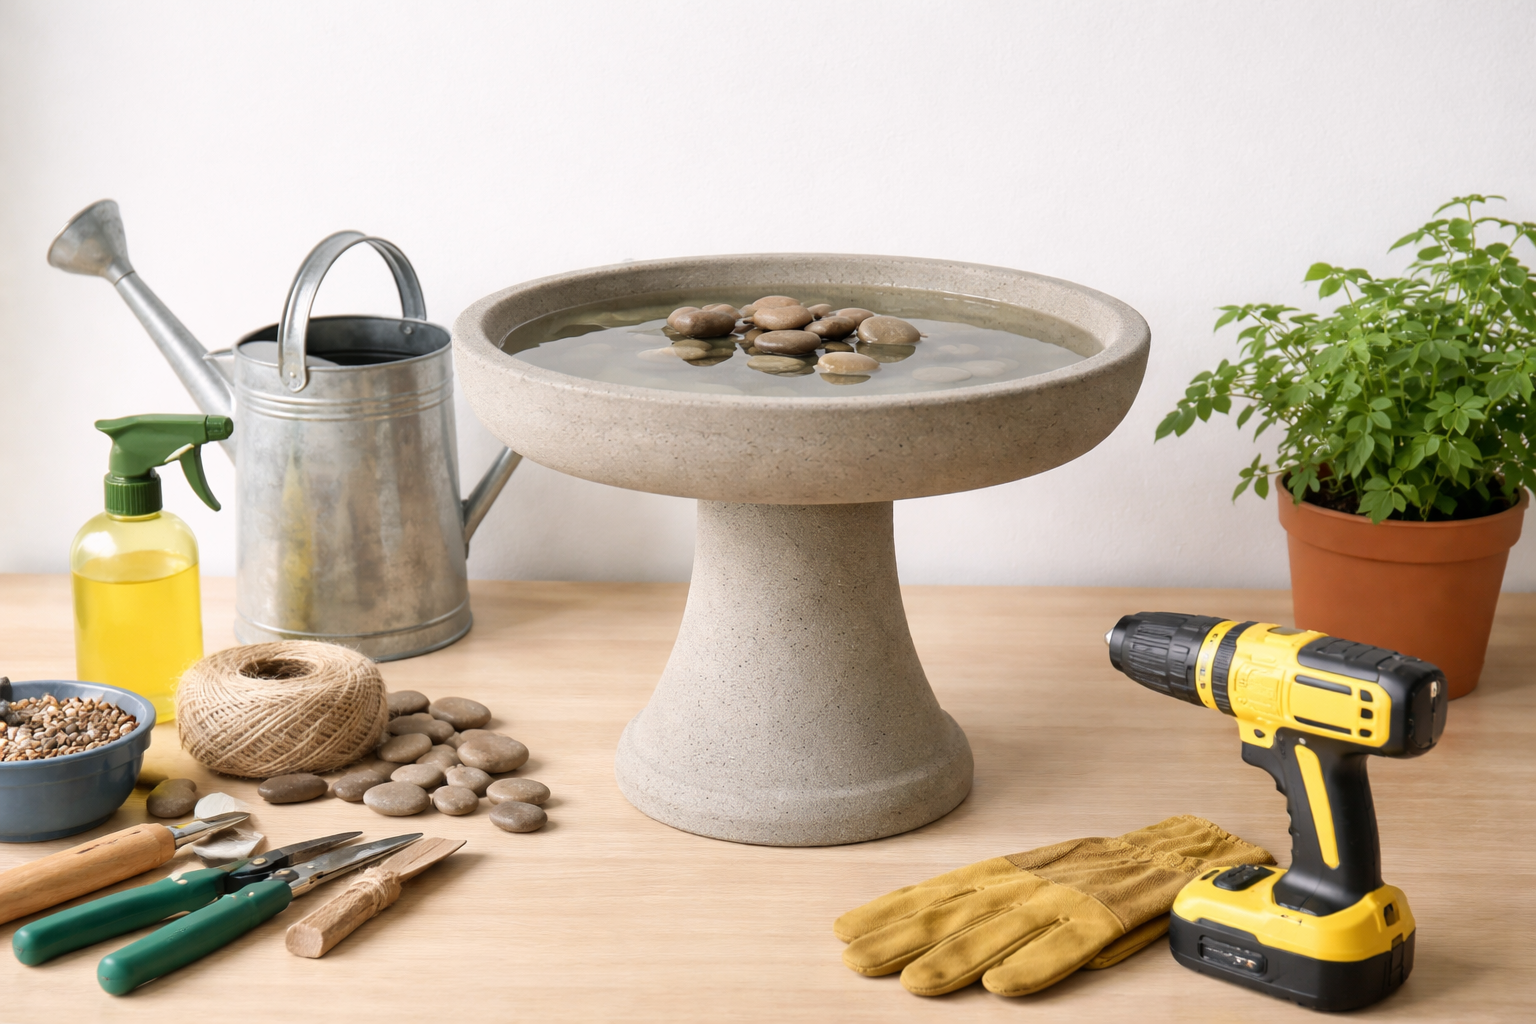
If you’re looking for something cheap, shallow saucers, thrifted dishes, or even small planters work great for providing quick water sources for birds. They’re cheap and easy to swap out if you need to clean or store them. Be sure to test the stability of whatever dish you place outside, double-check that the finish is cured, and use shallow water like small birds prefer.
Step-by-step concrete pedestal bird bath
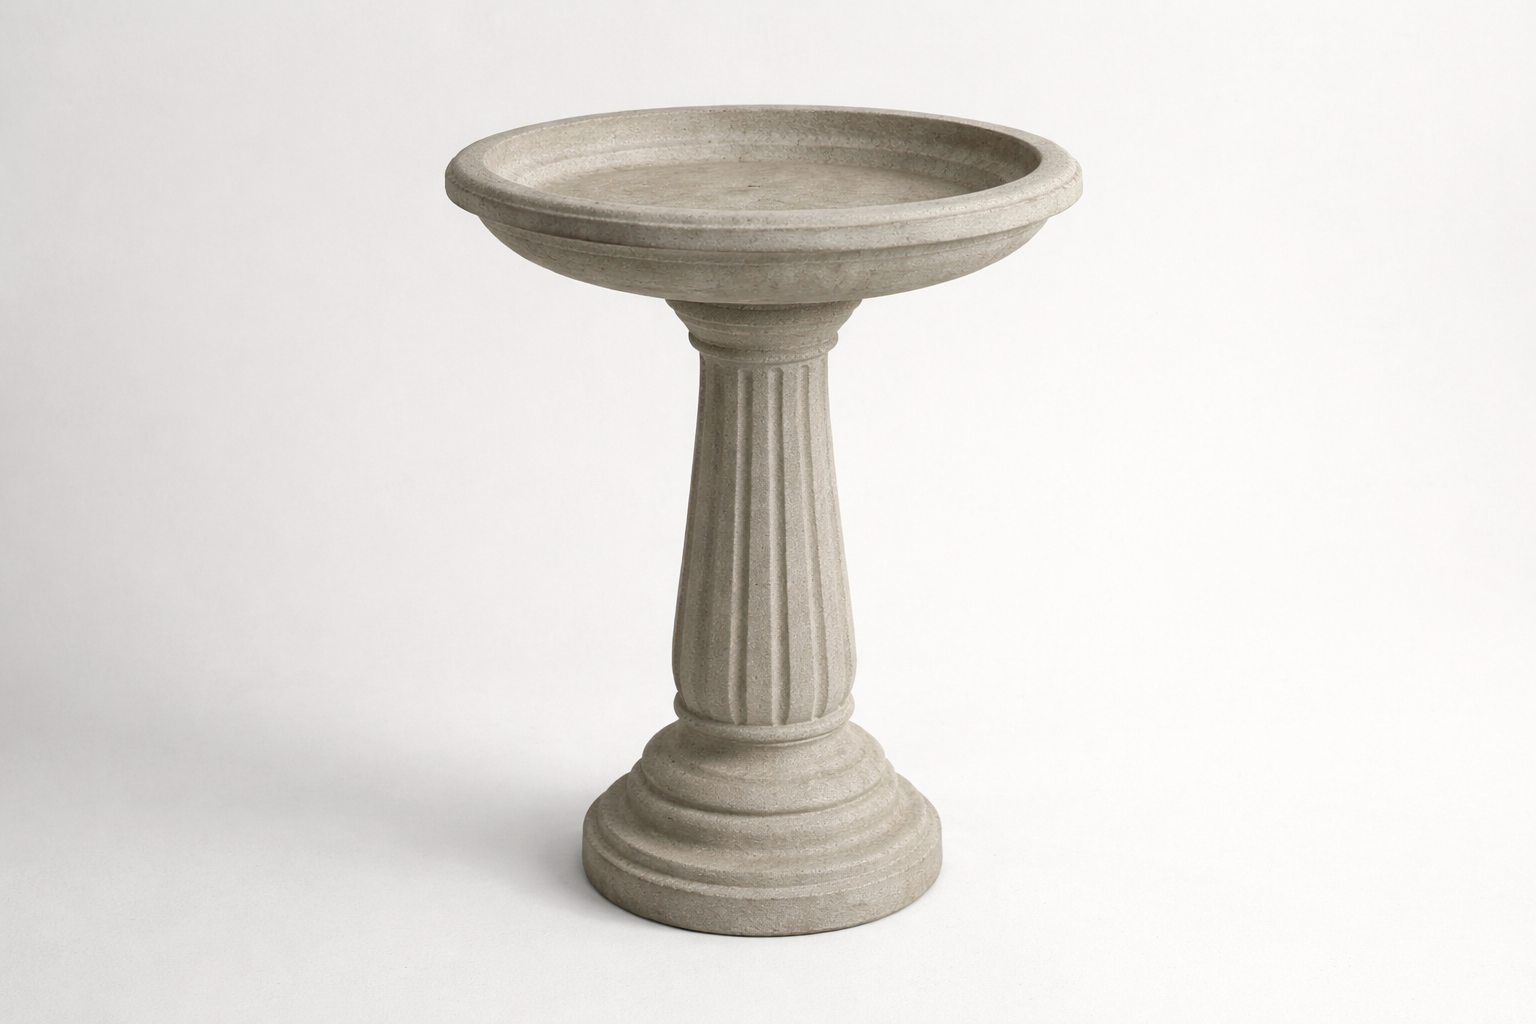
The following is a typical poured concrete pedestal bird bath procedure. The traditional cast concrete pedestal bath is made with a large piece of plastic as the outer mold, a smaller tray for the inner basin, and an 8-inch concrete form tube to make the pedestal.
Large plastic plant saucer as outer mold Small basin tray to create the water well 8-inch concrete form tube for the pedestal
Step 1: prepare moulds and reinforcement. Set the large saucer upside down to become the bath outer wall. Nestle the small tray inside to leave a cavity for water. Slide the form tube under where the pedestal will go. Cut and bend wire or mesh to surround the tube and under the basin area for reinforcement.
Step 2: mix and pour. Mix the concrete to the manufacturer’s recommended consistency. Pour enough to make the pedestal around the tube first, then fill the space between the saucer and tray to create the basin. Tap the forms gently to allow any trapped air to escape.
Step 3: shape the basin and embed hardware. Before you set the unit, slope the floor of the basin a little bit toward the center so water doesn’t collect at the edge. Push anchor bolts or other hardware into the concrete where the pedestal meets the basin to lock the pieces together.
Step 4: cure and finish. Wait for the concrete to cure completely before popping out your molds. Once cured, sandpaper off the edges and spray on a water-based, food-safe sealer. Cure according to the manufacturer’s instructions so the finish is inert and safe for birdies.
Photo tips: showing the nested molds, reinforcement placement, and the sloped basin in these three photos makes the build easy to follow.
Low-cost, hanging, and leaf-style bird baths
For a cheap, removable solution, stack a couple of clay or plastic pots together and place a shallow saucer or bowl over the top. It’s essentially a planter-style arrangement, but you’re using bits of your garden to make a really simple pedestal that you can disassemble in the winter or take with you if you move house. Make sure the bowl is shallow enough for little birds to have a splash around without tipping over. Test the stability by pressing down on the saucer , if it wobbles, re-stack the pots or get a wider based pot underneath to support it.
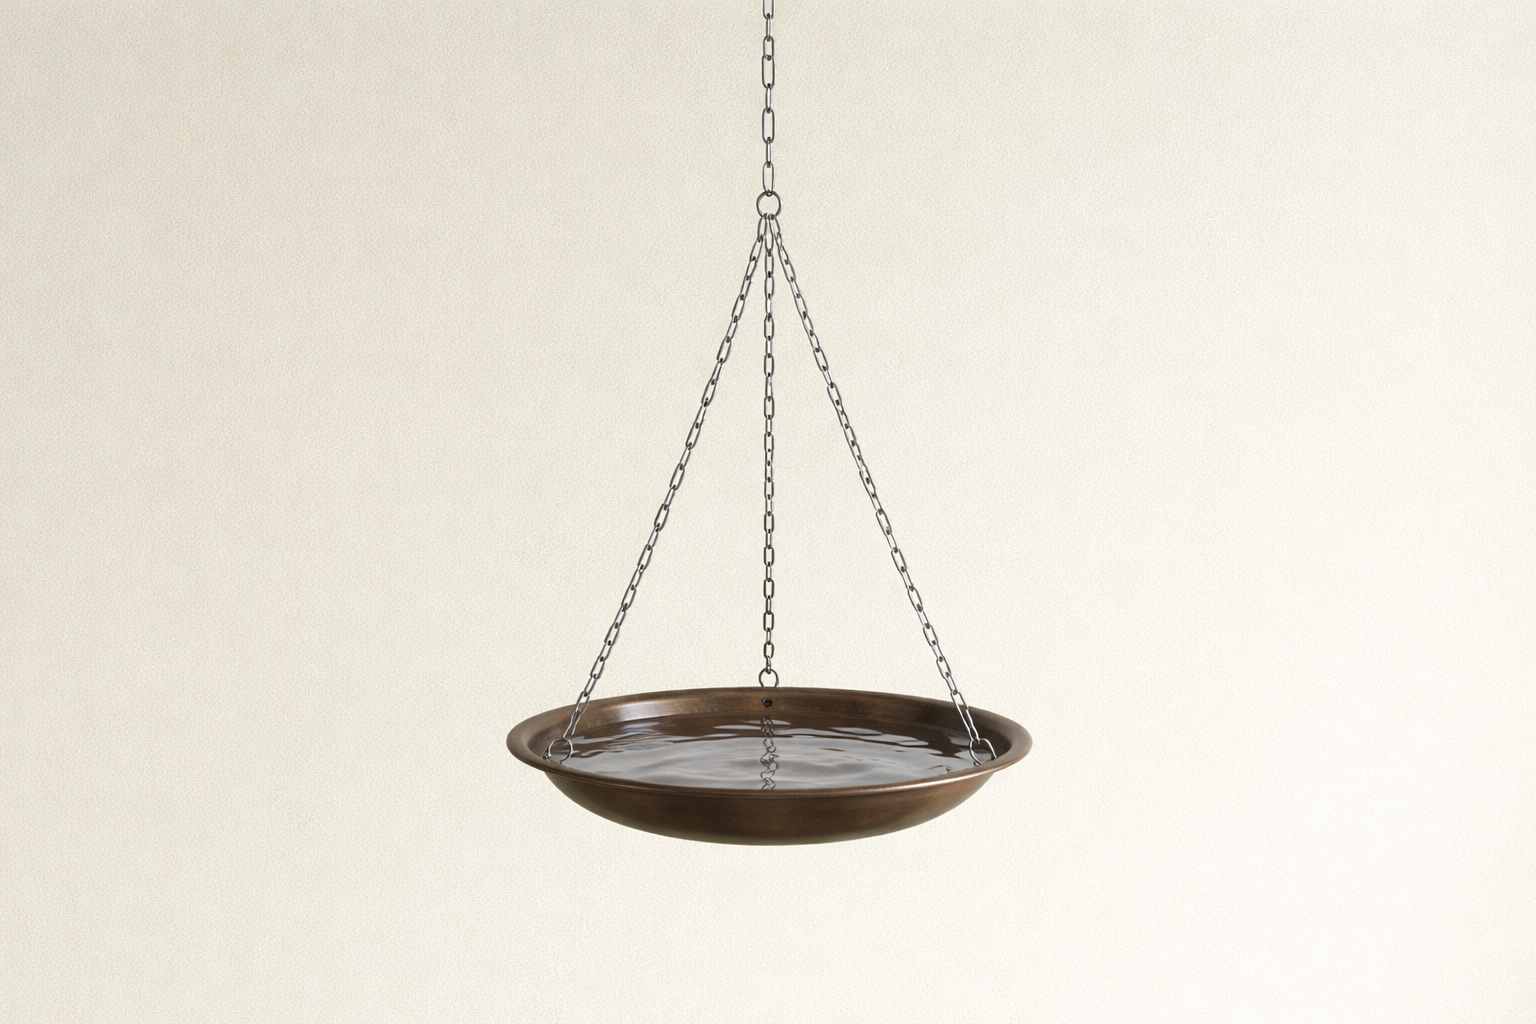
Hanging baths are good if you have little space on the ground, but require careful mounting and cover nearby. Many do-it-yourselfers hang a shallow glass lid, saucer or ceramic dish by chain or rope to form a hanging saucer bath. Make sure the hanger is level, the attachment point is solid and the branches or hooks are able to handle some gentle swaying. Put a small perch or twig nearby so birds can approach safely. If the bowl wobbles or turns, shorten or rebalance the chains, or change to a sturdier hook.
For a natural look, make a leaf-shaped bowl in concrete by pressing a big leaf (or use a leaf mold) when pouring the concrete. A leaf-shaped bowl makes shallow bowls which many birds like to bathe in. Keep the surface smooth all the way around the edge and test the depth with a ruler before curing. If it cracks, fill in the cracks with some concrete repair compound that goes on smooth; if water is pooling too deep, you can sand or grind a little bit out of the middle to make a gentler slope again. In practice, these three methods provide low-cost, renter-friendly, wildlife-friendly ways to create do-it-yourself bird bath installations.
Adding movement: drippers, pumps, and hummingbird-friendly options
If you want moving water on a budget, use one of the simple gravity systems or the low flow pump. The gravity fed system is a recycled jug or bottle with a short length of tubing that makes a slow drip that uses almost no water. The low flow pump makes a slow drip or a small bubbler without a strong current. gravity-fed dripper works well if you want tiny motions that are continuous but don’t require much maintenance.
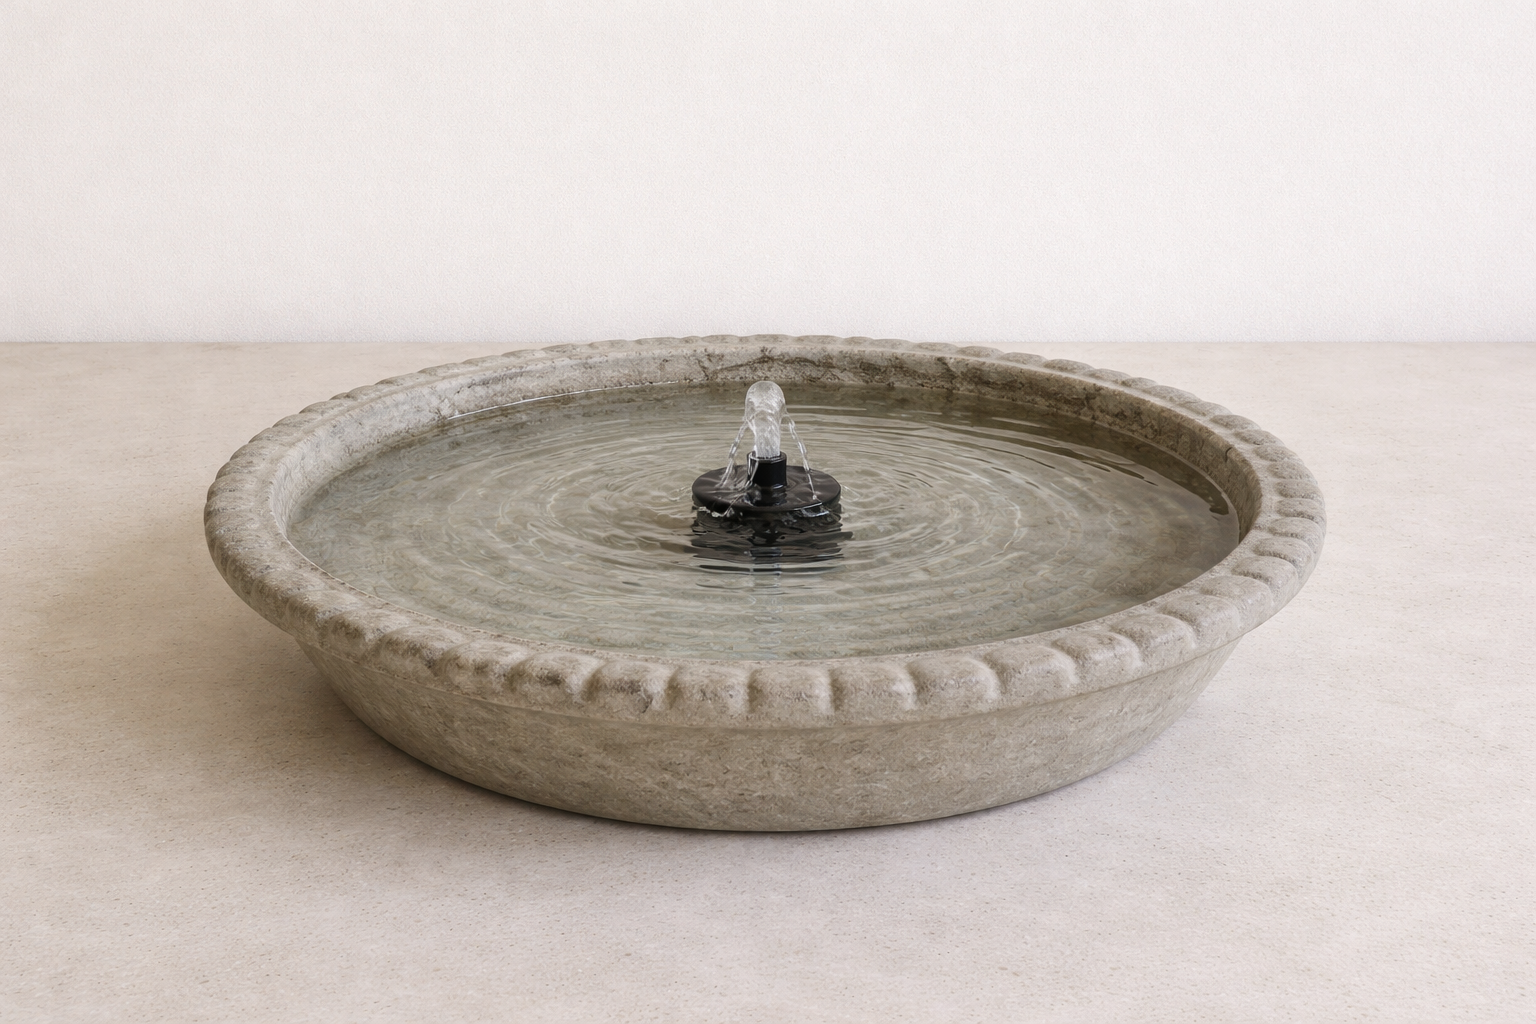
Solar or submersible pumps turn a plain basin into a living water feature if you put the hardware in the right place. Fully submerge a small fountain unit, fasten the outlet tubing or nozzle so the flow remains soft, and position the solar panel in full sun for dependable power. If you want to add a small pump, the same goes for plug-in units , set the flow low enough that birds can safely drink or bathe at the edge.
Hummingbirds require super shallow, fine water movement to feel safe. Aim for a film of water about a quarter-inch deep and use mist, tiny drips, or a very gentle fountain. very shallow hummingbird baths are attractive to hummingbirds which enjoy flying through light mist or sitting on wet leaves rather than wading through water.
Maintenance, mosquito control, and seasonal care
Scrub the whole basin once a week to remove any algae or biofilm that’s grown. If you want to really deep-clean your tub, mix together one part household bleach and nine parts water, pour it into the clean tub, and let it sit for a few minutes. Rinse out the bleach solution until there’s no smell left. Vinegar is another good option for cleaning some types of bathtub material , it’s milder than bleach but still a great germ killer. Use it as part of your regular maintenance routine.
Stop mosquito larvae before they hatch with Bacillus thuringiensis israelensis (sold under the brand name of Mosquito Dunk). These products contain spores that kill only mosquito larvae, and are best for small pools of water where larvae could breed. You can put dunks in water that you can’t change out frequently, or if your yard is otherwise conducive to mosquitoes.
Heaters or commercial bird-bath deicers designed for your basin size will help prevent freezing in cold weather. Place baths in sunny or wind-protected areas if at all possible to reduce freezing. Thermostatic deicers that don’t heat the water above ambient temperature can be useful so the water doesn’t overheat but stays just warm enough to avoid freezing. Use heaters with wattage appropriate to the material and size of the bath and never leave a heater on unattended. If you use
Wrap-up and troubleshooting checklist
Prioritise water depth and access. Birds like shallow water, easy-to-clean basins and a little movement. A small pump or dripper to keep the water flowing will often bring more visits than stagnant water. Keep the bath low enough for birds to use safely and clear enough to be inspected and scrubbed regularly.
- Keep water shallow and sloped so small birds can wade safely.
- Add gentle movement, such as a low-flow pump or dripper, to attract more visits.
- Place the bath where birds can see it easily but have nearby shrubs or perches for quick escapes.
- Clean or cycle the water frequently to reduce standing-water mosquito risks and debris from nearby feeders.
If you’re planning a permanent installation, check your local water-use bylaws and wildlife regulations first. That will help you balance a permanent feature against seasonal restrictions and mosquito control.